iPad Screen Replacement: Digitizer, LCD and Laminated Models
17 November 2026 · LightspeedTools team
Short answer: iPad screen replacement depends on the display design. Older and base iPads have a separate glass digitizer glued over a removable LCD, so cracked glass can be replaced on its own. Laminated iPads, including iPad Air and Pro models and newer iPad minis, bond the glass and LCD into one assembly that is replaced as a single part.
Two kinds of iPad screen: separate and laminated
Before you quote or order a part, identify which design the iPad uses. It changes the part you buy, the price, the risk during opening and how long the repair takes.
| Separate digitizer and LCD | Laminated display assembly | |
|---|---|---|
| Typical models | Older full-size iPads, iPad mini 1 to 3, iPad Air (1st gen) and many base iPads | iPad Air 2 and later Air models, iPad mini 4 and later, all iPad Pro models |
| What breaks | Glass often cracks while the LCD survives | Glass and LCD are one unit, so any crack means a full assembly |
| Part you replace | Glass digitizer only, or LCD only | Complete display assembly |
| Opening risk | LCD sits under the glass and can be scratched or cracked by picks | Picks inserted too deep damage the panel layers or the display flex |
| Part cost | Lower | Higher |
The base iPad line is where most confusion happens. Many base generations use separate glass, but Apple has changed display designs over time, so confirm the exact model number (on the back case or in Settings) against the part listing rather than going by screen size alone. Our iPad parts are organised by model to make that check quick.
Tools for iPad screen work
- Heat: a large heating pad or hot plate that covers the whole edge. iPad adhesive runs around the entire perimeter and is stronger than on phones. See our heating pads.
- Picks: six or more thin plastic picks, so you can leave them in place as you work around the edge and stop the adhesive re-sealing.
- Suction cup and a thin opening card to start the first gap.
- Screwdrivers: Phillips #000 for LCD screws and brackets on most models.
- Plastic spudgers for connectors and the home button bracket.
- Isopropyl alcohol, tape and model-specific adhesive strips.
- Safety glasses and cut-resistant gloves: cracked iPad glass splinters into sharp fragments.
Dedicated iPad repair tools, such as wide opening tools and screen holders, make long edges much easier to manage than phone-sized tools.
Opening an iPad: heat, picks and patience
- Power off and tape the glass. Cover cracked glass with packing tape in overlapping strips. It holds fragments together and gives the suction cup a surface to grip.
- Warm one edge. Heat the edge you will start on until it is warm to the touch, not hot. Many technicians start on the side opposite the display cables, but the cable side varies by model, so check it first.
- Start the gap. Lift with the suction cup and insert a thin card or pick at a shallow angle. On cracked glass you may need to start at a corner where the glass is intact.
- Work around slowly. Slide the pick along the edge, leaving picks behind as markers. Re-heat each edge before you cut it. If glass starts to crack further, stop and add more heat and tape.
- Watch the danger zones. Go shallow near the front camera, the ambient light sensor, the home button and the display flex cables. On many models antenna parts and small flex cables run close to the edge.
- Do not pull the screen away. Once the adhesive is free, open the screen in the direction that keeps the cables slack and support it.
Separate digitizer models: protecting the LCD
On non-laminated iPads the LCD sits a few millimetres under the glass, and picks pushed too deep will scratch or crack it. Keep the pick shallow, and if the LCD is fine, lift the glass without disturbing it. Once the glass is off, the LCD is usually held by screws or adhesive tabs. Lift it carefully, disconnect the battery, then disconnect the LCD and digitizer flex cables. Replacement digitizers such as the iPad 6 touch screen digitizer, the iPad 10.2" 7th/8th gen digitizer or the iPad Air / iPad 5 (2017) digitizer are sold glass-only, so the original LCD goes back in.
The digitizer flex is the weak point. It is usually glued to the glass near one edge and folds under the LCD. Cutting it during opening does not matter if you are replacing the glass anyway, but it matters a great deal if you only came in to replace the LCD.
Laminated models: protecting the panel and flex
On laminated iPads there is no gap between glass and LCD, so damage from a pick goes straight into the display. Keep picks very shallow, especially along the cable edge. On some iPad Pro models the display connects through a small board or a long flex that is easy to tear. Some replacement assemblies, such as the iPad Pro 12.9" 2nd gen assembly with board flex soldered, come with that board already fitted, which removes a delicate soldering step. Other common laminated parts include the iPad Pro 10.5" LCD and digitizer assembly and the iPad Air 3 LCD and digitizer assembly.
Disconnect the battery
iPad batteries are large lithium cells glued in under the display. On most models you need to lift the LCD or display assembly to reach the battery connector or its shield. Disconnect it before you unplug or plug in any display flex. If the connector is hard to reach, some technicians slide a thin plastic insulator under the battery contact; whichever method you use, keep metal tools away from it.
Never pry against the battery. If a pick slips and punctures or bends it, the cell can overheat or catch fire. If the battery looks swollen, stop and handle it as a separate battery job before continuing.
Home button transfer on older iPads
iPads with a home button usually carry that button on the glass or display assembly, so it moves to the new part. On Touch ID models the sensor is paired to the logic board, which means the original button must be transferred for fingerprint unlock to work. A replacement button may press and work as a home button, but Touch ID will not.
- Warm the area around the button to soften its adhesive.
- Remove the bracket or shield behind the button, noting how it sits.
- Peel the button flex gently from the old glass with a thin spudger. The flex is very thin and tears easily.
- Push the button out from behind, clean it, and fit it to the new part with fresh adhesive and the original bracket.
- Check that the button sits flat and clicks evenly before reassembly.
Small parts such as the camera bracket, sensor holder and home button rubber gasket also need to move if the new glass does not include them. Lay them out in order as you remove them.
Testing before you seal
Test every new part before applying adhesive. Reconnect the LCD and digitizer, then the battery, and power on with the screen resting in place. Check:
- Touch across the full screen, including all four edges and corners. Drag an icon around the screen to find dead zones.
- The LCD for lines, bright spots, pressure marks and uneven backlight on a white background.
- Home button or Face ID, front camera, auto-brightness and Apple Pencil if supported.
- Rotation and multi-touch gestures.
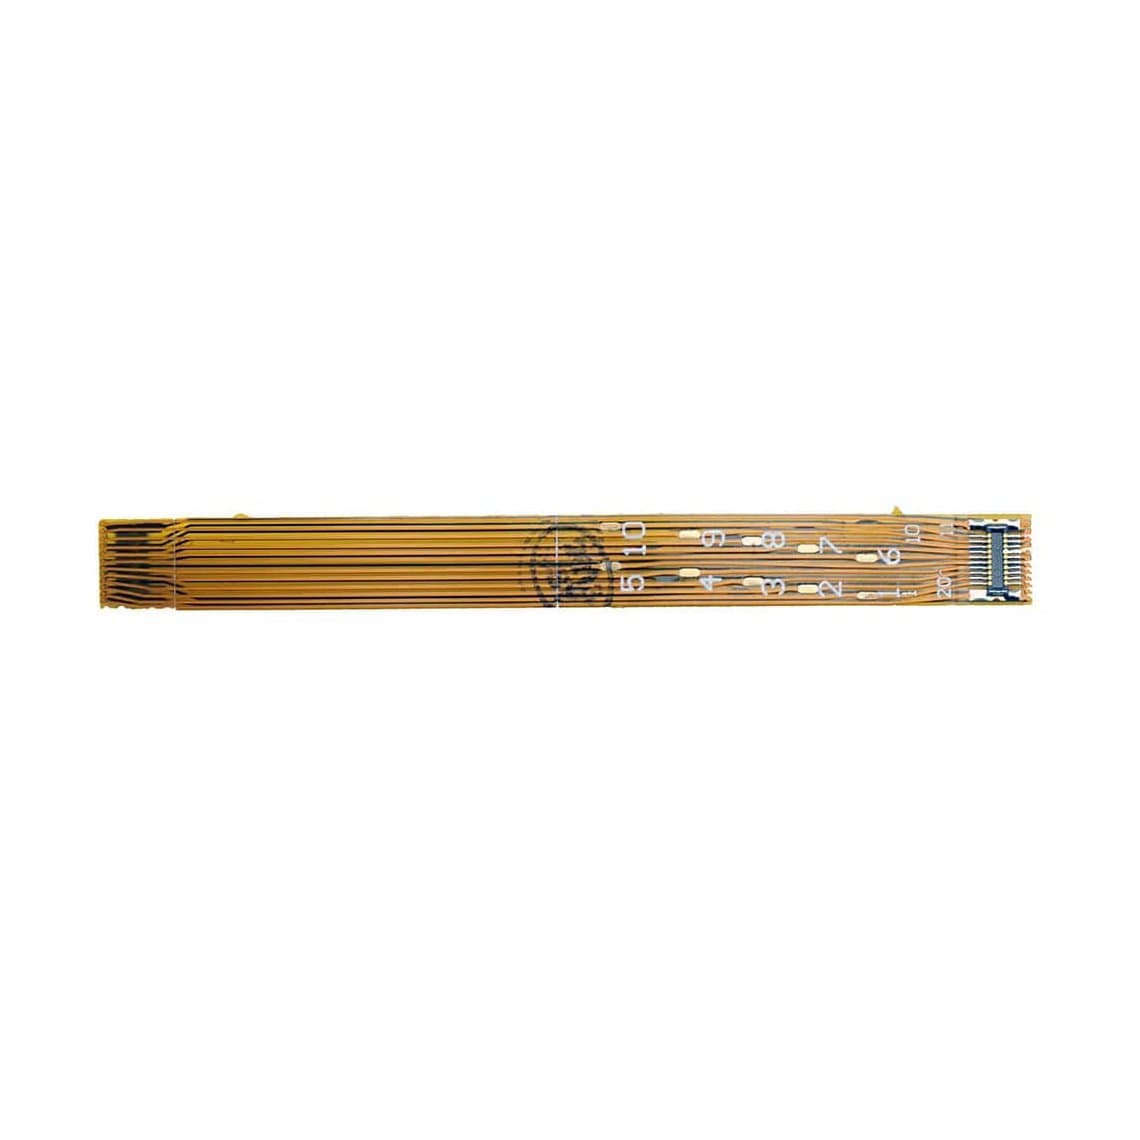
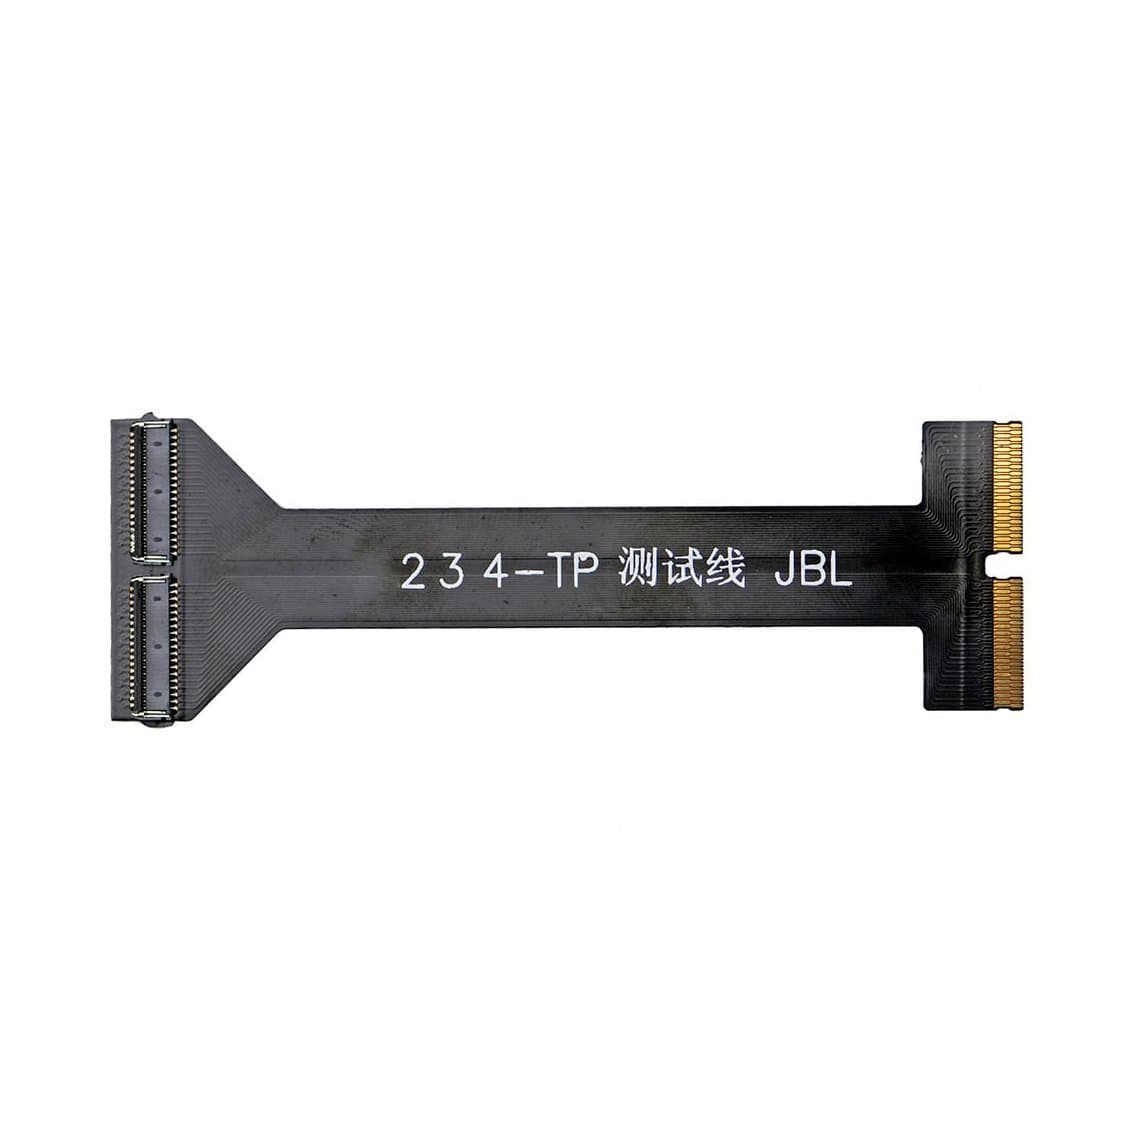
Testing cables make this easier. A digitizer testing cable for iPad mini or an LCD testing cable for iPad 2/3/4 extends the connection so you can test with the screen lying flat. For higher volumes, screen testers let you check parts before they go into a customer device.
Adhesive and closing
Remove all old adhesive and glass fragments from the frame. Leftover chips under the new glass cause pressure points that can crack it within days. Clean the frame with isopropyl alcohol and let it dry fully.
Use model-specific pre-cut adhesive strips. They are thin around the home button and cameras, which helps the glass sit flat. Disconnect the battery again, reconnect everything else, connect the battery last, then align the glass and press it into place. Apply even pressure around the edges, not in the middle of the screen, and clamp or hold it while the adhesive sets.
Common mistakes
- Ordering a glass-only digitizer for a laminated iPad.
- Pushing picks deep and cracking a good LCD.
- Tearing the digitizer, display or home button flex.
- Forgetting the battery and damaging the display circuit.
- Leaving glass shards under the new screen.
- Pressing on the middle of the screen while the adhesive sets.
Questions
Can you replace just the glass on an iPad?
On older and base iPads with a separate digitizer, yes: the glass digitizer is replaced and the original LCD goes back in. On laminated models such as iPad Air 2 and later, iPad mini 4 and later and all iPad Pro models, the glass and LCD are bonded, so the full display assembly is replaced.
How do I know if my iPad screen is laminated?
Tap the screen with a fingernail. Separate-glass iPads often sound hollow and the image looks slightly below the glass, while laminated screens feel solid and the image looks close to the surface. The surest check is the model number against the part listing.
Will Touch ID work after an iPad screen replacement?
It will if the original home button is transferred to the new part without damage. Touch ID is paired to the logic board, so a new home button will not read fingerprints.
Why is my new iPad digitizer not responding to touch?
Check that the digitizer flex is fully seated, undamaged and was not folded sharply. Also check that the part matches the model exactly, and test it before sealing so faults show up before adhesive is applied.
Find digitizers, LCDs and complete assemblies by model in our iPad parts section, plus iPad repair tools for the bench. Shops ordering regularly can unlock trade pricing through wholesale and reorder fast with Quick Order.