How to Reball a BGA Chip: Step-by-Step Guide for Phone Repair
17 November 2026 · LightspeedTools team
Short answer: To reball a BGA chip, remove it from the board, clean the old solder off the chip and pads with flux and wick, lock the chip under a matching reballing stencil, fill the holes with solder paste (or drop in solder balls), and heat gently with hot air until the paste forms balls. Then lift the chip off the stencil, reflow the balls with a little flux so they settle round, inspect them under the microscope and refit the chip. The keys are the right stencil, fresh paste, low airflow and patience.
This step-by-step guide covers the tools you need, the full process, the mistakes that cause missing or bridged balls, and the safety points. It is written for technicians who can already remove and fit small ICs with hot air.
When you need to reball
Reballing restores the solder balls under a BGA (ball grid array) chip. You need to do it when:
- You removed a chip to repair the pads or board beneath it and want to refit the same chip.
- You are moving a chip from a donor board, such as a NAND, baseband or audio IC.
- A chip has cracked or open joints and needs a full re-solder rather than a simple reflow.
- You are working on screen ICs on display flex cables, which often need reballing after removal.
On many phones, chips are underfilled with epoxy, and newer iPhones use stacked (sandwich) boards with interposer layers. These add steps: glue removal and separating the board layers before you can reach the chip.
Tools and materials
Reballing stencil and platform
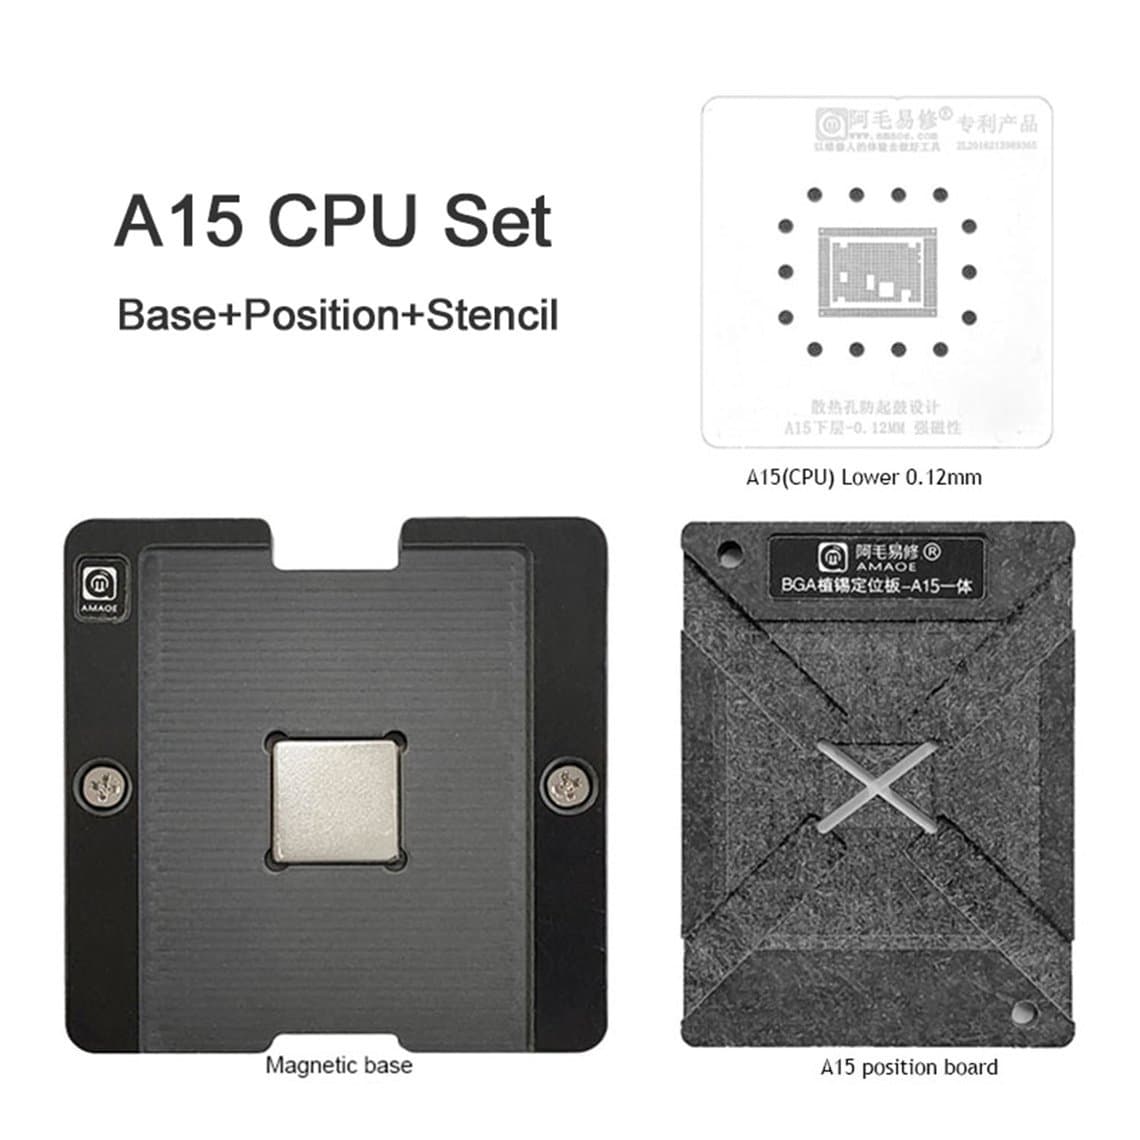
The stencil must match the chip's ball pattern and pitch. Phone stencils are usually chip-specific, and many come with a platform or holder that clamps the chip in position under the stencil. Examples:
- A dedicated CPU stencil platform for iPhone 6 to 13 Pro Max for processor work on those models.
- A Samsung CPU reballing stencil for Android processor jobs.
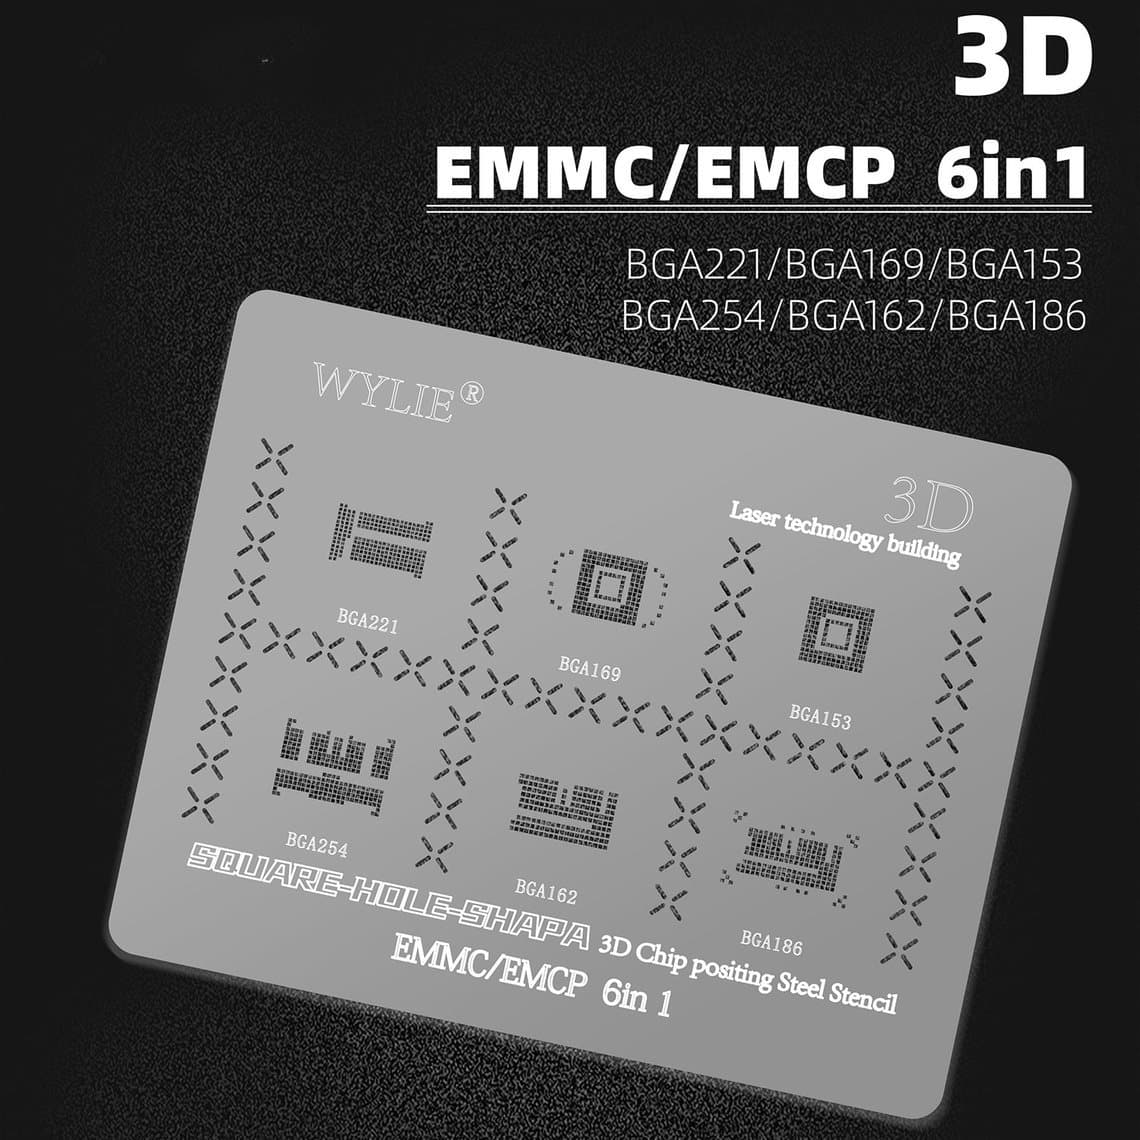
- A 3D eMMC/eMCP stencil for storage chips, where the raised design helps keep paste in place.
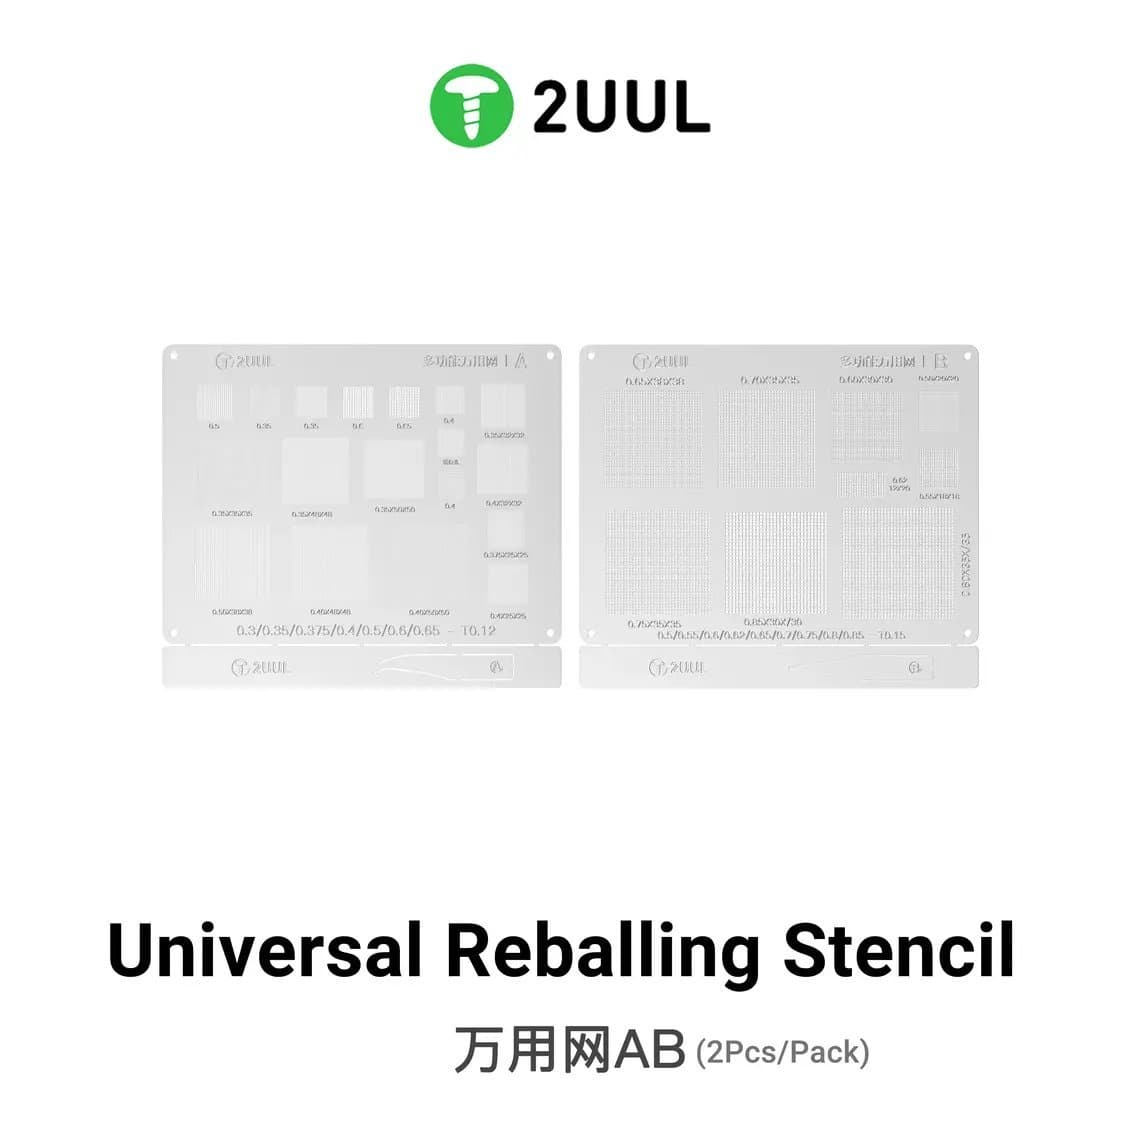
- A universal reballing stencil set for common small ICs across different devices.
- A magnetic universal stencil base that holds the chip and stencil steady while you work.
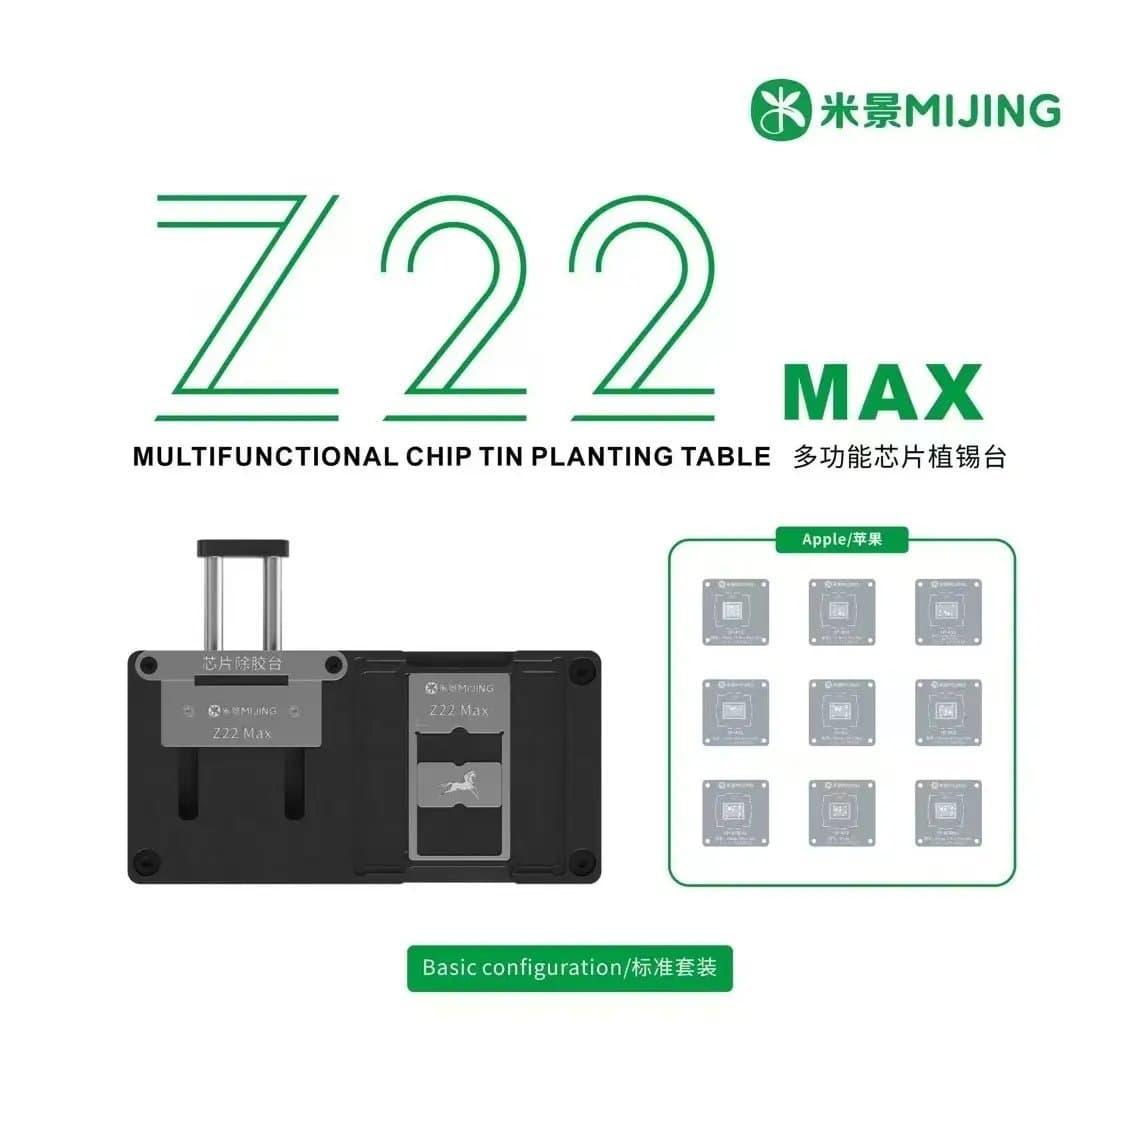
For iPhone middle layers and sandwich boards, a combined platform such as the Mijing Z22MAX reballing and glue removal platform handles both the clean-up and the reball. See all BGA reballing stencils to find the right one for your chip.
Solder paste or solder balls
Most phone technicians reball with solder paste through the stencil because it is fast and works for very fine pitch. Choose a paste made for stencil reballing, such as Mechanic SD360 solder paste, and check its melting point on the label; lower-melting pastes form balls with less heat, which is kinder to the chip. Paste should be fresh and stored as the maker recommends; old, dried paste is a common cause of poor balls. Browse our solder paste range for different melting points.
Pre-formed solder balls are the other option, mostly used on larger chips with bigger pitch. They give very even ball size but take longer to place.
Hot air station
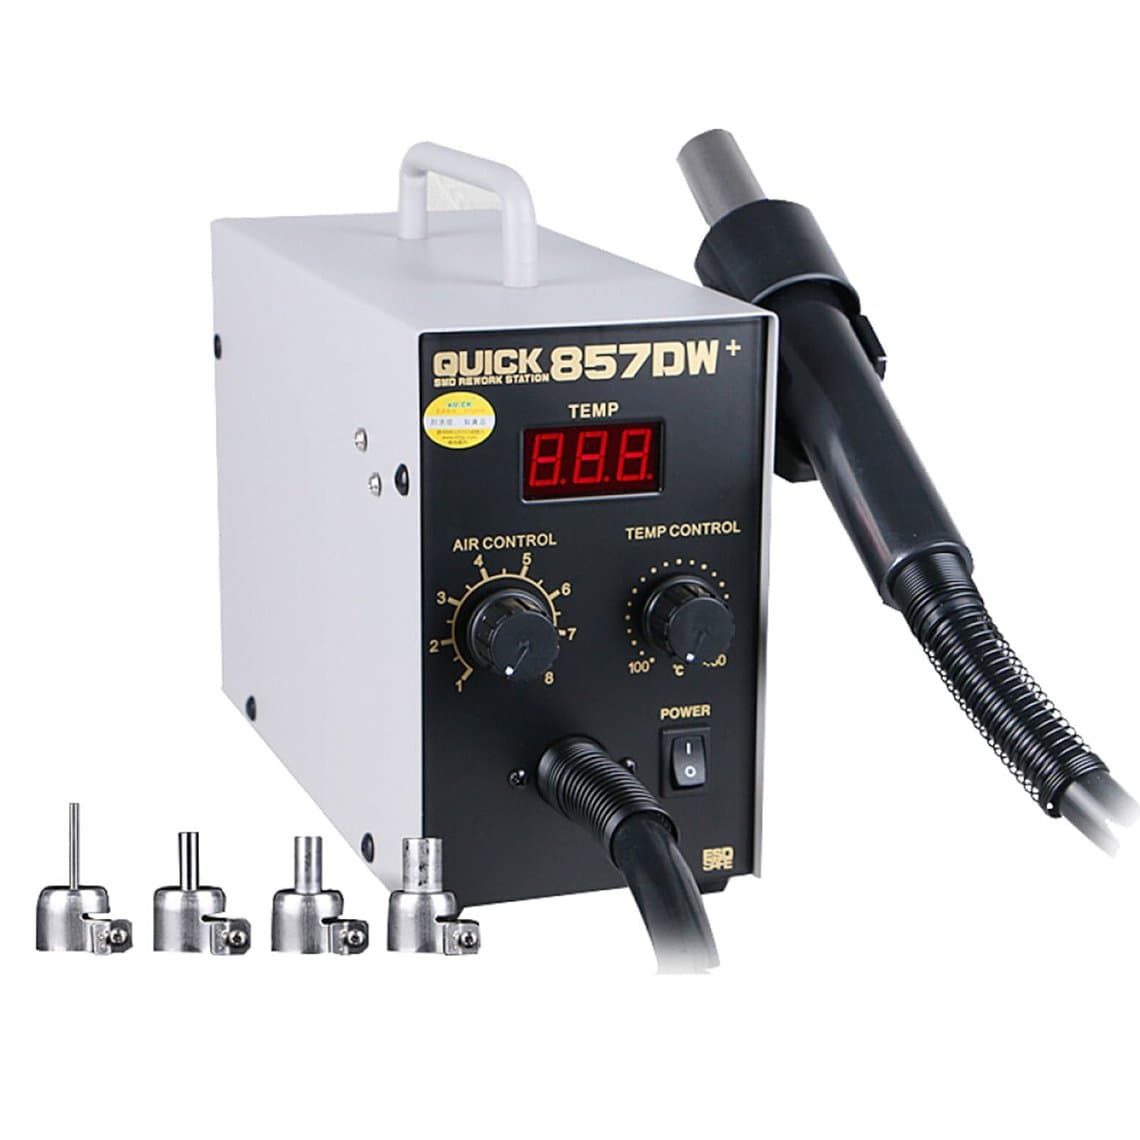
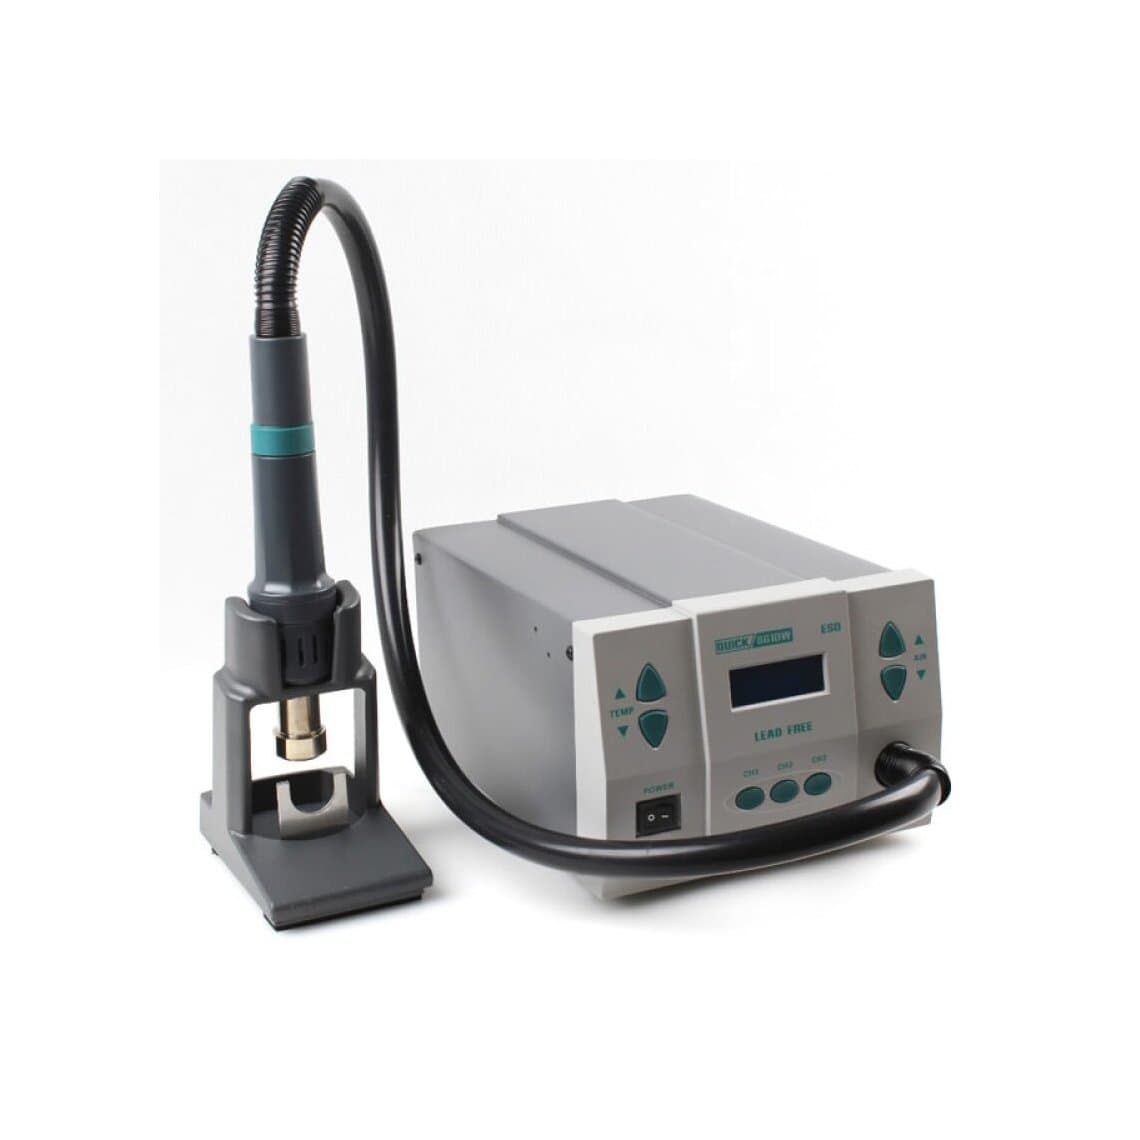
You need a hot air station with stable temperature and airflow that can be turned down low. Too much air blows paste out of the stencil holes. A station like the Quick 857DW+ hot air station suits most phone chips, while a higher-power unit like the Quick 861DW 1000W station helps with larger chips and heavier boards. Compare all hot air rework stations.
Other essentials
- Good tacky flux
- Fine solder wick
- A soldering iron with a flat or knife tip for cleaning
- A plastic or metal scraper (or a blade) to spread paste
- High-purity isopropyl alcohol and a brush
- A stereo microscope
- Heat-resistant tape
- A board preheater (strongly recommended for removing chips from the board)
Paste vs solder balls
| Solder paste + stencil | Pre-formed solder balls | |
|---|---|---|
| Speed | Fast | Slower |
| Best for | Phone chips, fine pitch, screen ICs | Larger chips, laptop and console BGAs |
| Ball size consistency | Depends on paste, stencil and technique | Very consistent |
| Common problem | Missing or uneven balls from dry paste or high airflow | Balls rolling out of place before reflow |
How to reball a BGA chip: step by step
Step 1: Remove the chip
- Disconnect the battery and remove shields and nearby heat-sensitive parts where possible.
- Cover plastic connectors and nearby chips with heat-resistant tape.
- If the chip is underfilled, soften and remove the glue around the edges first.
- Preheat the board from below, then apply hot air to the chip with flux around the edges.
- Lift the chip gently only when all the solder underneath has melted. If it resists, keep heating. Forcing it rips pads.
Step 2: Clean the chip
- Add flux to the chip's underside.
- Use the iron and wick to remove old solder until the pads are flat and level. Let the wick glide; do not press hard.
- Remove any remaining underfill carefully. Leftover glue stops the stencil sitting flat.
- Clean with isopropyl alcohol and check every pad under the microscope. A missing pad on the chip needs attention before you go further.
Step 3: Clean the board pads
Do the same on the board: flux, wick, flat pads, clean, inspect. Look for lifted or torn pads and repair them now with jumper wires if needed. Fitting a chip over a missing pad will just bring the phone back to your bench.
Step 4: Align the chip in the stencil
- Place the chip in the platform or holder.
- Lay the stencil on top and line up every hole with a pad under the microscope.
- Lock it in place. Some technicians use a thin layer of tape or the platform clamp to stop it moving. Any shift during heating gives bridged or misplaced balls.
Step 5: Apply the solder paste
- If the paste is stiff, work it a little or use fresh paste. Do not thin it with flux.
- Spread a small amount over the stencil and press it into the holes with the scraper.
- Scrape off the excess so the stencil surface is clean and each hole is filled level.
- Check that no holes are empty. Refill any gaps before heating.
Step 6: Heat to form the balls
- Set the hot air to low airflow.
- Move the nozzle in slow circles over the stencil, starting a little higher and coming closer.
- Watch the paste turn from grey to shiny as it melts and pulls into balls. Stop as soon as all holes have reflowed. Overheating can warp the stencil and damage the chip.
- Let everything cool before you touch it.
Step 7: Release and reflow the balls
- Once cool, separate the chip from the stencil. A little heat can help if the balls stick.
- Apply a thin layer of flux over the new balls.
- Heat gently with hot air so the balls round off and settle evenly.
- Clean with isopropyl alcohol and inspect. Every ball should be round, shiny and the same size, with no bridges.
Step 8: Refit the chip
- Apply a thin, even layer of flux to the board pads.
- Place the chip using the silkscreen outline or alignment marks, with pin 1 in the right position.
- Preheat the board, then heat the chip with hot air. When the solder melts, the chip should self-align slightly. A very light nudge at the edge can confirm it floats back into place.
- Let the board cool naturally, clean off the flux and test the device before reassembly.
Temperature guidance
Settings depend on the chip, the board, the paste and your station, so treat any numbers as typical starting ranges. Leaded and low-melt pastes reflow at noticeably lower temperatures than lead-free paste; common lead-free alloys melt around 217 to 220°C, and tin-lead around 183°C. At the nozzle, many technicians start hot air for stencil reballing somewhere around 280 to 350°C with low airflow, and adjust based on how fast the paste melts. Board preheaters are commonly set somewhere around 150 to 200°C. Always check the paste maker's datasheet.
Common mistakes
- Stencil not flat. Old solder or glue on the chip lifts the stencil and causes uneven balls.
- Dry or old paste. Leaves holes empty or forms small, rough balls.
- High airflow. Blows paste out of the holes before it melts.
- Stencil moving during heating. Gives merged or offset balls.
- Too much heat. Warps the stencil, cooks the chip and can damage data on storage chips.
- Not inspecting. One missing or bridged ball means the chip has to come off again.
- Wrong orientation on refit. Always check pin 1 before heating.
Safety notes
- Fumes. Flux and paste fumes are irritating. Use a filtered fume extractor close to the work.
- ESD. BGA chips are sensitive to static. Work on an anti-static mat with a wrist strap.
- Batteries. Remove or disconnect the battery and keep hot air away from lithium cells.
- Burns. Stencils, platforms and chips stay hot long after the air stops. Use tweezers.
- Lead. Many pastes contain lead. Wash your hands after work and keep food off the bench.
Questions
Can you reball a BGA chip without a stencil?
It is possible to place solder balls by hand on large-pitch chips, but on phone chips it is not practical. The pitch is too small and the risk of bridging is high. A matching stencil is the standard way to get even, correctly placed balls.
Should I use leaded or lead-free solder paste for reballing?
Many phone technicians use leaded or low-melt paste because it reflows at lower temperatures and puts less heat into the chip and board. Lead-free paste needs more heat. The choice also depends on local regulations and the customer's requirements.
Why are my reballed solder balls uneven or missing?
The usual causes are dried paste, a stencil not sitting flat on the chip, holes not fully filled, or too much airflow during heating. Clean the chip properly, use fresh paste, scrape level and lower the airflow.
Can a BGA chip be reballed more than once?
Yes, chips can usually be reballed more than once, but each heat cycle adds stress to the chip and its pads. Repeated overheating can damage the chip or lift its pads, so aim to get it right the first time with good preparation.
Get the right stencil, paste and hot air for your next reball: browse BGA reballing stencils and solder paste. Repair shops can open a wholesale account (wholesale prices unlock after $500 of purchases) and use quick order to buy by SKU or CSV.