How to Refurbish a Phone Screen: The Full Process, Step by Step
17 November 2026 · LightspeedTools team
Short answer: To refurbish a phone screen you keep the working display (LCD or OLED) and replace only the broken cover glass. The process is: inspect and grade the panel, separate the cracked glass, remove the old OCA glue, clean, replace the polarizer if it is damaged, laminate new glass with fresh OCA, remove bubbles in an autoclave, then test and grade. It needs a separator, a laminator, a bubble remover and the right consumables.
Done well, refurbishing turns broken screens into stock you can resell or reuse. Done carelessly, it destroys the most expensive part of the screen. Below is each step in order, the machines and consumables that do it, and the handling habits that protect your yield.
What "refurbishing a screen" actually means
A phone screen assembly is a stack: the cover glass on top, a layer of OCA (optically clear adhesive), often a touch layer, the polarizer, then the display panel itself with its flex cable. When a customer drops a phone, often only the cover glass cracks while the display underneath still works perfectly. Refurbishing means removing that broken glass and bonding a new one, so the display gets a second life.
It only makes sense when the display is undamaged. If there are black spots, lines, ink bleed or dead touch, the panel itself is damaged and new glass will not fix it.
Step 1: Inspection and grading
Before you touch a machine, power each screen on a tester or a known-good phone and sort it. Check for:
- Lines, dead pixels, black or green spots, and ink bleed (on OLED).
- Touch response across the whole surface.
- Pressure marks, white spots or backlight problems (on LCD).
- Damage to the flex cable or connector.
- Burn-in or discoloration on OLED.
Sort into "good display, broken glass" (refurbish), "minor display defects" (refurbish as a lower grade if your buyers accept it) and "damaged display" (set aside). Grading first stops you spending time and consumables on panels that can never pass.
Step 2: Separating the glass from the display
This is the riskiest step. The goal is to soften the OCA with controlled heat and then cut through it so the glass lifts away without bending or cracking the display.
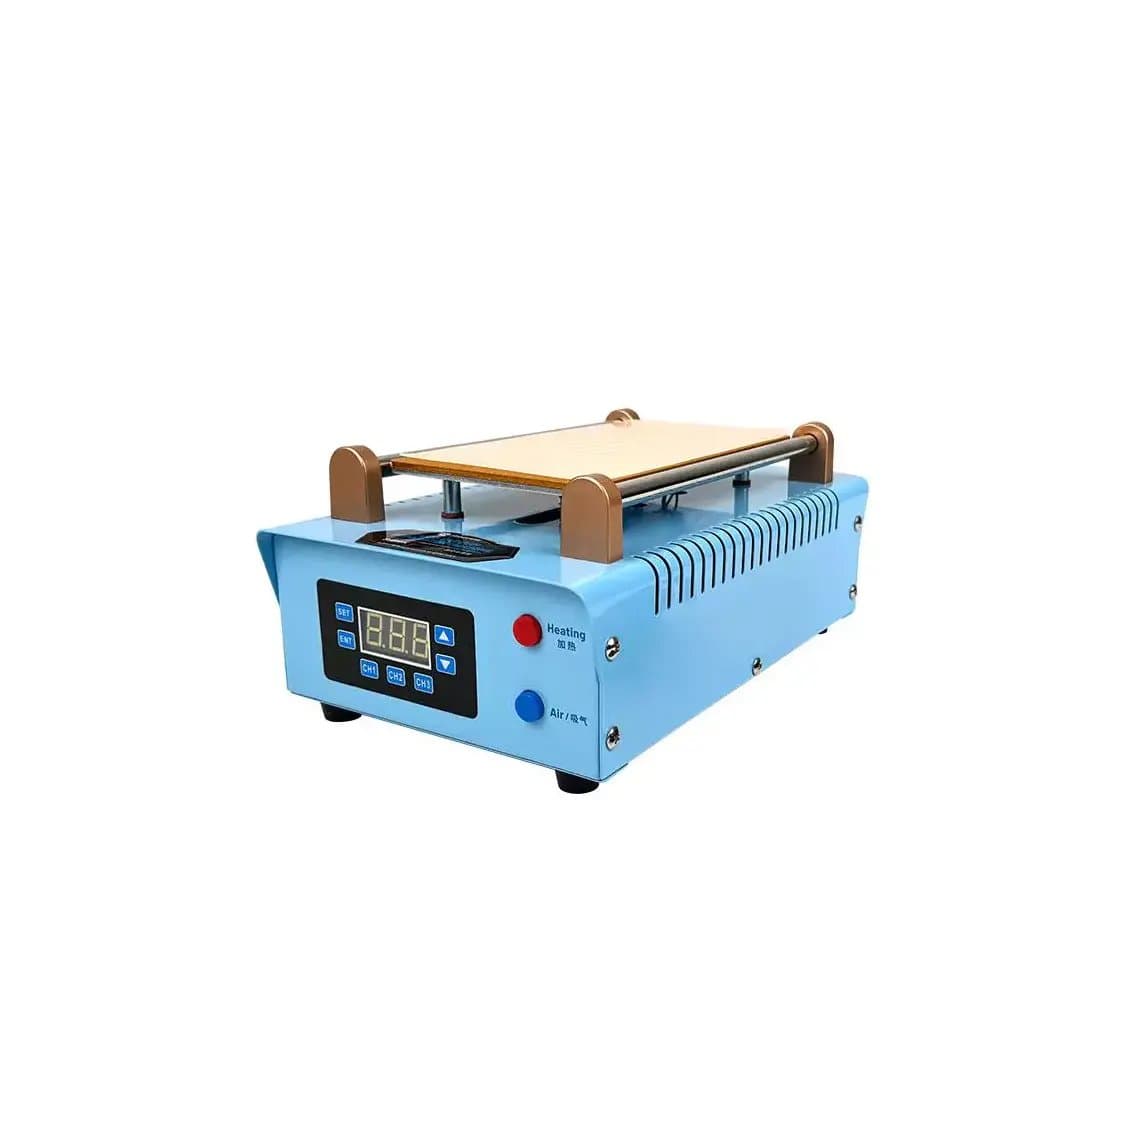
A vacuum separator holds the screen flat on a heated plate while you work. Typical starting temperatures are in the region of 80–100°C, but the right value depends on the panel, the adhesive and the machine, so always start low and follow the panel and machine guidance. Once the OCA softens, a fine molybdenum or diamond cutting wire is drawn between the glass and the display to slice through the adhesive.
Separator options range from compact bench units to multi-function machines:
- A flat-plate machine such as the RF4 Rf-freedom vacuum separator handles everyday flat screens.
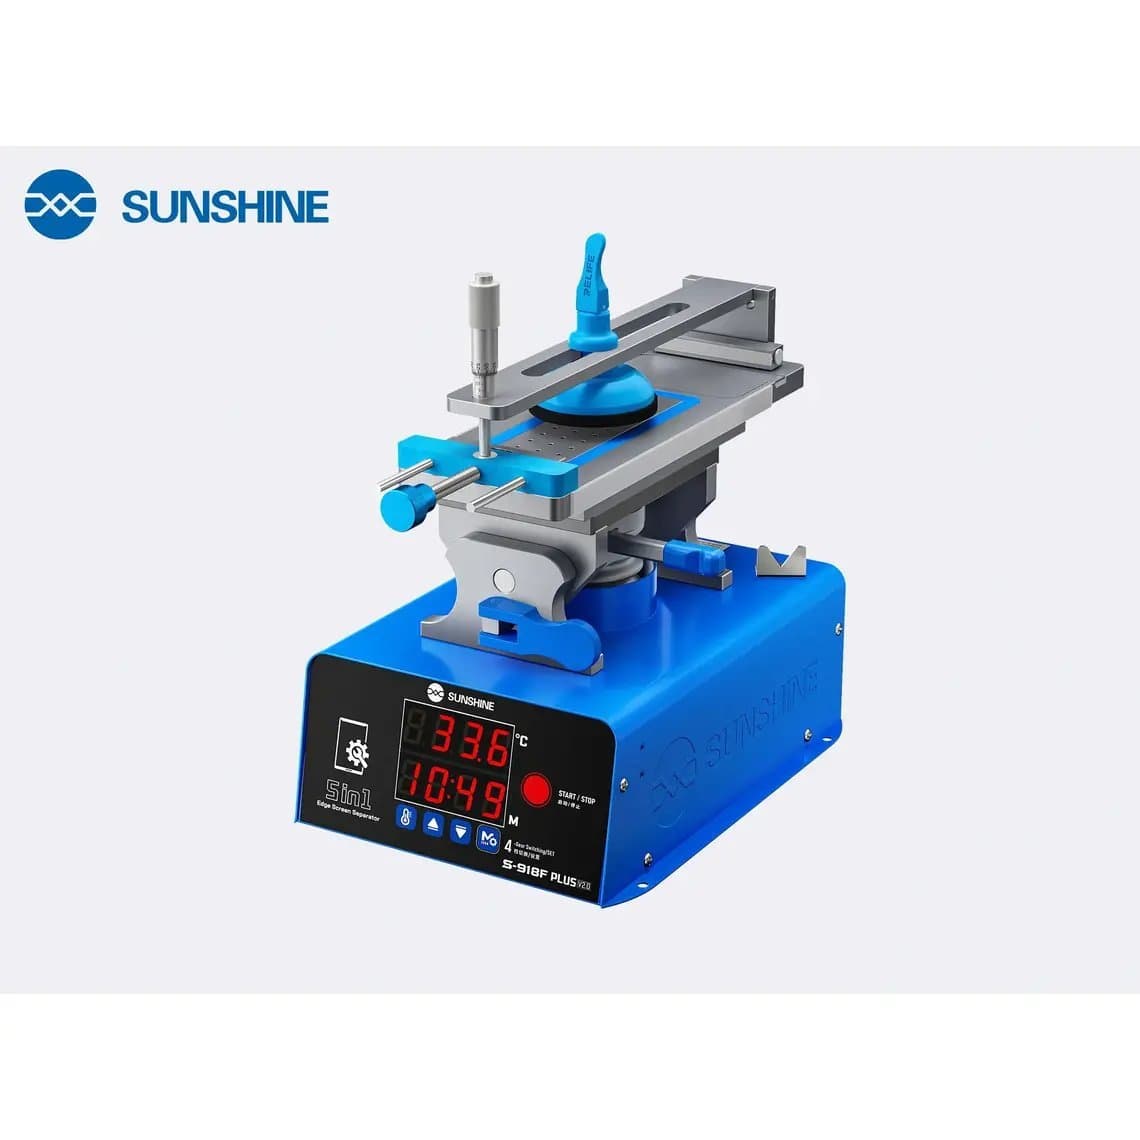
- For curved-edge OLEDs, a separator built for both shapes, like the Sunshine SS-918F Plus V2.0 5-in-1, supports the curve so the panel is not stressed.
- The MaAnt QP-5 Blue Whale non-heating separator is an option when you want to avoid heat on sensitive panels.
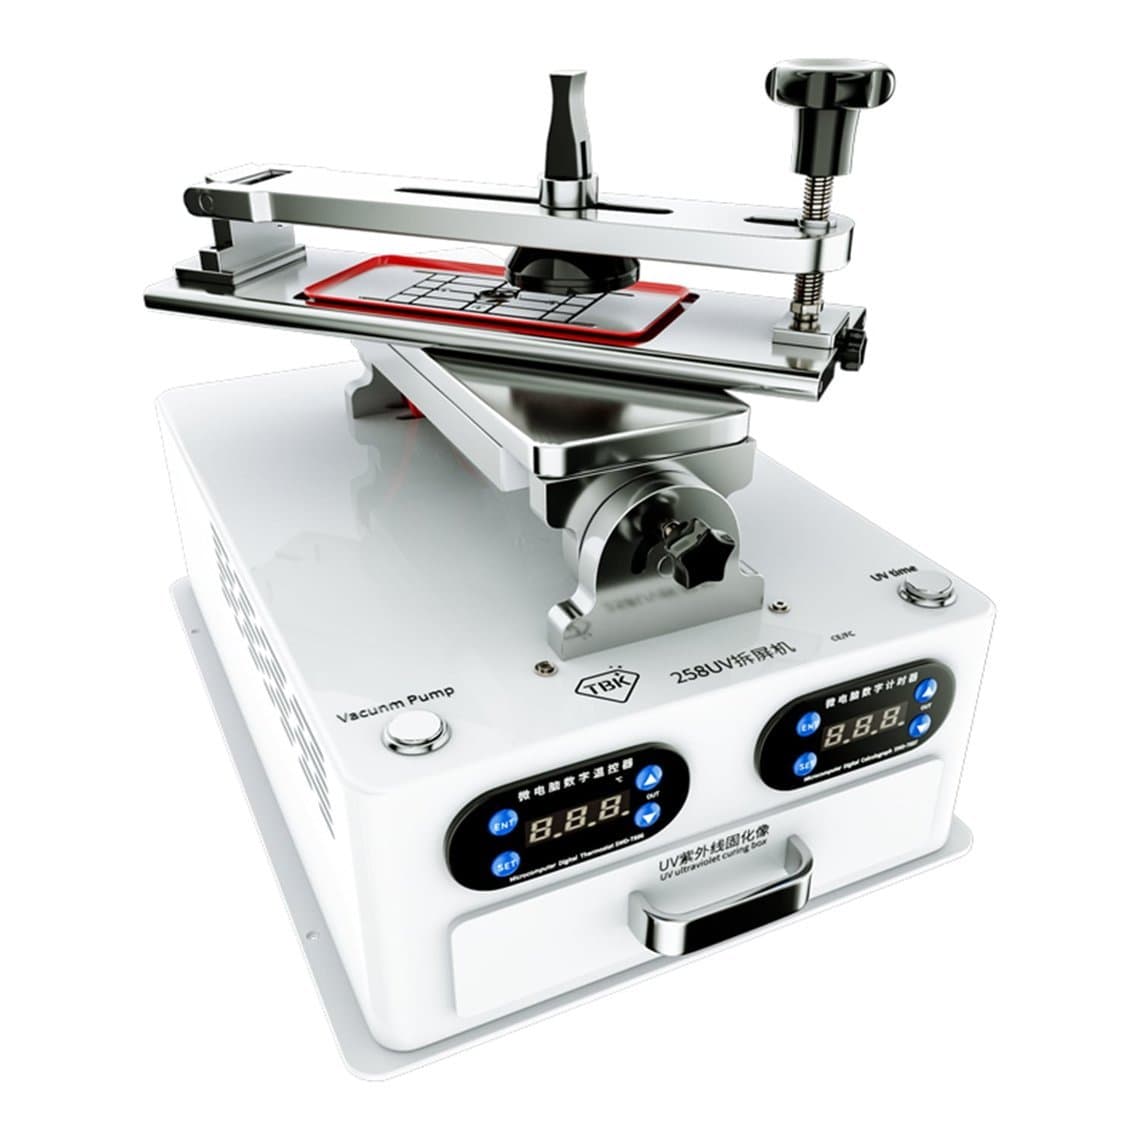
- For frame and housing removal as well as separation, the TBK-258 UV multi-function separator covers several jobs in one unit.
Browse the full range in screen separators.
Handling tips: keep the wire low and parallel to the display, pull slowly, and never lever the glass upward. Most cracked displays at this stage come from rushing or from too little heat, which forces the wire to tear rather than cut.
Step 3: Removing the old OCA glue
After separation, a layer of OCA stays on the display. It must come off completely, because any residue will show as marks or bubbles under the new glass.
Common methods are rolling the glue off with a finger or rubber tool once warmed, using a dedicated OCA glue removal tool, or using a combined separator and glue remover such as the Sunshine S-918K separator and OCA glue remover. Some higher-volume shops also use laser equipment to remove glue and polarizer.
Work slowly near the flex cable and the edges. On OLED, avoid pressing hard on the panel, which can leave pressure marks or kill pixels.
Step 4: Cleaning
Clean the display surface until it is completely free of glue, dust, fingerprints and lint. Use a suitable screen cleaning solvent, lint-free cloths and an anti-static brush or ionizing blower. Work in the cleanest area of your shop. Dust is the most common reason a finished screen fails final inspection.
Step 5: Polarizer replacement (if needed)
On many LCDs the polarizer sits on top of the panel and can be scratched or damaged during separation and glue removal. If it is damaged, peel it off and apply a new one cut to the correct size and orientation. A wrongly oriented polarizer gives a dark or blank image. Polarizer film is in our refurb consumables.
Step 6: Aligning new glass with OCA
Apply a fresh sheet of OCA film to the new glass (or to the display, depending on your method), then align the glass with the display using a model-specific alignment mould. Accurate alignment matters: a glass that is off by a small amount will not fit the frame or will interfere with the earpiece and sensors. Get OCA film in the right size and thickness for each model.
Step 7: Laminating
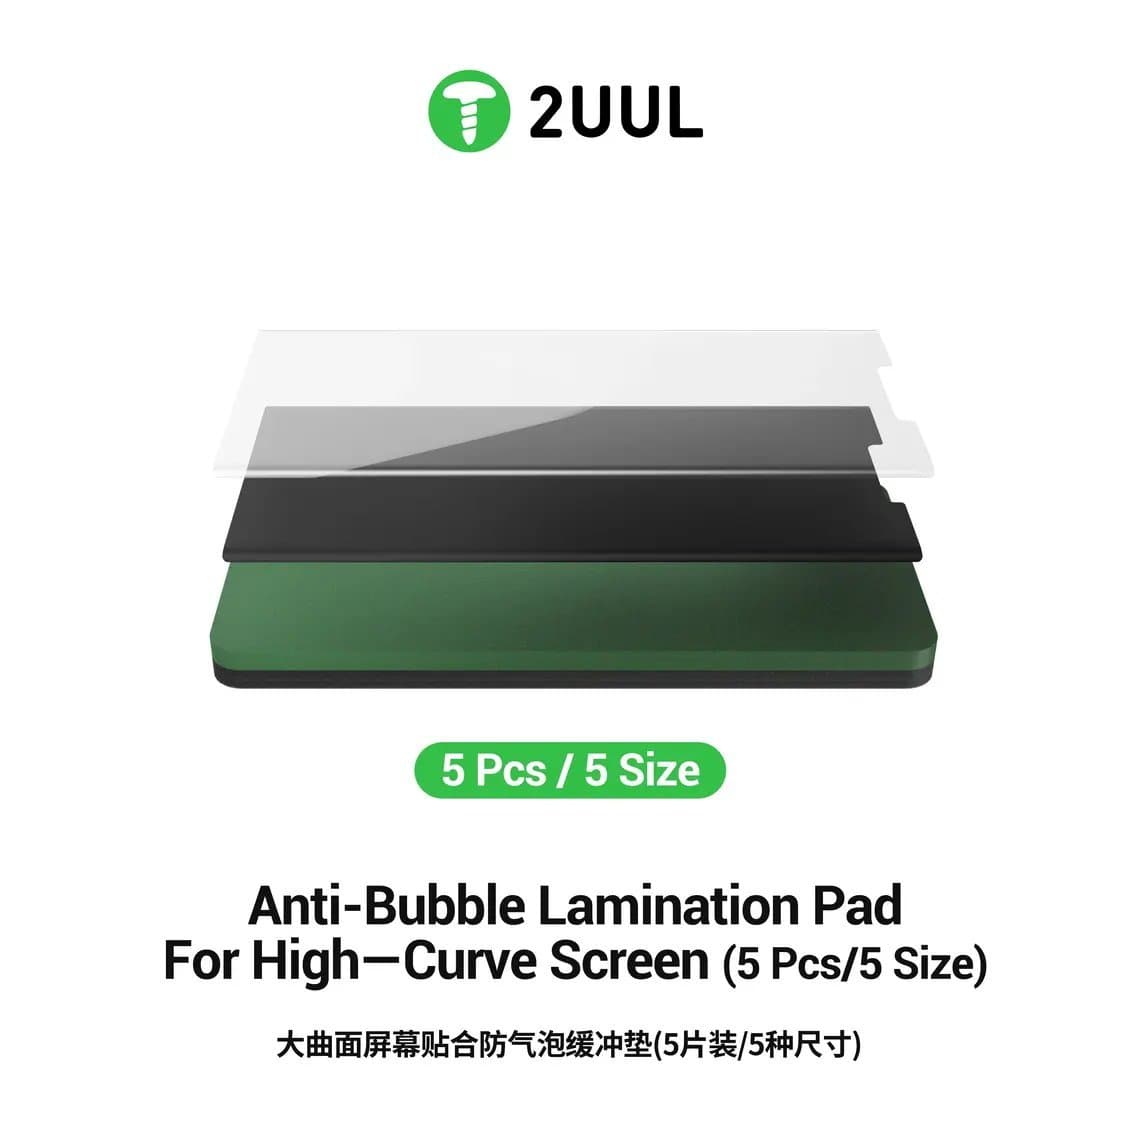
A vacuum laminator presses the glass and display together under vacuum so there is no trapped air from the start. Lamination pressure and time depend on the machine and screen size, so start from the machine's guidance and adjust for the panel. Use the correct pads: flat screens need a flat pad, while curved OLEDs need a pad that follows the curve, such as the 2UUL LD12 anti-bubble pad for high-curve screens. For curved panels, a dedicated machine like the TBK-208C curved screen laminator is designed for the job.
Step 8: Bubble removal in the autoclave
Even good lamination leaves tiny bubbles. An autoclave (bubble remover) applies heat and air pressure to push them out and finish curing the bond. Typical starting points are moderate heat and pressure for a set number of minutes, but the correct settings depend on the OCA, the panel and the machine. The TBK-405 mini autoclave bubble remover handles phones and tablets up to 15 inches.
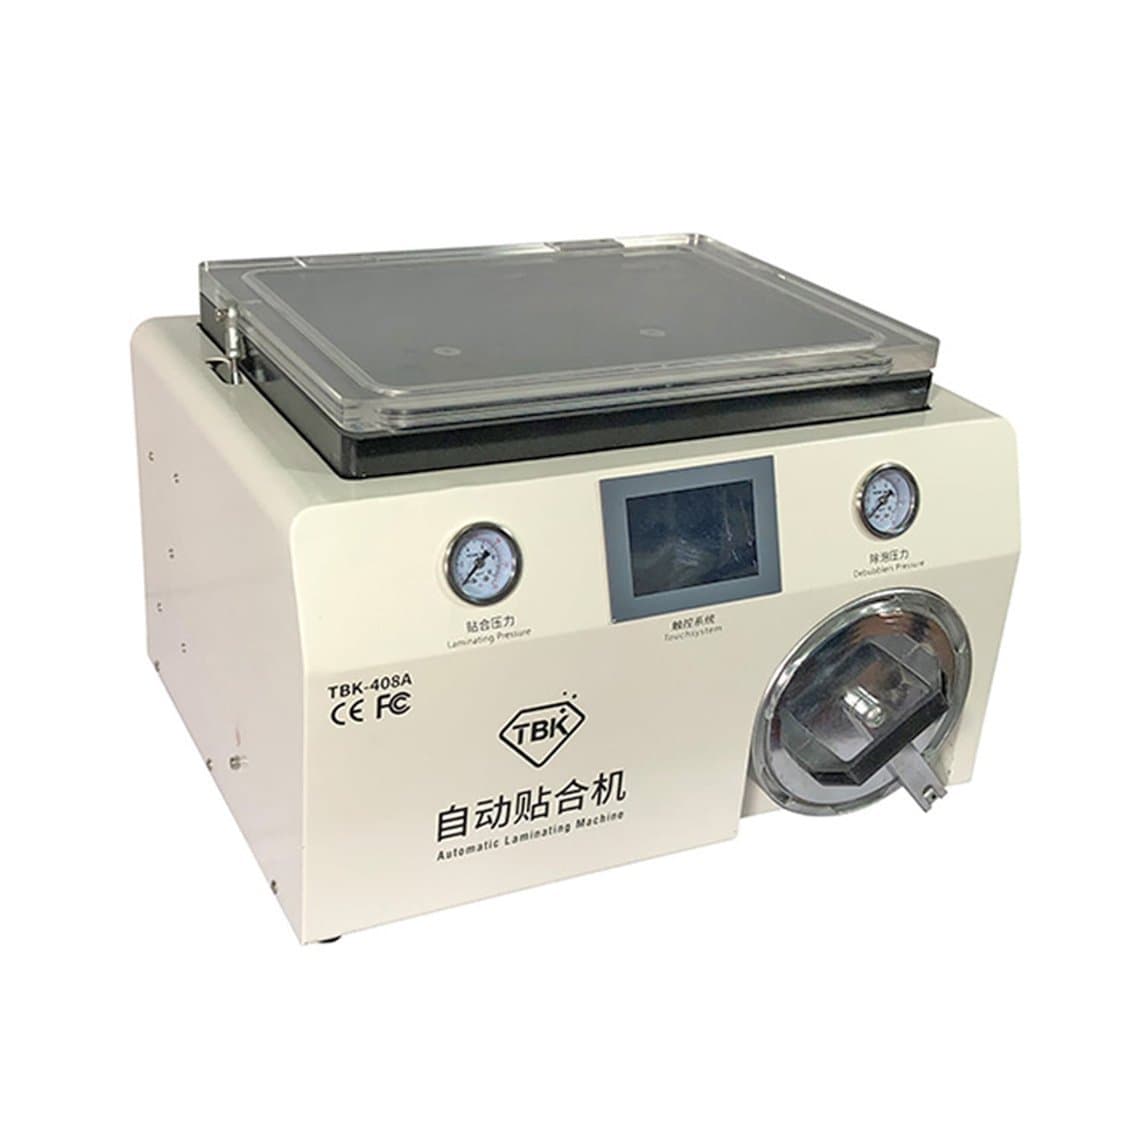
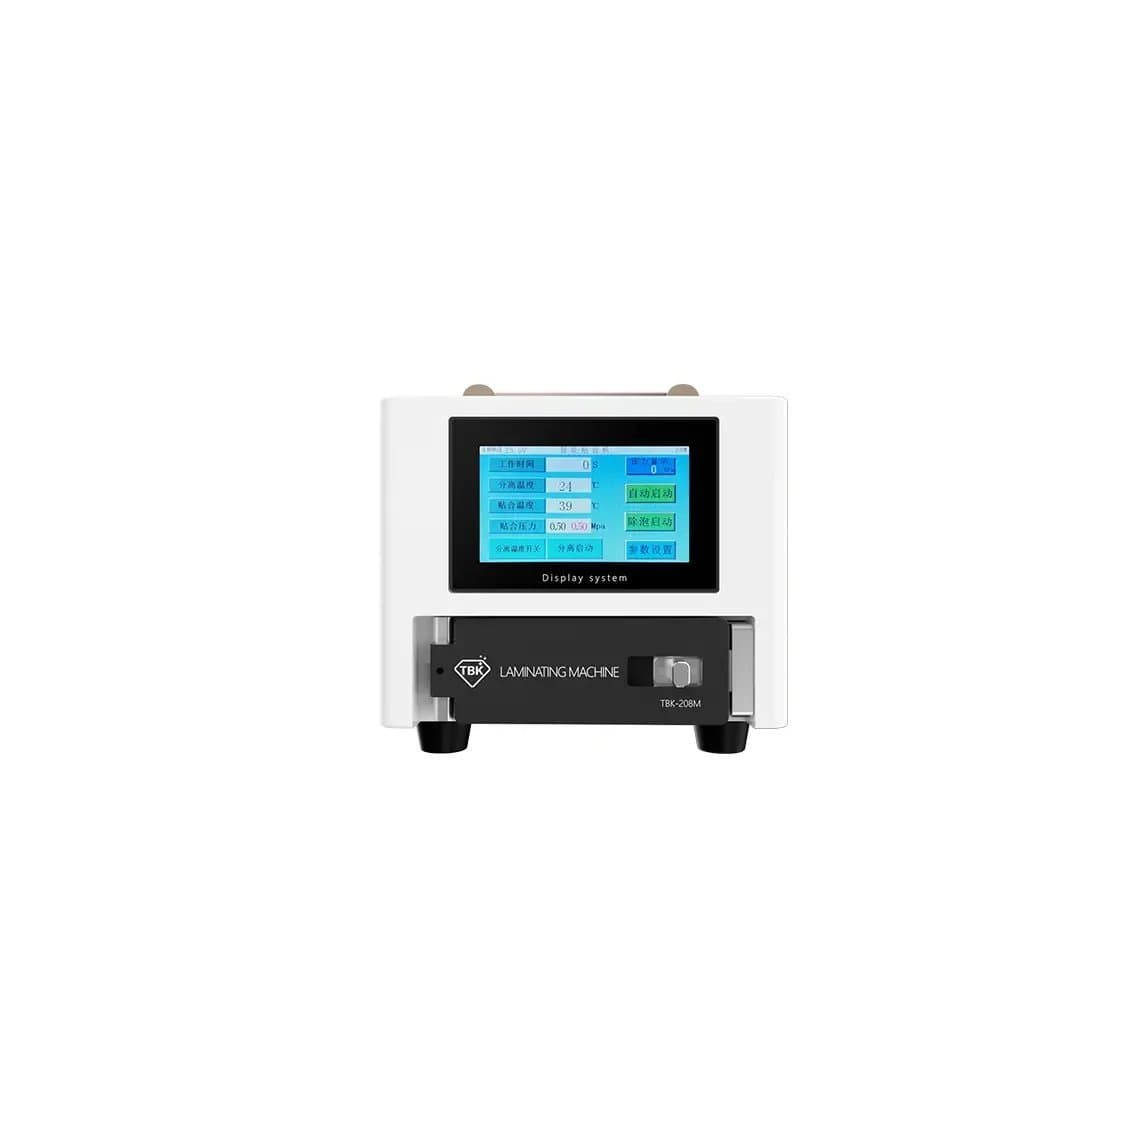
If you prefer fewer machines, combined units help. The TBK-408A laminator and debubbler in one and the TBK-208M 3-in-1 separator, laminator and defoamer save bench space for smaller shops. See all options in laminating and bubble removing machines.
Step 9: Testing and final grading
Test every screen again after the autoclave. Check display, touch, and the glass surface under bright light for bubbles, dust, scratches and alignment. Grade honestly: buyers return to suppliers whose grades they can trust. Keep failed units separate; some can be reworked by repeating the bubble removal or, if necessary, separating again.
OLED vs LCD: what changes
| Point | LCD | OLED |
|---|---|---|
| Fragility | More forgiving | Thin and easily damaged by pressure or bending |
| Heat | Tolerates typical separator heat | Use the lowest heat that works; too much can damage the panel |
| Polarizer | Often sits on top; may need replacing | Integrated into the panel stack on most models |
| Curved edges | Rare | Common; needs curved moulds, pads and machines |
| Common failures | Backlight marks, pressure spots | Black spots, lines, ink bleed after separation |
Most shops learn on LCD screens first, then move to OLED once their separation technique is steady.
Yield and handling tips
- Practise on dead screens before working on stock.
- Keep a log of settings that worked for each model and stick to it.
- Control dust: clean benches, covered work, and a dedicated laminating area.
- Replace cutting wire before it gets worn or kinked.
- Store OCA film sealed and away from heat and humidity.
- Handle panels by the edges and keep flex cables supported.
Safety
- Heat: separator plates and autoclaves get hot. Use heat-resistant gloves and let parts cool before handling.
- Cutting wire: molybdenum and diamond wire is thin and under tension. Wear cut-resistant gloves and eye protection; snapped wire can whip.
- Broken glass: wear safety glasses and clean up shards immediately.
- Solvents: use cleaning solvents in a well-ventilated area, away from heat sources, and follow the product's safety data.
- Pressure: never open an autoclave until it has fully depressurised.
Getting set up
You can buy machines one at a time or start with a screen refurb starter kit. LIGHTSPEED is our own brand of screen-refurbishing machines, built for repair shops and refurbishers; see the range in machines.
Questions
Is refurbishing phone screens profitable?
It can be, because the display is the most valuable part of the screen and new glass and OCA cost far less. Profit depends on your yield, labour time and the quality grade you can sell. Most shops start small and scale once their success rate is consistent.
Can you refurbish a screen without a machine?
Separating glass by hand is possible, but lamination and bubble removal without a vacuum laminator and autoclave rarely gives a clean, bubble-free result. For resale-quality screens, machines are needed.
What temperature is used to separate a phone screen?
Typical starting points are around 80–100°C, but it depends on the panel type, adhesive and machine. OLED panels generally need the lowest heat that softens the glue, so start low and increase only if needed.
Why do bubbles appear after laminating?
Usually from dust, trapped air, wrong pad choice or poor alignment. Most small bubbles clear in the autoclave. Bubbles that stay often point to contamination, which means cleaning more carefully before laminating.
Ready to build your refurbishing line? Browse our screen refurbishing machines, unlock wholesale pricing after $500 of purchases, and contact us for advice on choosing machines for your shop.