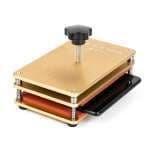
Laminating Mould Guide: Alignment Moulds for Screen Refurbishing
17 November 2026 · LightspeedTools team
Short answer: A laminating mould holds the display panel and the new glass (with its OCA) in exact registration while the laminator presses them together. It is shaped for one model or one family of models, so the glass lands in the same position every time instead of depending on your hand. Pick a mould that exactly fits the model you refurbish, matches the screen shape (flat or curved) and fits inside your laminator's chamber.
Most refurbishing defects that look like "bad glass" or "bad OCA" are really alignment problems: glass sitting a fraction off-centre, a lifted edge, a camera cut-out that does not line up, or a bubble line along one side. The mould is the cheapest part of a refurbishing line, yet it decides whether the expensive parts come out right. This guide covers what alignment moulds do, the main types, how to choose one, how to look after it and how to trace common alignment defects back to their cause.
What a laminating alignment mould actually does
Lamination joins two layers that must meet exactly: the display (LCD or OLED panel, sometimes with its frame) and the cover glass with OCA already applied, or the panel with OCA first and glass second. Once OCA touches, it grips. You get no second attempt without peeling and starting again.
The mould solves three problems at once:
- Registration. A pocket or set of locating walls matches the outline of one specific display. The glass and the panel each sit against the same reference edges, so their outlines line up without guesswork.
- Support. The panel is held flat and supported over its whole area while the laminator applies pressure. Unsupported areas flex, and flex is what creates pressure marks and uneven bonding.
- Repeatability. A good mould makes the hundredth screen look like the first. That matters far more in a refurbishing business than on a one-off repair.
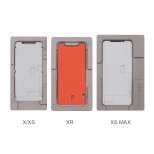
Because every display has its own outline, notch or cut-out position and flex cable route, moulds are model-specific by design. A mould for one phone will not register another phone accurately, even if the screens look similar in size.
Types of laminating moulds
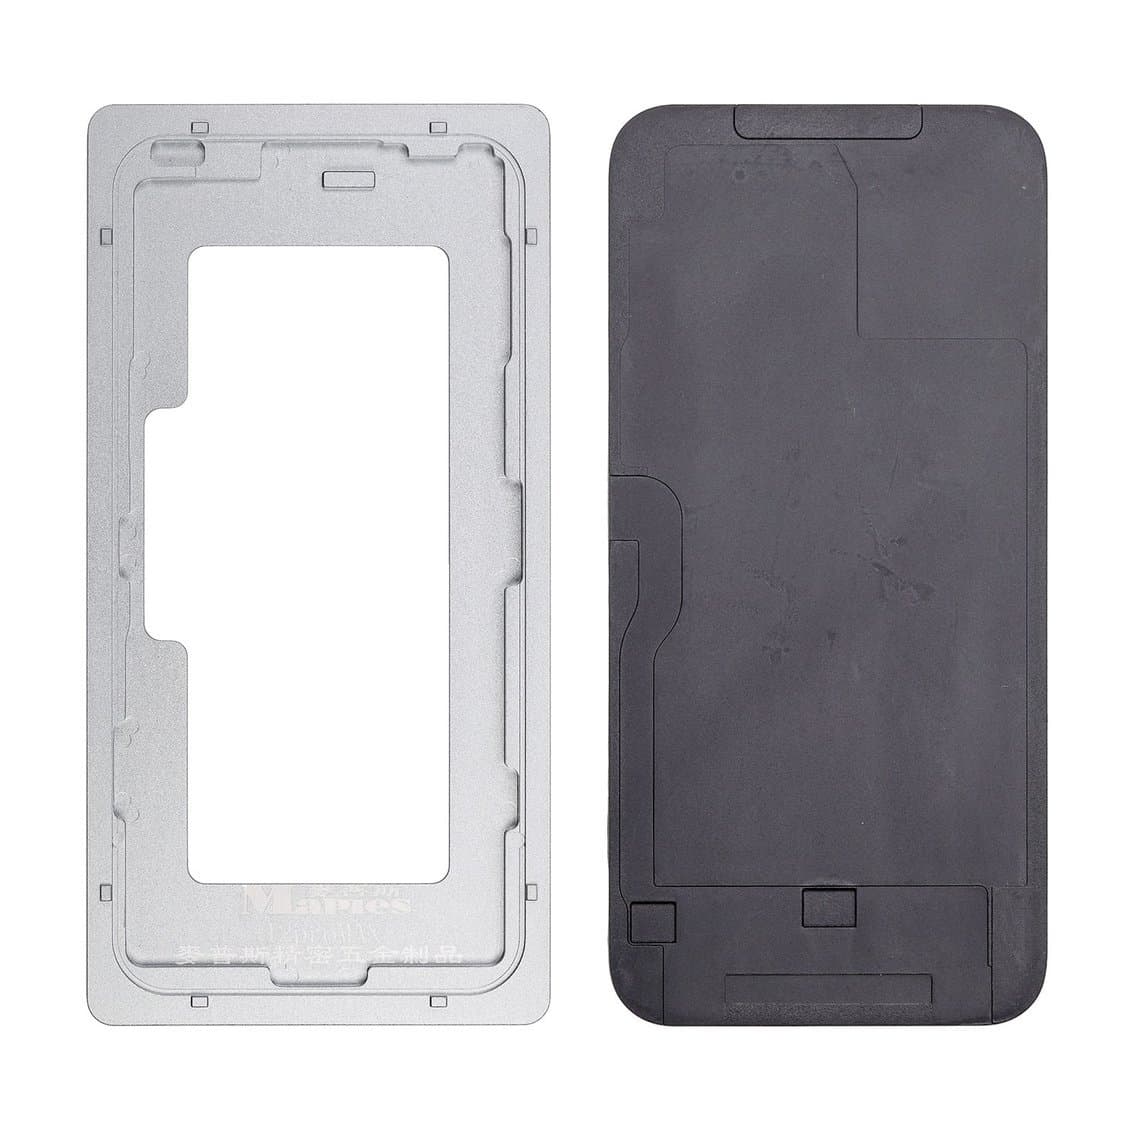
Aluminium positioning moulds
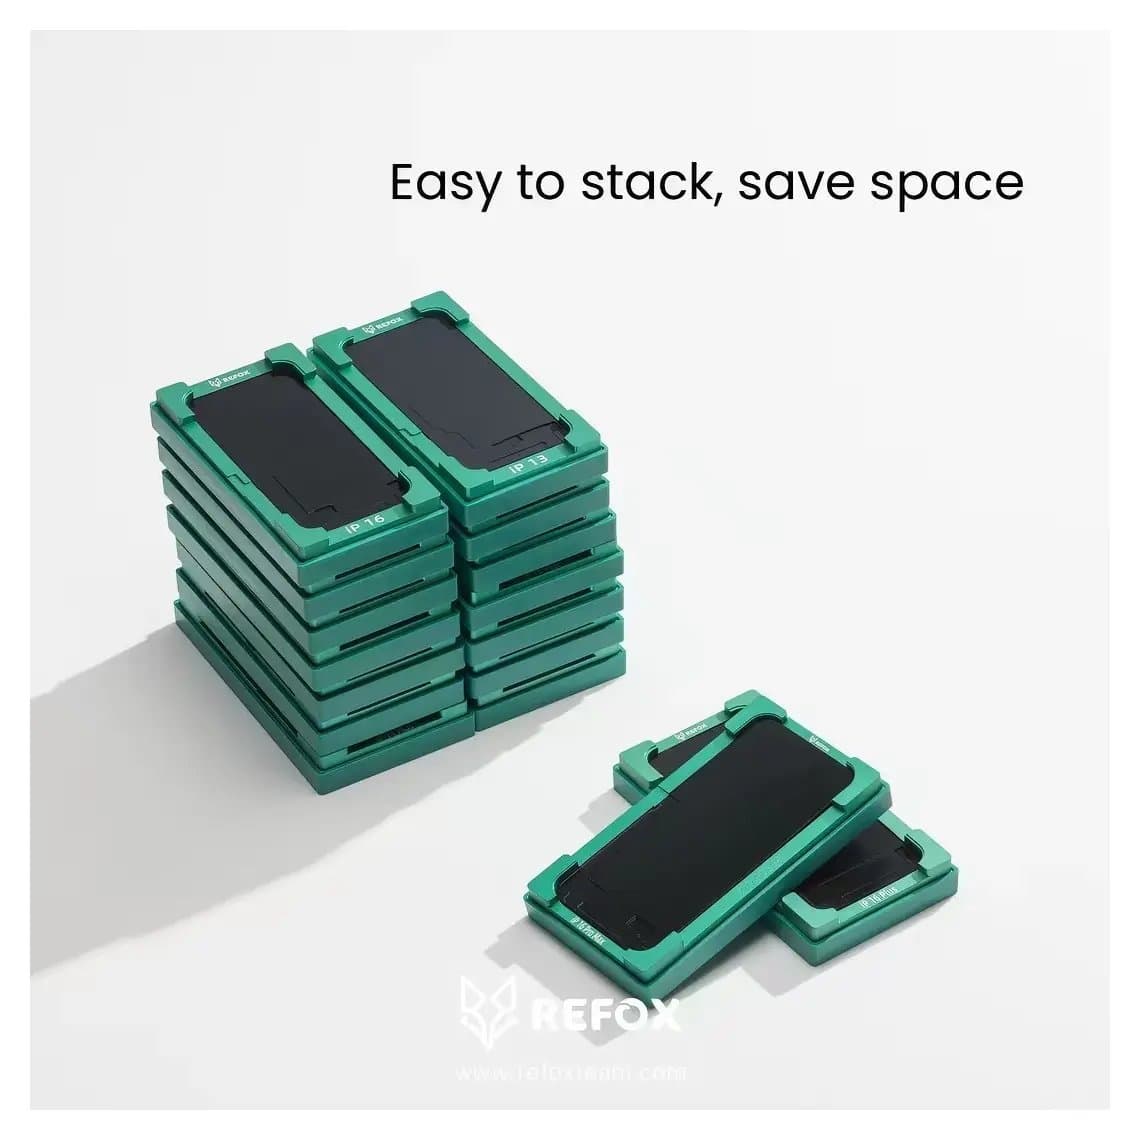
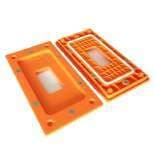
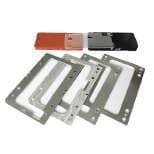
Machined aluminium moulds are the standard on most refurbishing benches. They hold their shape, survive heat from the laminator and resist wear on the locating edges. Examples include the aluminium LCD laminating positioning mould for iPhone 12 Pro Max and the Refox lamination alignment mould for iPhone 13–16 Pro Max. Some cover a single model; others cover a range of models that share an outline, as their titles state.
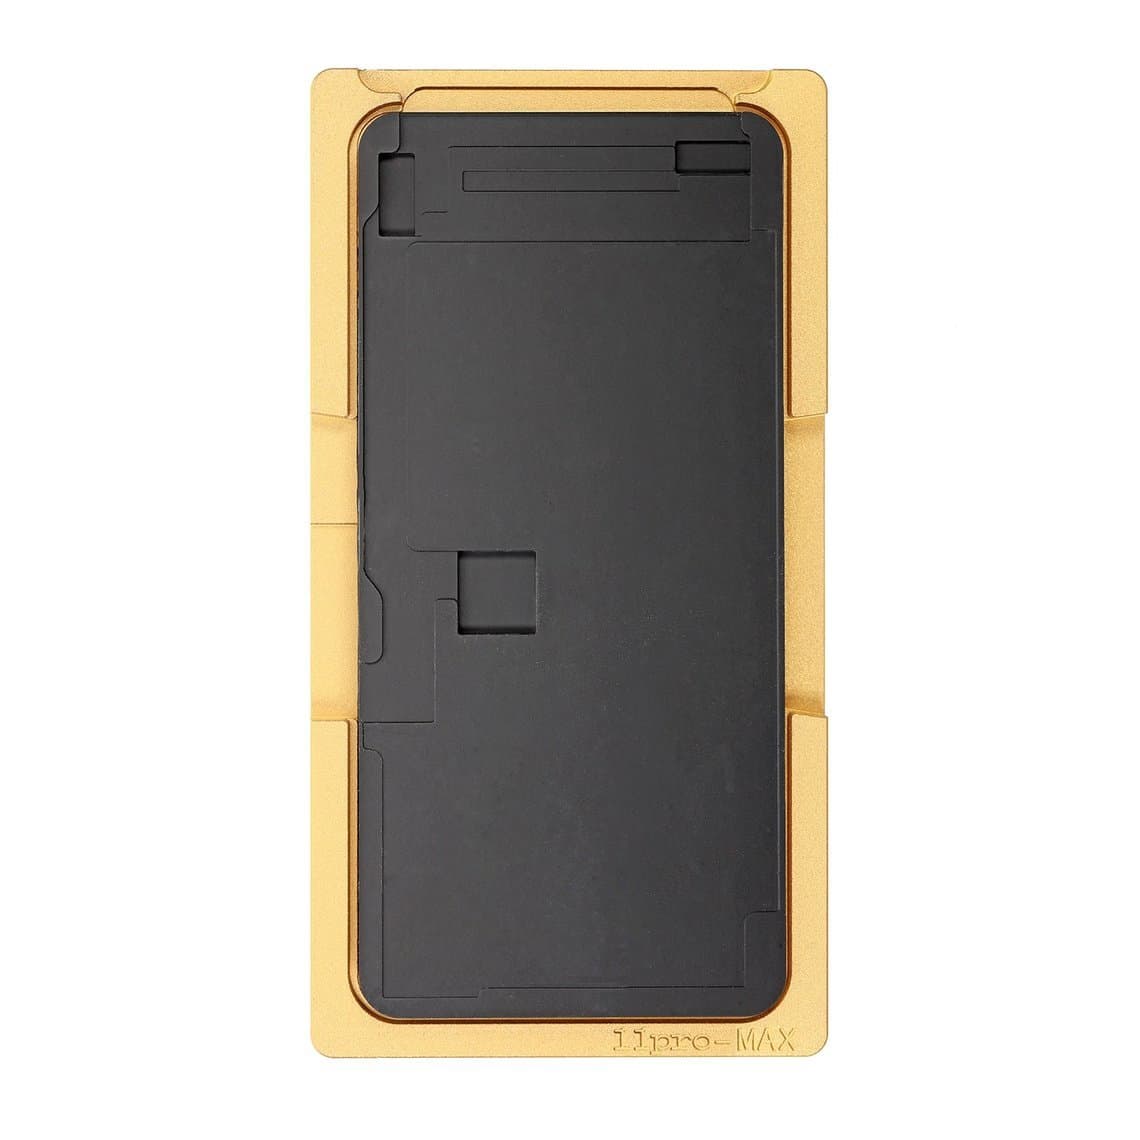
Moulds with silicone mats
A silicone mat sits in the base of the mould and cushions the panel. It spreads laminator pressure evenly, protects the back of the display from scratches and helps stop the panel shifting. The aluminium mould with silicone mat for iPhone 11 Pro Max is a typical example. Mats wear out faster than the aluminium, so replacements such as the universal silicone laminating mat (red) are worth keeping in stock.
Magnetic location moulds
Magnetic location moulds use magnets to hold the locating parts or the mould pieces together, so you can position glass and frame quickly and the parts stay put while you move the assembly to the machine. The iPhone LCD glass and frame magnetic location mould is built for glass-and-frame work. Keep magnetic moulds away from small loose screws and steel debris, which collect on them and can scratch glass.
Vacuum and multi-function moulds
Some moulds add a vacuum hold-down or combine several jobs. The iPhone LCD alignment and vacuum laminating mould holds the panel by suction during alignment, while the iPhone 3-in-1 laminating and alignment mould is designed to cover several steps in one fixture. Check the product title and your process to see which steps a given mould covers.
Curved-edge moulds
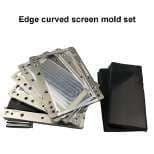
Curved displays need a mould that supports the curved edge along its full length. A flat mould leaves the curve unsupported, and the edge is exactly where curved screens usually fail. For curved panels, use a dedicated mould such as the Samsung Edge OCA and glass alignment laminating mould, paired with a laminator that handles curved screens.
Back glass glue holding moulds
Not every mould is for the front screen. When fitting new back glass, a holding mould keeps the phone or housing steady and the glass pressed evenly while the adhesive cures. The universal back glass glue holding mould is made for that job.
Universal vs model-specific
| Point | Model-specific mould | Universal or adjustable fixture |
|---|---|---|
| Alignment accuracy | Best: the pocket matches one outline | Depends on careful setup every time |
| Speed on volume work | Fast: drop in and press | Slower: adjust per model |
| Cost per model covered | Higher: one mould per model or family | Lower |
| Best use | Front glass and OCA lamination on your best-selling models | Holding jobs, back glass glue, low-volume models |
A practical rule: use model-specific moulds for any lamination where the glass must register to the display, and universal fixtures for holding and clamping jobs where a fraction of a millimetre does not decide the result.
How to choose the right mould
- Exact model fit. Match the model named in the title, not a model that "looks the same size". Pro and Pro Max, or standard and Plus, have different outlines. Where a mould covers a range, confirm your model is inside it.
- Flat or curved. Flat panels need full flat support; curved panels need edge support along the curve. Do not force one into the other.
- What you are laminating. Glass to panel, OCA to panel, glass with frame, or polarizer work each need different locating features. Some moulds are built for one step, others for several.
- Laminator compatibility. The mould must fit the chamber or press plate of your laminator, sit level, and leave room for the vacuum and pressure cycle to work. Our OCA laminating machine guide covers how the machine side of this works.
- Mat and spare availability. If the mould uses a silicone mat, make sure replacement mats are easy to get.
- Your volume. Buy dedicated moulds for the models you refurbish every week. For rare models, a more general fixture may be good enough.
Browse the full range in laminating alignment moulds, or see the wider moulds, pads and supplies category for mats and holding fixtures.
Using a mould: a clean, repeatable routine
- Wear an ESD strap and work on a grounded mat. Display panels and their flex cables are static-sensitive.
- Clean the mould pocket with a lint-free cloth and a dust roller. One grain of dust under the panel becomes a pressure mark.
- Check the silicone mat is flat, clean and not torn or stretched.
- Seat the panel against the locating edges. Route the flex cable into its relief slot so it is not pinched.
- Peel the OCA or glass liner in a clean area, then place the glass against the same reference edges.
- Check alignment around all four sides and at the camera or sensor cut-out before pressing.
- Laminate using the settings your machine and glass supplier recommend, then move the screen to the bubble remover. See our bubble remover machine guide for that step.
- Inspect under bright light before the screen goes into stock.
Care and maintenance
- Keep it clean. Wipe out the pocket between screens. OCA residue on a locating edge shifts every following screen by the same amount.
- Do not scratch the pocket. Never use metal tools to lever panels out. A burr on a locating wall becomes a scratch or chip on every screen that touches it.
- Remove residue gently. Use a plastic scraper and a suitable cleaner. Test any solvent on a hidden area of the silicone mat first, as some cleaners swell or harden silicone.
- Replace mats on schedule. Mats harden, take a set, pick up dust and lose their grip over time. Replace them when they no longer lie flat, show dents or start leaving marks.
- Store moulds covered. A labelled box per model keeps dust out and stops the wrong mould ending up in the machine.
- Mind the heat. Let moulds cool before handling if they have been on a heating plate, and keep magnetic moulds away from loose screws.
Common alignment defects and their causes
| Defect | Likely cause | Fix |
|---|---|---|
| Glass offset to one side | Wrong mould for the model, worn locating edges, or panel not seated against the edges | Confirm model fit; seat the panel firmly; check edges for wear or residue |
| Camera or sensor cut-out misaligned | Glass placed against the wrong reference edge, or mould for a similar but different model | Use the exact model mould; align the cut-out before pressing |
| Bubble line along one edge | Glass lifted at one side, uneven mat, or debris under the panel | Clean the pocket; replace a worn mat; check the panel sits flat |
| Pressure marks or mura on the display | Dust or debris under the panel, damaged mat, or unsupported area | Clean thoroughly; replace the mat; check the mould supports the full panel |
| Lifted or poorly bonded curved edge | Flat mould used on a curved panel | Use a curved-edge mould and a curved-screen laminator |
| Pinched or damaged flex | Flex not routed into its relief slot | Route the flex before placing the glass; inspect after lamination |
| Scratches on the panel back | Burr in the pocket, grit on the mat, or metal pry tools | Deburr or replace the mould; clean the mat; use plastic tools |
When a defect repeats on several screens in a row, suspect the mould or mat before the glass. Random defects point to handling or dust; repeating defects in the same place point to the fixture. For the whole refurbishing process around this step, see how to refurbish a phone screen.
Questions
Can I laminate a screen without an alignment mould?
It is possible by hand on a one-off job, but alignment depends entirely on your eye and steady hands. Small offsets show up as visible gaps at the edges or a misplaced camera cut-out. For any regular refurbishing work, a mould pays for itself quickly in fewer rejected screens.
Does one mould fit every iPhone model?
No. Each model has its own outline and cut-out position, so moulds are made per model or per family of models that share a shape. Check the model range in the product title before you buy.
How often should I replace the silicone mat?
There is no fixed interval; it depends on your volume, heat and cleaning. Replace the mat when it no longer lies flat, shows dents or tears, has picked up embedded dust or starts leaving marks on panels.
Do I need a different mould for curved screens?
Yes. A curved display needs support along its curved edge, which a flat mould cannot give. Use a curved-edge mould together with a laminator designed for curved screens.
Build your setup from our laminating alignment moulds, laminating and bubble removing machines and the LIGHTSPEED refurbishing machines range. Moulds are tested before shipping and sent from Shenzhen by DHL, FedEx or UPS. Shops can unlock wholesale pricing through our wholesale programme, and repeat buyers can reorder by SKU or CSV with Quick Order.