How to Use an LCD Separator Machine: Step-by-Step Guide
17 November 2026 · LightspeedTools team
Short answer: To use an LCD separator machine, you heat the screen on the plate until the OCA glue softens, hold the display down with vacuum, and pull a fine cutting wire through the glue layer between the cover glass and the panel. Then you peel the glass off, remove the rest of the glue, and clean the panel so it is ready for new glass. Temperature and time depend on the panel and the machine, so start low and work up.
What an LCD separator machine does
Phone screens are layers glued together. On top is the cover glass. Under it is a clear layer of OCA (optically clear adhesive). Under that is the display panel, LCD or OLED, often with a touch layer built in. When only the glass is cracked and the display still works, you can separate the layers, keep the panel and fit new glass. That is the basis of screen refurbishing.
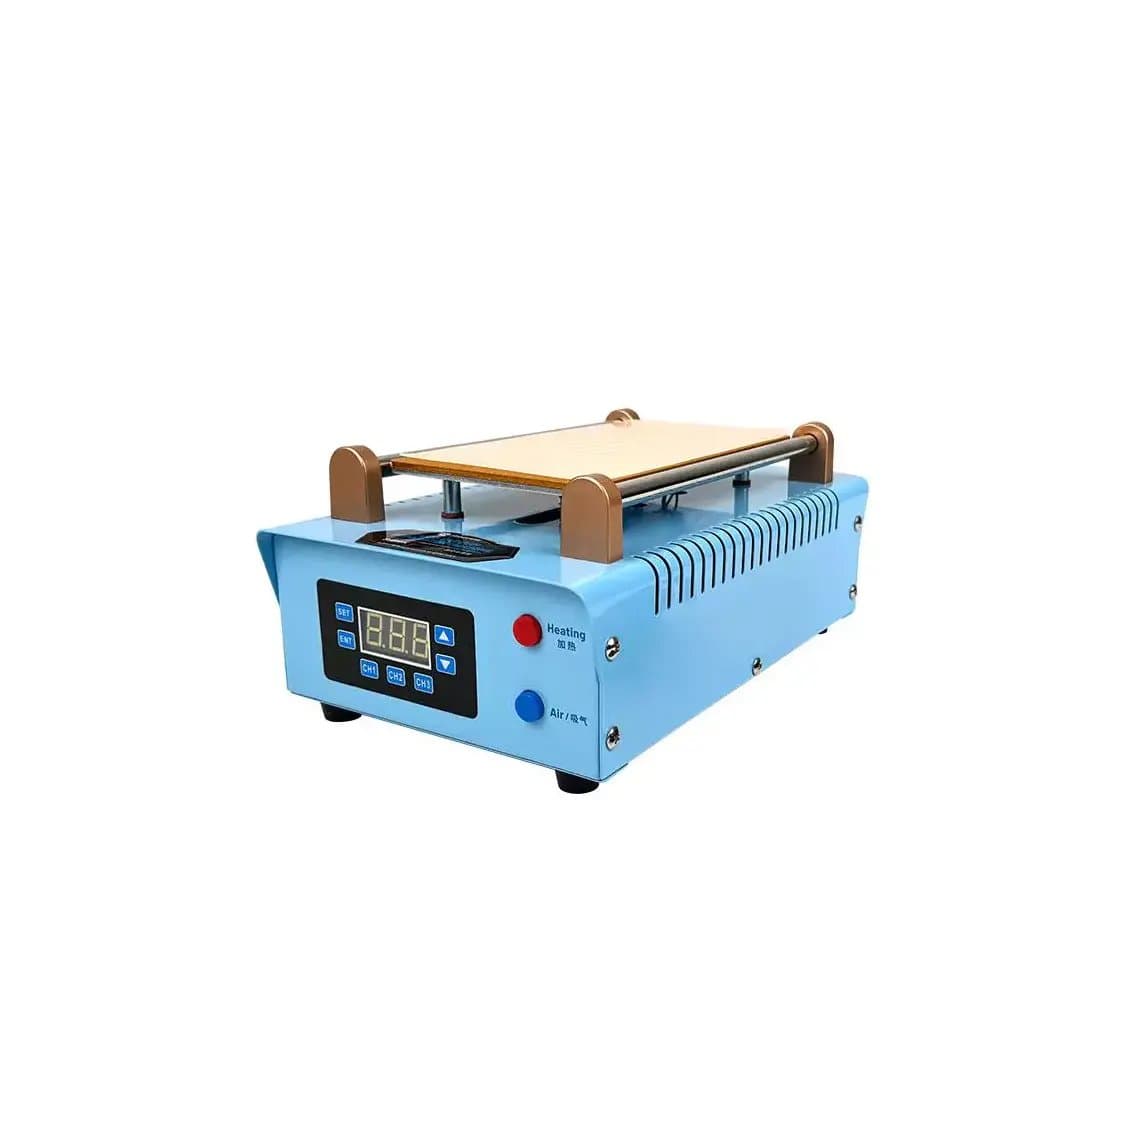
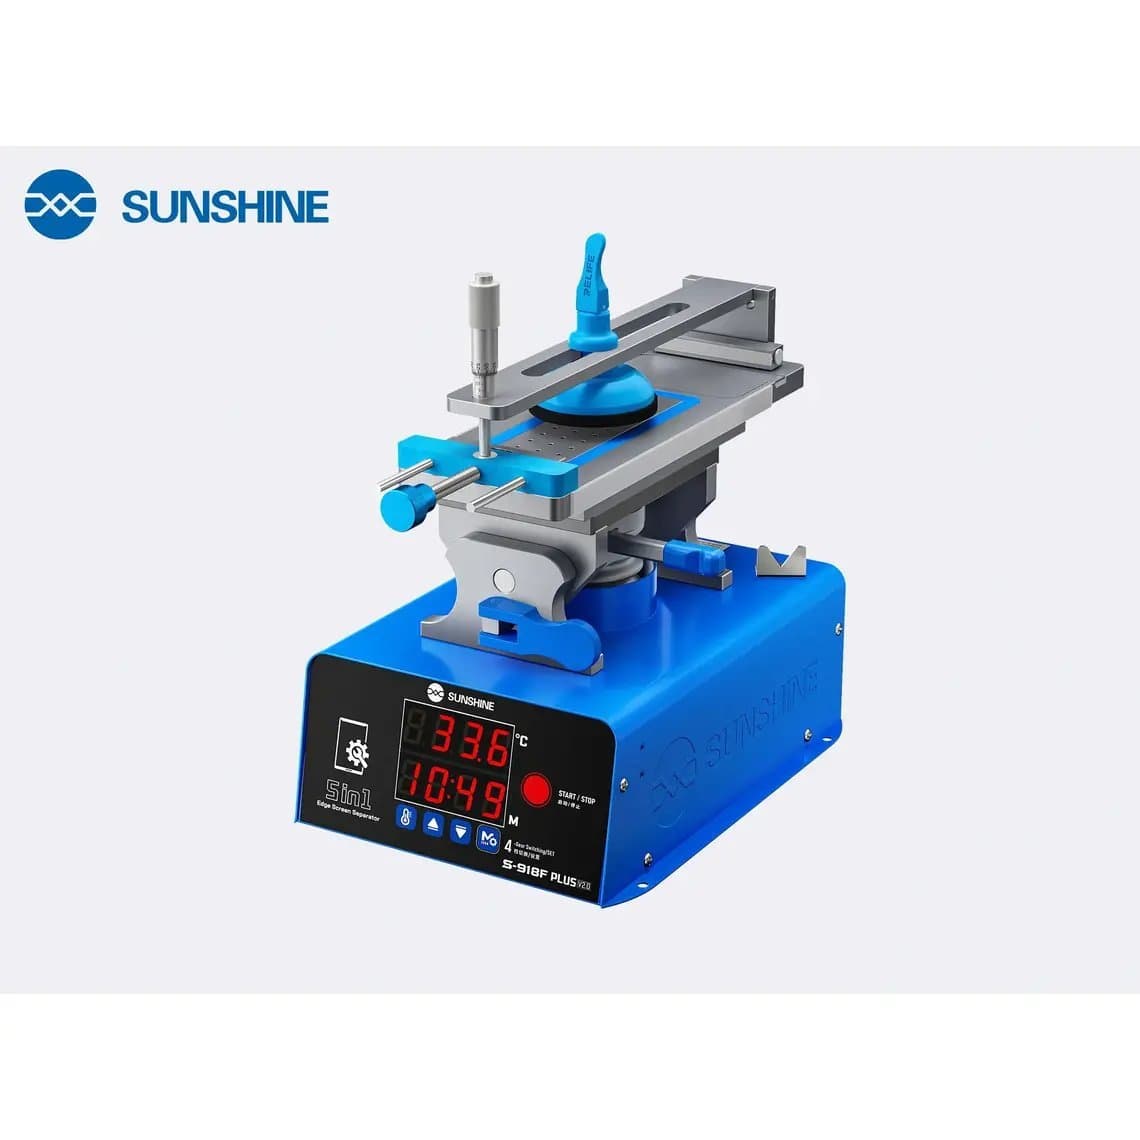
A separator does three things for you. It heats the screen evenly so the OCA softens. It holds the screen flat with a vacuum plate so it doesn't slide while you cut. And it gives you a flat, steady surface to cut the glue with wire. Machines range from compact phone units like the Sunshine S-918K LCD separator and OCA glue remover and the RF4 Rf-freedom vacuum separator, to curved-screen units like the Sunshine SS-918F Plus V2.0, to tablet-size plates like the Sunshine LS3 SE 11-inch separator. You can compare them all in our screen separators category.
Before you start: prepare the screen
- Test the display first. Connect it to a tester or a phone and check for lines, dead pixels, pressure marks and touch faults. There is no point separating a panel that is already bad.
- Remove what doesn't belong on the plate. On LCD screens, take the backlight and metal frame off before heating if the design allows it. They don't need heat and can warp. Take off any housing frame or bezel. A frame separator like the TBK-928 LCD frame bezel separator helps on screens where the frame is glued on.
- Protect the flex cable. Fold it so it lies flat away from the cutting path, and tape it if needed. A loose flex is the most common part to get torn or cooked.
- Tape cracked glass. Clear tape keeps loose glass pieces together while you cut and peel.
- Clean the plate. Dust or glass chips on the plate push into the back of the panel under vacuum and leave marks.
Temperature and time: starting ranges
No single setting works for every screen. Panel type, glass thickness, the OCA used and how your machine measures temperature all make a difference. Treat these as starting points and check your machine's manual:
- Typical starting range: many technicians begin around 70–85 °C for phone screens and only go higher if the glue won't soften.
- Warm-up time: let the plate reach its set temperature, then give the screen a few minutes on the plate before you cut. Thicker glass and larger screens need longer.
- Adjust slowly: if the wire drags or stops, give it more time before you add more heat. Raise the temperature in small steps.
- OLED panels: stay at the lower end, and think about non-heating or freeze separation (see below).
The plate display shows the plate temperature, not the temperature of the glue layer. Two machines set to the same number can behave differently, so learn how your own unit behaves on cheap or scrap screens first.
Step by step: separating the glass
- Set the temperature and let the plate warm up fully.
- Put the screen glass side up on the plate, centered over the vacuum holes, with the flex facing away from where you start cutting.
- Turn on the vacuum pump. Check that the screen is held firmly. If it moves, cover unused holes or use the right size mat so the suction isn't lost.
- Wait for the glue to soften. Give it a few minutes. Rushing this step causes most cracked panels.
- Start the cut at a corner. Slip a thin plastic card or the wire under the glass at one corner. Keep the wire flat against the panel and pull it with a gentle sawing motion.
- Work across the screen at a steady, low angle. Let the wire do the work. If it binds, stop, wait, and go again. Don't force it.
- Lift the glass once the wire has gone all the way through. Put a card in behind the wire to stop the layers sticking back together, then lift the glass away.
- Let the panel cool on a clean, soft surface before you remove glue.
Choosing and handling cutting wire
Separating wire is fine molybdenum or steel wire. Thinner wire cuts with less force but breaks more easily. Thicker wire is stronger but needs more heat or pressure. Use gloves or wire handles, wrap the ends so they can't slip, and swap the wire as soon as it frays or kinks. A kinked wire scratches the panel.
Removing the remaining glue
After separation, a layer of OCA stays on the panel. It has to come off fully, or the new glass will show bubbles or haze.
- Roll or rub off soft OCA while the panel is still a little warm. An electric remover like the Mijing GR-10 speed adjustable OCA glue remover speeds this up on large panels.
- Use the right tools for what's left. Our adhesive removal tools cover the rubber erasers, scrapers and cleaners shops use for this step.
- Work from the center outward, using light pressure. Pressing hard on an LCD leaves pressure marks.
- Finish with a clean, lint-free wipe and check the panel under a bright light before it goes to lamination.
Then fit new glass with fresh OCA from our adhesives and glue range and continue with lamination and bubble removal.
OLED vs LCD: what changes
| LCD | OLED | |
|---|---|---|
| Structure | Rigid glass panel with a separate backlight underneath. | Thin, self-lit panel, usually on a flexible base. No backlight. |
| Heat tolerance | Handles moderate heat better, but the backlight should come off first. | More sensitive. Too much heat can cause marks, color shifts or dead areas. |
| Bending | Cracks if it is bent or pressed unevenly. | Bends more easily, which makes it easy to crease or crack the edge. |
| Polarizer | Sits on the panel. Keep it clean and undamaged. | Sits on the panel. Many refurbishers replace it as a separate step, which takes its own care. |
| Usual approach | Heated separation with wire. | Low heat, non-heating separation, or freeze separation. |
For OLED, many shops use separators that work with little or no heat. The MaAnt QP-5 Blue Whale non-heating separator is one example. Suction units like the 2UUL Grip X Mini with reverse separation are another. Curved OLED screens need a plate that supports the curved edges, which is why curved-screen models exist. If you refurbish OLEDs in volume, freeze separation is worth a look. Our own LIGHTSPEED options are listed under separators and glue removal.
Common mistakes
- Overheating. Turning the heat up to save time is the main cause of panel damage, especially on OLED. Give it more time, not more heat.
- Cutting too soon. If the glue isn't soft, the wire drags, the glass flexes and the panel cracks.
- Pulling the wire at a steep angle. The wire digs into the panel or polarizer. Keep it low and flat.
- Tearing the flex. A flex left hanging over the plate edge or in the cutting path gets caught. Fold it and tape it every time.
- Weak vacuum. If the screen shifts while you cut, it scratches or cracks. Check the pump, seals and mat before every batch.
- Debris on the plate. One glass chip under the panel can leave a permanent mark.
- Too much force on the glue. Heavy scraping leaves pressure marks on LCDs.
Looking after the machine
- Clean the plate after every session while it is cool. Remove glue, dust and glass chips with a soft cloth and a suitable cleaner.
- Check the vacuum system. Keep the holes clear, check the hoses and seals, and listen for a pump that sounds weak.
- Check the temperature now and then with a surface thermometer, so you know if the display drifts from the real plate temperature.
- Swap worn mats and pads. Hard or torn mats lose grip and can mark panels.
- Keep the power cable and switch dry and clean, and let the machine cool before covering or moving it.
Safety
- Heat: the plate stays hot after you switch it off. Mark it or keep a cooling area, and don't leave a heated machine running with no one there.
- Sharp wire: cutting wire can cut skin, especially when it snaps under tension. Wear gloves, use handles and keep your face away from the wire line.
- Glass: broken cover glass leaves fine shards. Tape cracked screens and get rid of the glass in a closed container.
- Fumes: heated glue and cleaning products give off fumes. Work in a ventilated area.
- Electrical: use the correct mains voltage and a grounded outlet, and unplug the machine before cleaning.
Questions
What temperature should I use on an LCD separator?
Many technicians start around 70–85 °C for phone screens and adjust from there. The right setting depends on the panel, the glass thickness and your machine, so begin low, give the glue time to soften, and only raise the heat in small steps.
Can I separate an OLED screen with a regular heated separator?
Yes, but with more care. Use the lower end of the temperature range, keep the panel fully supported, and cut slowly. Many shops prefer non-heating or freeze separation for OLED because it lowers the risk of heat damage.
Why does my panel crack during separation?
The usual causes are cutting before the glue has softened, pulling the wire at a steep angle, weak vacuum that lets the screen flex, or debris under the panel. Slow down, check your vacuum and plate, and keep the wire flat.
Do I need a separate machine to remove OCA glue?
Not always. You can remove OCA by hand with the right tools. An electric glue remover saves time and effort, especially on larger screens or in volume. Some separators, like the S-918K, are sold as combined separator and glue remover units.
Find the right machine for your bench in our screen separators and LIGHTSPEED machines. For volume pricing, see wholesale, and for help choosing a separator for your screens, contact us.