iPhone Battery Replacement: Tools, Battery Grades and Steps
17 November 2026 · LightspeedTools team
Short answer: An iPhone battery replacement takes a heat source, plastic opening tools, the right adhesive strips for the model and a quality replacement cell. Disconnect the battery first, release the old adhesive without bending or puncturing the cell, fit new adhesive, then test. On recent models expect an "Important Battery Message" afterwards. The phone works normally, and on supported models a programmer can bring back the battery health reading.
Most battery jobs go wrong for one of three reasons: the adhesive was fought instead of released, the wrong battery grade was quoted to the customer, or the shop didn't explain the battery message. This guide covers all three, from the iPhone 6 through current models, so one shop process works on every generation.
Tools and parts you need
Lay everything out before you open the phone. A battery job is quick when the bench is ready and risky when you go looking for a tool with the cell half lifted.
- Heat: a heat plate or heat gun set low, to soften the display or back-glass adhesive.
- Opening tools: suction cup, thin plastic picks and a plastic spudger. Avoid metal near the battery.
- Screwdrivers: pentalobe for the bottom screws, plus tri-point, Phillips and standoff bits for internal brackets, depending on the model.
- New battery adhesive for the exact model. Strips are not shared across generations.
- High-purity isopropyl alcohol (90% or above) for adhesive that tears.
- ESD protection: grounded mat and wrist strap.
- A fire-safe container or a metal tray with sand nearby, for any cell that gets damaged.
- Optional: a battery programmer for health data, and a USB tester to check charging after the swap.
If you are setting up a bench from scratch, the iPhone repair tools category has the openers, drivers and holders in one place.
Battery grades: standard, high capacity and cell without BMS
Before you quote the job, decide which battery the customer is getting. Our iPhone batteries come in three types, and each one fits a different kind of customer.
| Type | What it is | Best for | Battery health reading |
|---|---|---|---|
| Standard capacity | Complete battery with its own board (BMS), rated close to the original | Most everyday swaps, fastest install | Shows the message on recent models; can be restored with a programmer on supported models |
| High capacity | Complete battery with a higher-rated cell in the same footprint | Heavy users who want more screen time | Same as standard |
| Cell without BMS | Bare cell; you move the original battery board onto it | Customers who care about the original battery health reading | Keeps the original board, so the phone keeps reading health data from it |
Moving the original BMS takes more skill: you are working on a live board next to a fresh cell, usually with spot welding or careful soldering. Do it only with the right equipment, and never solder directly onto a cell body. All our batteries are tested before they ship and carry a 6-month warranty. See quality grades for how we describe parts.
How the adhesive changes by model generation
The adhesive is the part that decides how the job goes. Apple has used several systems, so check the model before you start pulling.
iPhone 6 to iPhone 14 series: stretch-release pull tabs
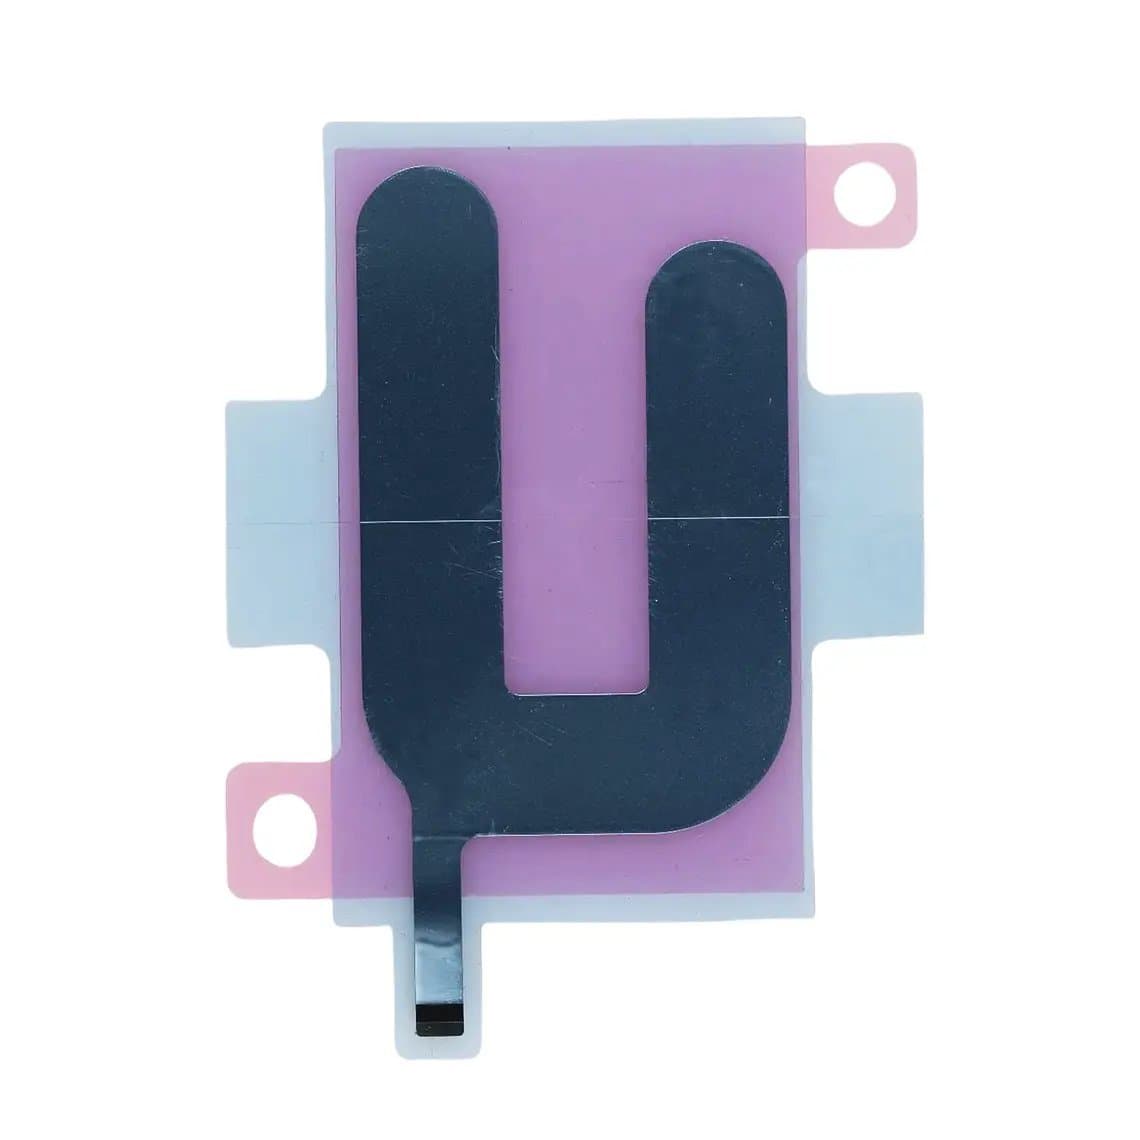
These models use stretch-release strips. You pull each tab slowly and low, close to the plane of the phone, and the strip stretches out from under the cell. Pull too fast or at a sharp angle and it snaps. Replace with the matching strip, for example the iPhone 8 battery adhesive strap, the iPhone X battery adhesive strap (its two-cell L-shaped battery needs its own strip layout) or the iPhone 11 Pro Max battery adhesive strap. Later models in this range, such as the iPhone 14 Plus battery adhesive strap, follow the same pull-tab idea with different shapes.
iPhone 15 series: newer tape layouts
The iPhone 15 range uses its own adhesive layout per model, and some models in the range can be opened from the back glass instead of the display, which lowers screen risk. Use the strip made for the exact model, such as the iPhone 15 battery adhesive tape and its Plus and Pro equivalents.
iPhone 16 and later: electrically released adhesive on some models
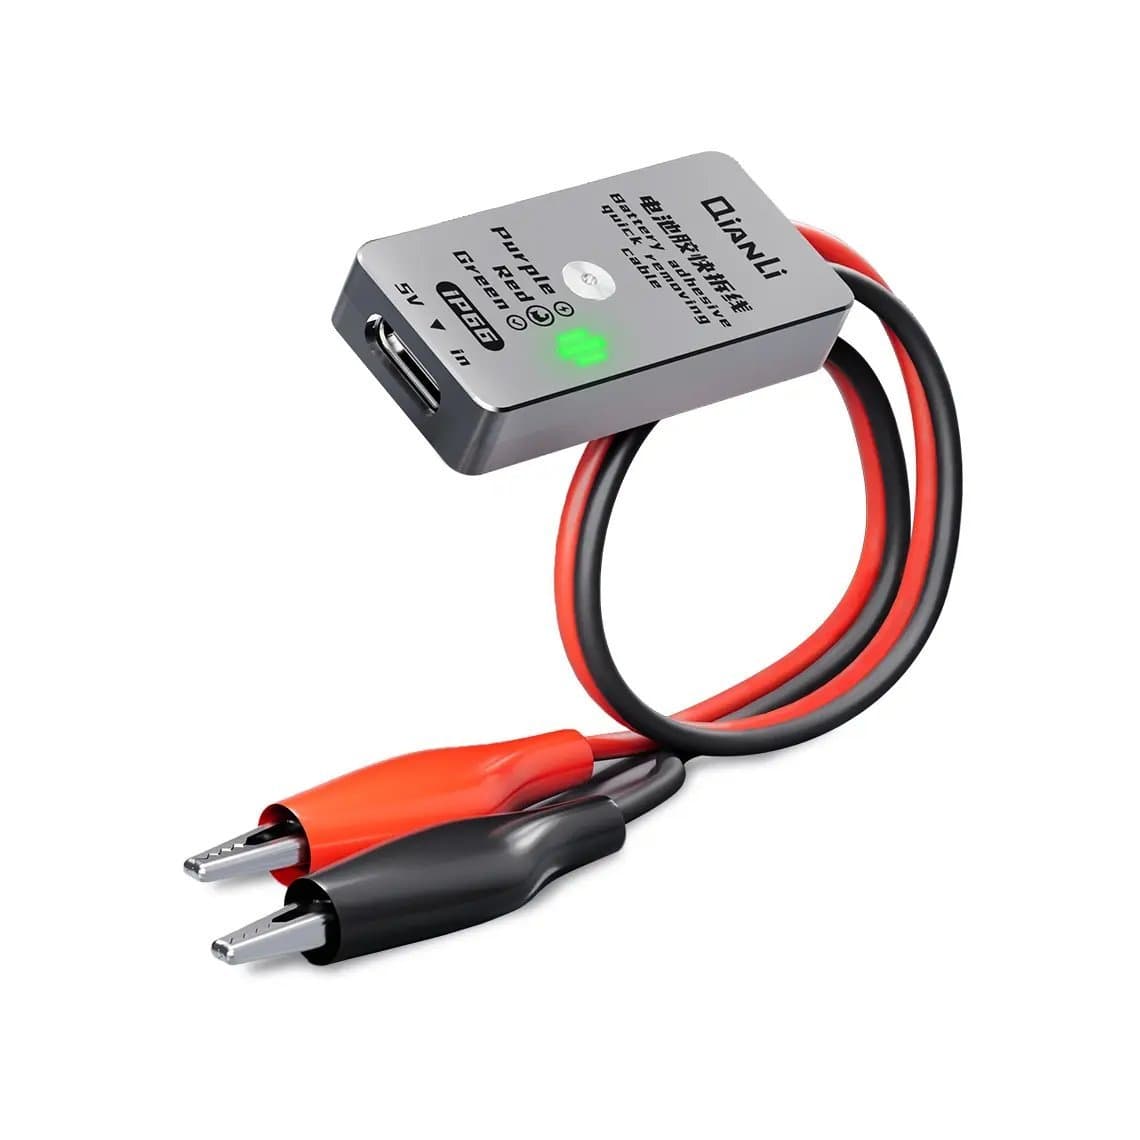
On some iPhone 16 models, Apple moved to an adhesive that lets go when a low voltage is applied across it, instead of pull tabs. Using the correct method is much safer than prying a cell out of a metal-backed pocket. A dedicated cable such as the QianLi iP66 battery adhesive quick removing cable is built for this. Other models in the same range still use strips, so confirm the exact model and use the matching replacement, such as the iPhone 16 battery adhesive strap.
Rule of thumb: identify the model and its adhesive system before you touch the battery. Prying is the last resort on every generation.
Step-by-step iPhone battery replacement
- Check the phone first. Note battery health, Face ID or Touch ID, True Tone, cameras and charging. Record anything already faulty so it isn't blamed on the repair.
- Discharge below 25%. A lower charge holds less energy if a cell gets damaged. Power the phone off.
- Remove the bottom pentalobe screws (or prepare the back glass on models that open from the rear).
- Heat and open. Warm the edges, lift with a suction cup and slide a pick in. Keep picks shallow near flex cables. On models where the display opens like a book, support it so the flex cables don't tear.
- Disconnect the battery first. Remove the bracket and lift the battery connector before you disconnect anything else. This is the most important step for protecting the board.
- Disconnect the display or back-glass flex if you need room, and put screws on a magnetic mat in order.
- Release the adhesive. Pull tabs slowly, or use the electrical release on models that need it. If a strip snaps, put a few drops of isopropyl alcohol under the cell edge, wait, and lift with a plastic card spread across a wide area. Do not use a sharp lever point.
- Clean the frame. Remove old adhesive residue so the new battery sits flat.
- Fit new adhesive and the new battery. Align carefully, connect the battery to check the fit, then press it down evenly.
- Reconnect in reverse order, battery last, before you close the phone completely.
- Test before sealing. Power on, check charging and every function from step 1, then seal the phone with fresh display or back adhesive.
- Explain the battery message to the customer if it appears, and offer a health restore if the model is supported.
The "Important Battery Message" and how to handle it
On recent iPhones, installing a battery that Apple's system does not recognise shows an "Important Battery Message" or "Unknown Part" notice in Settings, and battery health may show as unavailable. The phone charges and works normally. It is a notice, not a fault.
You have two ways to give the customer a clean result:
- Move the original BMS onto a cell without BMS. The phone keeps reading health data from the original board.
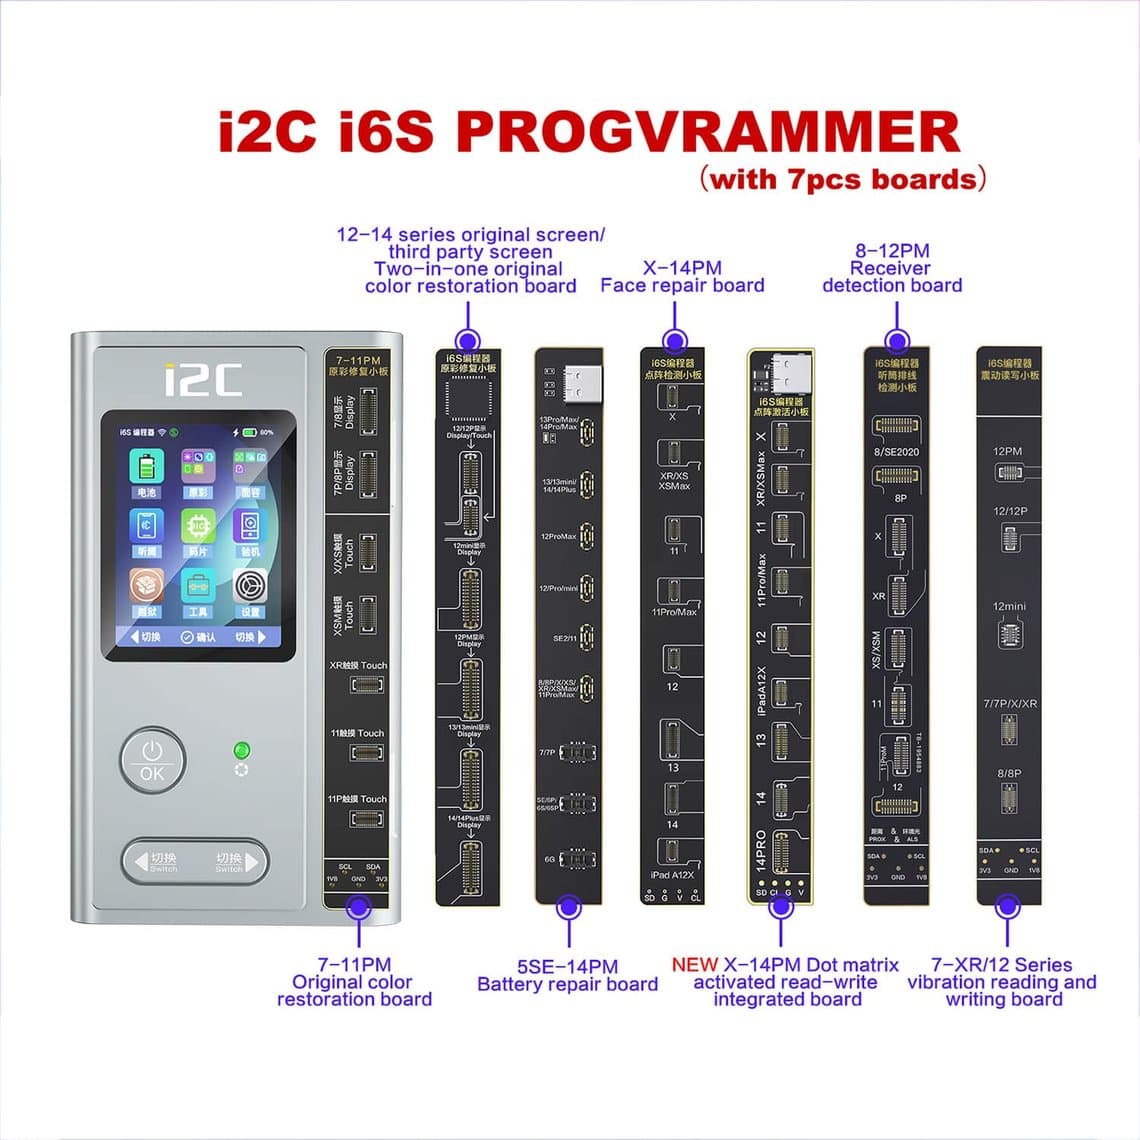
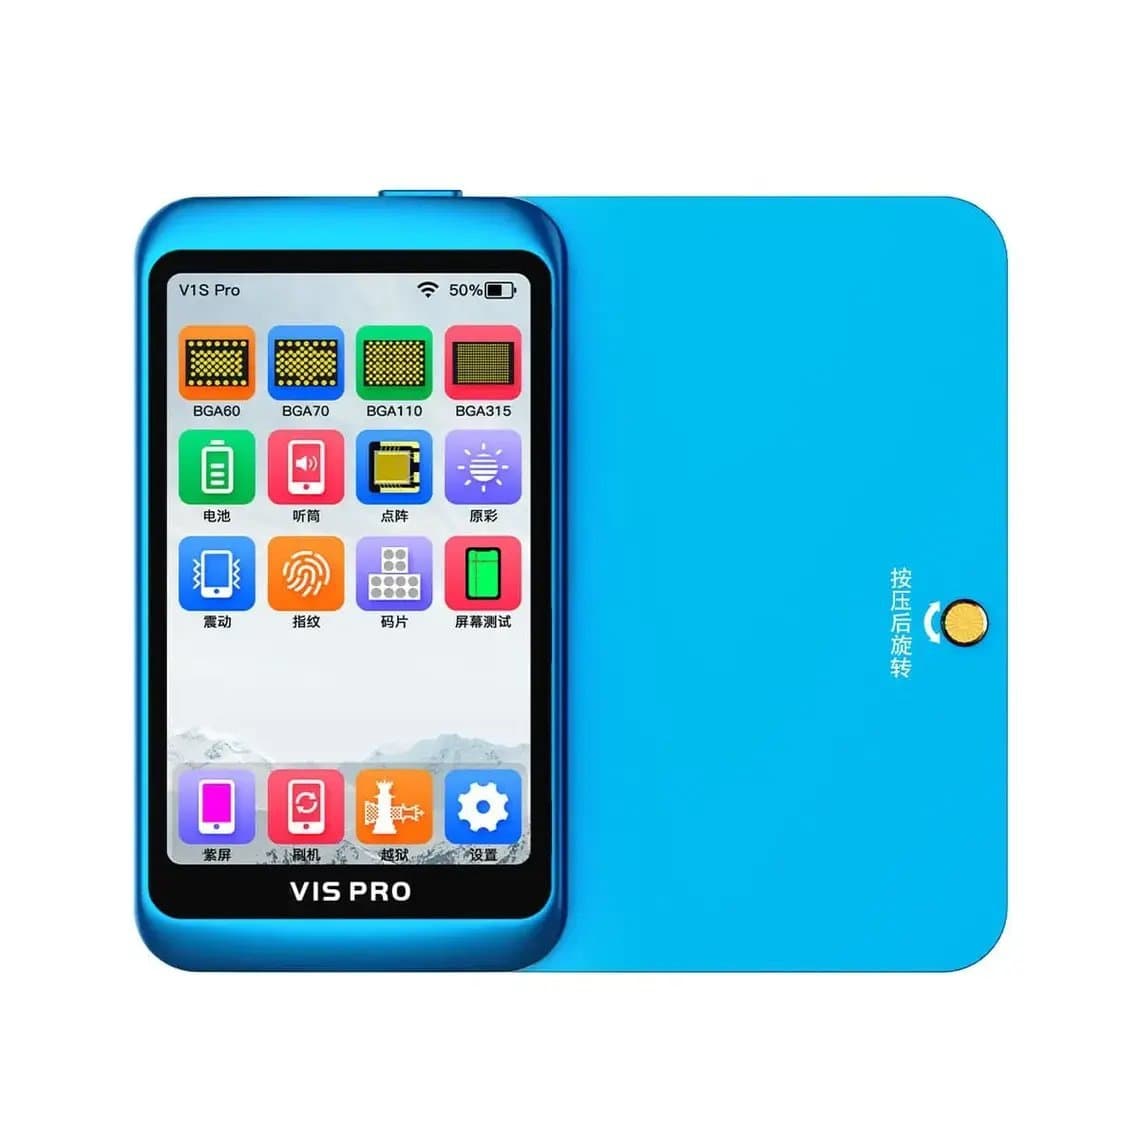
- Use a battery programmer to write data to the new battery on supported models. The i2C i6S programmer covers battery work on iPhone 6 to 13, and the JCID V1S Pro programmer handles battery along with screen True Tone and Face ID jobs. Compatibility depends on the programmer and firmware version, so check the supported model list before you promise a restore. See all options under battery health programmers.
Safety: puncture, heat and ESD
Lithium-ion cells are the most dangerous part on the bench. Treat every battery job with care.
- Never bend, puncture or crush the cell. A damaged cell can heat up quickly, vent smoke and catch fire. If a cell is dented, swells or starts to smoke, move it to the fire-safe container straight away and keep away from the fumes.
- Use plastic tools near the battery. Metal tools can short the connector or pierce the pouch.
- Keep heat away from the cell. Heat the screen or back-glass edges only, and never point a heat gun at the battery.
- Swollen batteries: do not press the screen back on to "flatten" a phone. Remove the cell carefully without squeezing it, and do not reuse it.
- ESD: work on a grounded mat with a wrist strap. Static can damage board components and display flexes.
- Disposal: tape the terminals of old batteries and recycle them through a proper battery recycling channel. Never put them in general waste.
Common mistakes
- Disconnecting the display before the battery, which risks damaging the backlight or display circuits.
- Pulling adhesive tabs upward at a steep angle so they snap, then prying the cell.
- Reusing old adhesive or skipping adhesive altogether. A loose battery rattles and can wear its flex.
- Pinching the battery flex under a bracket when closing.
- Not cleaning old display adhesive, which leaves gaps and lowers water resistance.
- Not telling the customer about the battery message, so they come back thinking the repair failed.
- Quoting a health restore without checking that the programmer supports the model.
After the repair: what to tell the customer
Battery health and capacity readings take a few charge cycles to settle on some phones. Tell the customer to use the phone normally and charge it fully. Mention the warranty period, explain any battery message in plain words, and tell them that a swollen or damaged battery should never be charged.
Questions
How long does an iPhone battery replacement take?
For an experienced technician, a standard swap on a pull-tab model is usually a short job, but it depends on the model and how the adhesive behaves. Models that open from the back can be quicker. Moving the original BMS onto a new cell adds a lot more time and needs extra equipment.
Will my iPhone work normally with a non-Apple battery?
Yes. Recent iPhones show an "Important Battery Message" or "Unknown Part" notice and may hide battery health, but the phone charges and runs normally. On supported models, a programmer or moving the original battery board can bring back the health reading.
Is a high capacity battery safe?
A high capacity battery from a reliable supplier fits the same space and connects the same way. Choose a tested battery with a protection board, and avoid unbranded cells with no testing. The trade-off is that the higher rating may not match Apple's original specification exactly, so tell the customer what they are getting.
Can I reuse the old battery adhesive?
No. Stretch-release strips are stretched out during removal and do not hold again. Always fit new adhesive made for the exact model so the battery sits flat and stays in place.
Ready to stock up? Browse our iPhone batteries and adhesive strips, check the wholesale program, where wholesale prices unlock after $500 of purchases, and use Quick Order to add parts by SKU or CSV. Orders ship from Shenzhen by DHL, FedEx and UPS.