MacBook Keyboard Replacement: Top Case vs Keyboard Only
17 November 2026 · LightspeedTools team
Short answer: On many MacBooks the keyboard is riveted to the aluminium top case, so you either replace the whole top case with the keyboard already fitted, or drill out the rivets and fix a bare keyboard with small screws. The top case swap is faster and cleaner; keyboard-only is cheaper in parts but slow, fiddly and riskier because the battery sits right underneath. If only one key is dead, try a keycap or hinge clip first.
Why MacBook keyboard replacement is not a simple swap
On most laptops the keyboard is a module held by a few screws or clips. Apple went a different way. On older unibody models the keyboard is screwed to the inside of the top case, but you have to strip almost the whole machine to reach those screws. From the Retina MacBook Pro generation onward, the keyboard is held to the top case by dozens of small plastic rivets, and on many later models the battery cells are glued to the same part.
That gives you two real options for any MacBook keyboard replacement:
- Top case replacement: fit a new top case that already has the keyboard installed. Depending on the part, it may also include the backlight, the speakers or the battery. Read the listing title carefully, because what comes attached varies by model and supplier.
- Keyboard only: keep the customer's top case, remove the old keyboard by drilling or cutting the rivets, and fix the new keyboard with tiny screws.
Top case vs keyboard only: the comparison
| Factor | Full top case | Keyboard only |
|---|---|---|
| Bench time | Shorter: move the board, battery and smaller parts across | Longer: rivet removal plus dozens of screws |
| Part cost | Higher | Lower |
| Skill needed | Careful disassembly | Disassembly plus careful work on the rivets |
| Battery risk | Lower if the battery comes with the case or moves over cleanly | Higher: you work over the cells, or must remove them |
| Cosmetic result | New palm rest and trackpad surround | Customer keeps their own dents and scratches |
| Liquid damage jobs | Usually the better choice; corrosion often spreads past the keyboard | Only if the top case and backlight are clean |
For a shop, the top case usually wins on time and comebacks. Keyboard-only makes sense when top cases for that model are hard to find, when the customer is price-driven, or when you do enough of them to have the routine down.
Butterfly vs scissor keyboards
Knowing which keyboard you have explains the failure and guides the fix.
Butterfly keyboards (roughly 2015 to 2019)
The butterfly mechanism appeared on the 12-inch Retina MacBook and then on most MacBook Pro models from late 2016 to 2019, plus the Retina MacBook Air of that period. Exact model coverage differs by year, so confirm against the A-number. The low travel made them thin, but dust and crumbs could jam keys. Common symptoms are:
- Keys that stick, feel gritty or do not register
- Double letters from a single press
- Keycaps that break when pried off, because the clips are very fragile
Apple revised the design several times, and the keyboard is riveted to a top case that often also carries the battery. That is why a full top case is the usual repair on these machines.
Scissor keyboards (earlier models and 2019 onward)
Earlier unibody, Air and Retina models use scissor switches, and Apple returned to a scissor design starting with the 16-inch MacBook Pro in late 2019. Later 13-inch Pro and Air models followed. Scissor keys are more tolerant of dirt, and a single bad key can often be fixed with a keycap and hinge clip rather than a new keyboard.
Match the part before you order
Most wrong-part returns come down to three details.
1. Model A-number and year
Read the A-number printed on the bottom case, then confirm the year, because one A-number can cover several years with different internals. The A1466 MacBook Air 13" is a good example: a top case with keyboard for the A1466 (Mid 2013 to Mid 2017) covers that range, while the A1369 before it differs. The same goes for the 11-inch Air, where the A1465 top case with keyboard and microphone is a different part from the A1370 cases.
2. Keyboard layout
US English and British English layouts differ in the Return key shape, the left Shift key and several symbols. Other European layouts differ again. Always confirm what the customer actually types on. For the Retina 15" A1398 (Mid 2012 to Early 2013) there is a top case with US English keyboard and a top case with British English keyboard. A wrong layout is the most common complaint after this repair.
3. Colour and Touch Bar
Touch Bar models come in silver and space gray, and the top case colour must match the display and bottom case. For the 15" Touch Bar A1707 (Late 2016 to Mid 2017), check whether you need the space gray top case with US English keyboard or the silver version. The 16-inch A2141 (Late 2019 to Mid 2020) uses the newer scissor keyboard, with a grey top case with keyboard and a silver option.
Backlight sheets
On backlit models a thin light-guide sheet sits under the keyboard. On some generations it is a separate part; on others it is attached to the keyboard or the top case. If you do a keyboard-only job, decide in advance whether you are reusing the old backlight or fitting a new one. Kinked or liquid-stained backlights give dark patches, so replace them on liquid jobs. For the Retina 13" A1425, the keyboard backlight (US English) is sold separately. On the older 13" A1278, keyboards with an attached backlight are also available, and that keyboard is screwed in rather than riveted.
Step outline: full top case swap
- Confirm the fault. Test with an external keyboard and check for liquid marks before quoting.
- Work on an ESD mat with a grounded wrist strap.
- Remove the bottom case with the correct pentalobe or Torx driver.
- Disconnect the battery first. On many models there is a battery connector or a board connector to lift before anything else.
- Remove the parts that move across: logic board, fans, speakers, trackpad (on many models), I/O boards, display assembly and cables. Photograph cable routing and keep screws in a labelled tray.
- Move the battery over if the new top case does not include one. If the cells are glued, use adhesive remover and plastic cards, never metal tools.
- Rebuild, transfer any shields, tape and foam, then test every key, the backlight, the trackpad, the speakers and charging before closing.
Step outline: keyboard only with rivets
- Do the same disassembly as above. Ideally remove the battery completely, because you will be drilling and cutting just above it.
- Remove the backlight sheet carefully if you plan to reuse it.
- Remove the rivets by drilling or cutting their heads with a fine bit or a sharp blade. Go slowly and clear every bit of debris; plastic and metal swarf can short the board later.
- Lift the old keyboard out and clean the top case thoroughly.
- Seat the new keyboard and secure it with very small screws into the remaining rivet posts. PH000 Phillips keyboard screws are made for this job. Do not overtighten; the posts strip easily.
- Refit the backlight and test the keyboard before full reassembly.
Expect the keyboard-only method to take far longer than a top case swap the first few times.
Battery safety
The lithium polymer cells under a MacBook top case are the main danger in this repair. A punctured, bent or shorted cell can swell, smoke or catch fire within seconds.
- Disconnect the battery before any other step, and never pry under the cells with metal.
- Do not drill or cut rivets with a charged battery sitting under the work area if you can avoid it.
- Do not use high heat on glued cells. Use adhesive remover and patience instead.
- Keep a fireproof container nearby and move any swollen or damaged cell into it at once.
- Replace a swollen battery as part of the job; it often caused the keyboard to lift in the first place.
Single-key fixes
Do not replace a whole keyboard for one key until you have checked the simple options.
- Missing or broken keycap: a matching keycap and hinge clip from the same keyboard generation often fixes it. Butterfly and scissor caps are not interchangeable.
- Sticky key on a butterfly keyboard: compressed air at an angle sometimes clears debris. If it returns, the switch is likely worn.
- Several keys dead in a row: suspect the keyboard cable, its connector or liquid damage before the keyboard itself.
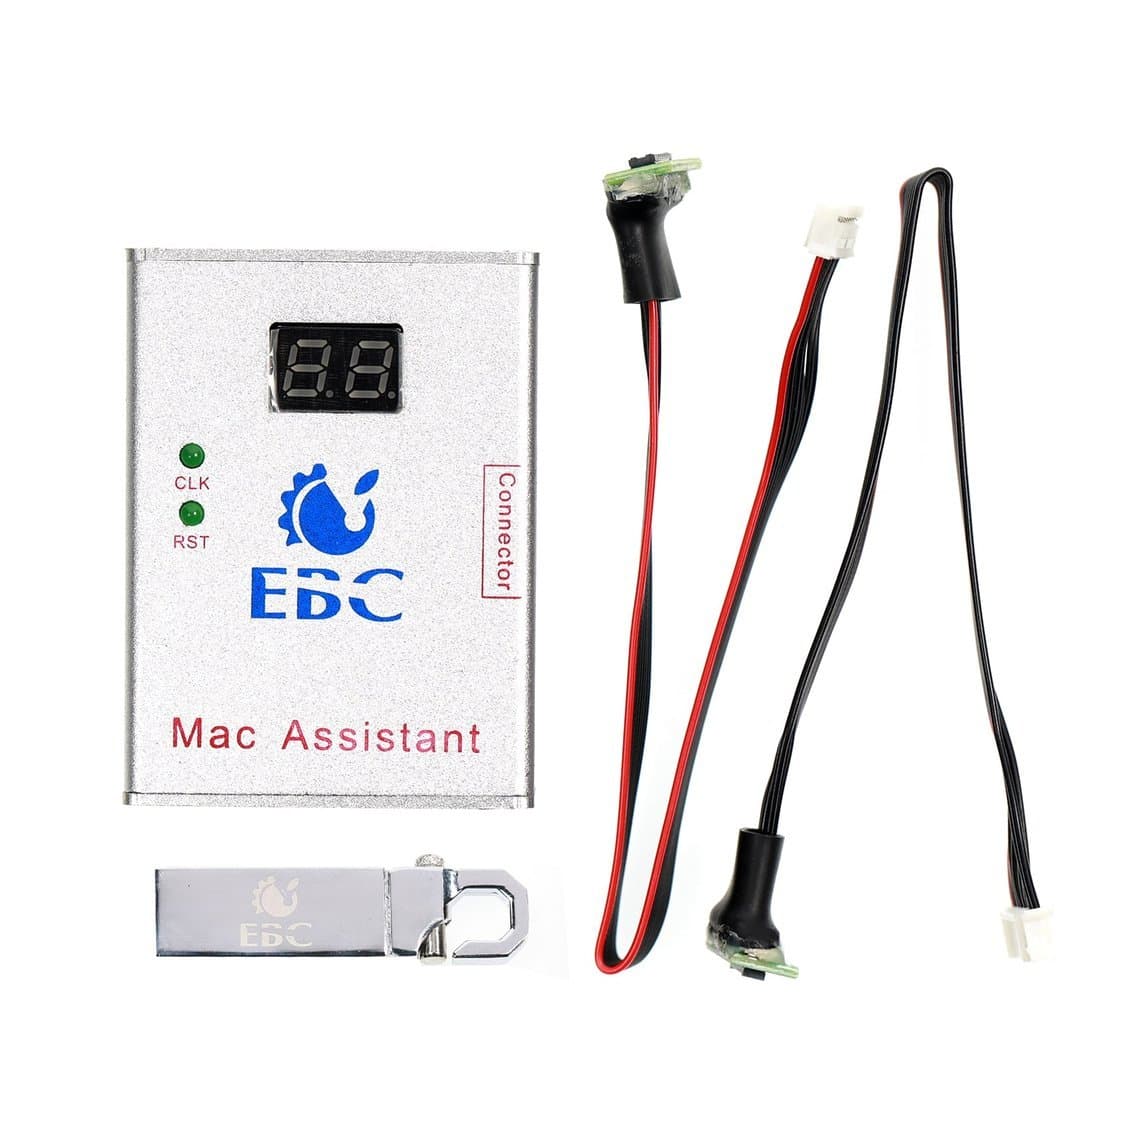
- Whole keyboard dead but trackpad works: check the keyboard flex and connector, then the board. A logic board fault is possible, so a diagnosis tool such as the EBC 820 MacBook diagnose tool can help on supported models.
Tools for the job
- Pentalobe and Torx drivers in the right sizes, plus a fine Phillips driver for keyboard screws. See the screwdrivers range.
- Plastic picks, spudgers and adhesive remover for glued batteries
- Fine drill bits or a precision blade for rivets
- ESD mat, wrist strap and a labelled screw tray
- Magnification for checking debris around the rivet posts
The MacBook repair tools category covers most of this list. For static control on the bench, read the guide to ESD protection; the same rules apply to laptops.
Common mistakes
- Ordering by screen size alone instead of A-number and year
- Fitting a US layout for a UK customer, or the other way round
- Prying under the battery with a metal tool
- Leaving drilling debris inside the top case
- Skipping a full key test before closing the bottom case
Questions
Can you replace just the keyboard on a MacBook?
Yes, on most models, but on riveted models it means removing the rivets and fixing the new keyboard with small screws. It takes much longer than a top case swap and puts you close to the battery. Many shops only offer it when a top case is unavailable or too expensive for the customer.
Does a MacBook top case come with a battery?
It depends on the model and the part. Some top cases are sold bare, others include the keyboard, backlight and battery. Check the listing title and photos, and plan to move the battery across if it is not included.
Which MacBooks have the butterfly keyboard?
Broadly, the 12-inch Retina MacBook, most MacBook Pro models from late 2016 to 2019, and the Retina MacBook Air of that period. Apple moved back to a scissor keyboard starting with the 16-inch MacBook Pro in late 2019. Always confirm by A-number, because coverage changed between years.
How do I tell a US keyboard from a UK keyboard?
The US layout has a wide, flat Return key and a long left Shift key. The British layout has a tall, inverted-L Return key, a shorter left Shift key with an extra key beside it, and the £ symbol on the 3 key. Ask the customer to confirm before ordering.
Find top cases, keyboards and backlights by model in our Mac parts section. Shops buying regularly can open wholesale pricing, and repeat orders are quicker through Quick Order by SKU or CSV.