MacBook Screen Replacement: Full Assembly vs LCD Panel
17 November 2026 · LightspeedTools team
Short answer: On Retina and newer MacBooks, the usual fix is a full display assembly: the whole lid with panel, hinges and cables already fitted. On older unibody MacBooks and some MacBook Air models, you can often replace just the LCD panel, which is cheaper but takes more care. Identify the part by the A-number on the bottom case, the year, and where possible the panel code on the back of the old panel.
MacBook screen jobs look simple from the outside, but the right part depends heavily on the generation. Order the wrong type and you either overpay for a whole lid or end up trying to separate a bonded panel that was never meant to come apart. This guide explains the three part types, how to pick the right one, the steps of a typical job, and the problems that bring MacBooks back after a screen repair.
Full assembly, panel only, or cable: the three options
| Part type | What you get | Typical models | Difficulty |
|---|---|---|---|
| Full display assembly | Lid with panel, glass, hinges, display cable and often camera, ready to fit | Retina MacBook Pro (2012 on), MacBook Air 2018 on, Apple silicon models | Lowest: unplug and swap |
| LCD panel only | The bare LCD panel | Unibody MacBook and MacBook Pro (about 2008 to 2012), MacBook Air 11" and 13" up to 2017 | Medium: open the lid, keep the case, hinges and cable |
| Display cable (LVDS / eDP) | The cable from the logic board to the panel | Most models, often a separate part on older ones | Varies: easy on unibody, harder on some Retina models |
Full display assembly
On Retina MacBook Pros and most later MacBooks, the LCD and glass are bonded into the lid. Taking the panel out without damage is difficult, so most shops fit the complete assembly. It is the fastest repair and the most reliable result: the hinges, cables and camera are all new and aligned at the factory. Examples include the full LCD screen assembly for MacBook Pro 13" A1706/A1708 and the full assembly for A1989, A2251, A2289 and A2159. The trade-off is cost: the assembly is the most expensive option, and you need the right colour on models that came in more than one finish.
Panel-only parts do exist for some Retina models, for example the Retina LCD for MacBook Pro 15" A1398. Fitting one means separating a bonded panel from the lid, which needs heat, patience and experience. For most shops it is a specialist job rather than a routine one.
LCD panel only
Older unibody MacBooks are the classic panel-swap machines. On the 13", 15" and 17" unibody MacBook Pro, the front glass lifts off with suction cups (on many units it is held mostly by magnets, with some adhesive at the edges), and the panel then unscrews from the lid. Panels are sold by panel code, such as the LP133WX3-TLA6 13.3" panel for 13" unibody models and the LTN154BT08 15" panel for the 15" unibody MacBook Pro. You keep the customer's lid, hinges and cable, so the part costs much less than a full assembly.
The MacBook Air 11" and 13" models up to 2017 also allow a panel swap, but the bezel is glued and sits on a rubber gasket. Work slowly around the bezel and replace the gasket if it tears.
LVDS and eDP display cables
The display cable carries the picture signal (and often backlight power) from the logic board to the panel. Older models use an LVDS cable; newer ones use eDP, though sellers often still call these "LVDS". A damaged cable gives flicker, lines, a picture that changes as the lid moves, or no image at all. On unibody models the cable is a simple separate part, such as the LVDS cable for MacBook Pro 13" A1278 (Early and Late 2011). Cables are listed by model and year under LVDS and eDP cables.
How to identify the right MacBook screen
- Read the A-number printed on the bottom case (for example A1278, A1466, A1706). It narrows the family but is not enough on its own, because one A-number can cover several years.
- Find the year. Check "About This Mac" if the machine boots, or look up the serial number. Early 2011 and Mid 2012 versions of the same A-number can need different cables or panels.
- Read the panel code. On panel-swap models, the label on the back of the old panel shows a code such as LP133WX3 or LTN154. Apple often sourced the same size panel from more than one maker, so several codes can fit one model; match the listing's compatibility rather than assuming any code will do.
- Check resolution options. Some 15" unibody models came with a standard or a high-resolution panel, and these are not interchangeable.
- Match colour on full assemblies for models sold in silver, space grey, gold or other finishes.
Browse by model under Mac parts, or by size under laptop screens.
Steps outline for a MacBook screen replacement
- Back up and record. Ask the customer to back up if the machine still works. Note any existing faults: keyboard, trackpad, ports, camera.
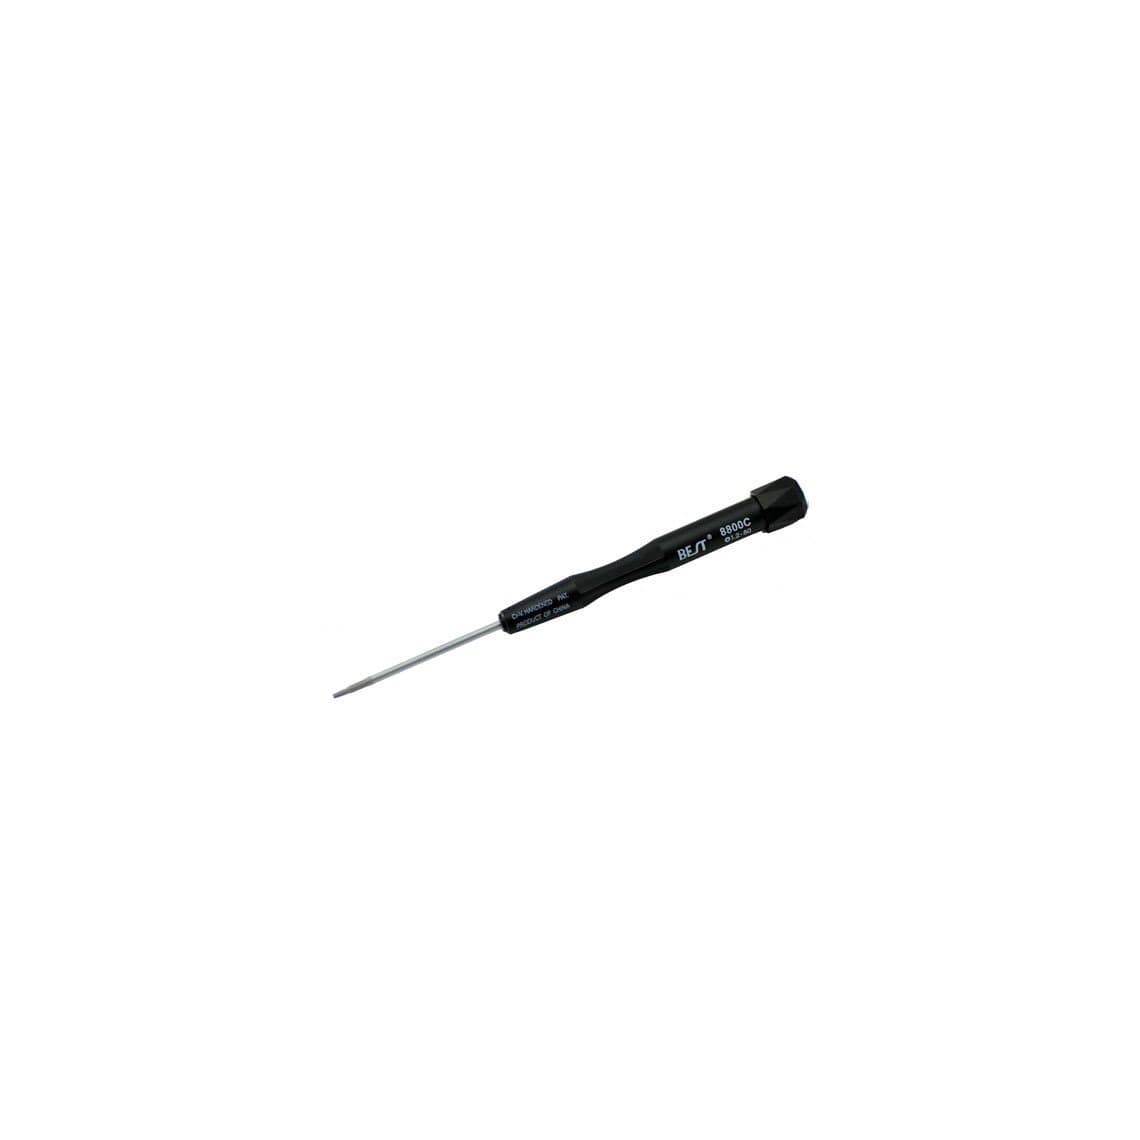
- Open the bottom case. Most MacBooks use pentalobe screws on the bottom case; a 1.2 mm pentalobe driver covers many MacBook Air and Retina models. Keep screws in order, because lengths differ. See the full range of screwdrivers.
- Disconnect the battery. Do this before unplugging any display cable. Never pry near the battery cells with metal tools.
- Disconnect the display, camera and antenna cables from the logic board. Lift connectors straight up; many are fragile.
- Remove the hinge screws while supporting the lid, then lift the display away. On full-assembly jobs, fit the new lid and refit the hinge screws.
- Panel-only jobs: open the lid (glass on unibody Pro, bezel on Air), unscrew the panel, transfer any brackets, fit the new panel and reconnect the cable.
- Test before closing (see below), then refit the bottom case.
Hinge and cable care
Most comebacks after a MacBook screen repair come from cables and hinges, not the panel itself.
- Route every cable exactly as it came out. A cable pinched under the hinge or a bracket will fail in weeks.
- Do not over-tighten hinge screws; stripped threads in the base are hard to fix. Replacement hinge screws, such as T8 Torx sets, are cheap insurance.
- On unibody models a worn or loose clutch hinge lets the lid drop. A new clutch hinge for MacBook Pro 13" A1278 fixes a floppy lid while you have the display off. Hinges are listed under laptop hinges.
- Seat each connector fully and evenly. A half-seated display connector causes flicker or no image, and a slanted one can short pins.
Backlight flex wear on some 2016 to 2017 models
On some 13" and 15" MacBook Pro models from 2016 to 2017, the thin backlight flex cables that run from the panel through the hinge area are widely reported to wear with repeated opening and closing. The usual first sign is uneven light at the bottom of the screen, sometimes described as a "stage light" effect, followed by the backlight cutting out when the lid passes a certain angle. Apple ran a service programme for some affected models, so check whether the customer's machine is covered before quoting.
The cables are bonded to the panel, so the most common fix is a full display assembly. Replacement backlight flex cables exist for repairers equipped to work on the panel itself, but this is an advanced job.
Test before you close up
- Boot and check the image for lines, dead pixels, tint differences and uneven backlight.
- Open and close the lid slowly through its full range while watching the picture; this catches pinched or tight cables.
- Test brightness from minimum to maximum and the ambient light sensor if fitted.
- Check the camera, microphones, Wi-Fi signal (antennas often run through the lid) and sleep on lid close.
- On full assemblies, check the lid closes evenly and the hinge tension feels normal.
ESD and safety
Display connectors and panel electronics are sensitive to static. Wear a grounded wrist strap and work on an ESD mat. Our ESD protection guide covers the setup. Always disconnect the battery before touching display connectors, and never work on a MacBook with a swollen battery; replace it first and store the old one safely. If you need to warm a bezel or adhesive, use gentle, even heat and keep it away from the battery and the panel's edges.
Common mistakes
- Ordering by A-number alone and getting the wrong year's panel or cable.
- Buying a panel-only part for a Retina model expecting a simple swap.
- Unplugging the display cable with the battery still connected.
- Leaving the old display cable on a unibody job when the fault was in the cable all along.
- Closing the machine without testing the lid through its full range.
Questions
Can you replace just the screen on a MacBook Pro?
On unibody MacBook Pros from roughly 2008 to 2012, yes: the LCD panel can be replaced on its own. On Retina and later models, the panel is bonded into the lid, so most repairs use a full display assembly. Panel-only parts exist for some Retina models but need specialist skills to fit.
How do I know which screen my MacBook needs?
Start with the A-number on the bottom case, then confirm the year from "About This Mac" or the serial number. On panel-swap models, read the panel code on the back of the old panel. Match all three against the product's compatibility list.
Why is there light at the bottom of my MacBook screen after a repair?
Uneven light at the bottom edge can point to backlight flex cable wear on some 2016 to 2017 models, or to a cable pinched during reassembly. Check the cable routing first. If the backlight also cuts out at certain lid angles, the backlight flex cables are the likely cause.
Is a full display assembly better than an LCD panel?
A full assembly is quicker and gives new hinges and cables, so it suits Retina and newer models and jobs where the lid is damaged. A panel is cheaper and fine on older unibody models where the lid, hinges and cable are in good condition. Choose based on the model and what else is worn.
Find panels, full assemblies and display cables under laptop screens and Mac parts, and the drivers for the job in MacBook repair tools. All parts are tested before shipping from Shenzhen by DHL, FedEx or UPS. Repair shops can unlock trade pricing with a wholesale account and reorder fast with Quick Order.