Micro Soldering for Beginners: Tools, Skills and First Jobs
17 November 2026 · LightspeedTools team
Short answer: Micro soldering for beginners comes down to three things: a temperature-controlled station with fine tips, a stereo microscope, and lots of practice on scrap boards before you touch a customer's phone. Start with connector reworks, filter caps and charging port jobs, learn flux and heat control, and only then move to ICs and underfilled chips. Most beginners fail from too much heat and too little flux, not from shaky hands.
This guide covers what to buy first, the core skills in the order you should learn them, the jobs that make good first paid work, and the mistakes that kill boards. It is written for technicians who already do screens and batteries and want to add board-level repair.
What micro soldering actually means
Micro soldering is component-level repair on phone, tablet and laptop logic boards under magnification. The parts are tiny: 0201 and 01005 passives, FPC connectors with pin pitches well under a millimetre, and BGA chips with hundreds of balls underneath. You cannot see the joints properly with the naked eye, and the board around them is full of heat-sensitive parts and plastic.
That is why the skill is less about "soldering" and more about control. Control of heat, control of flux, control of your hands, and control of what you can see. Every tool decision below serves one of those four.
The beginner tool list
You do not need everything on day one. You need a few good tools rather than many cheap ones. If you want to skip the shopping list, our micro soldering kits group the basics together.
1. A soldering station with fine tips
This is the tool you will use on every job. For micro work, the station should heat up fast, recover temperature quickly when the tip touches a ground plane, and take a range of fine tips (bent, knife and needle shapes).
There are three common platforms:
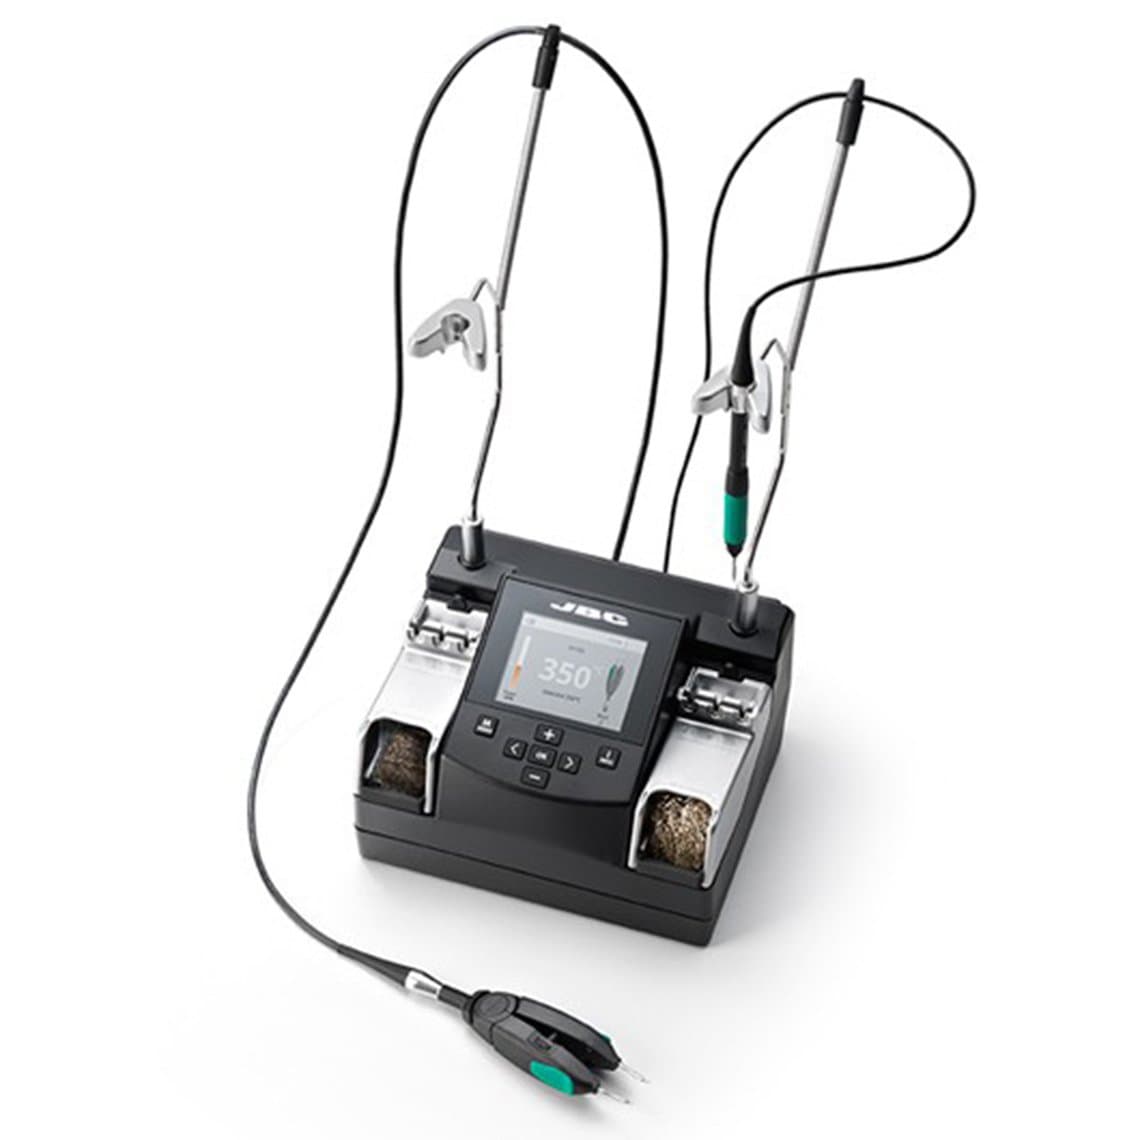
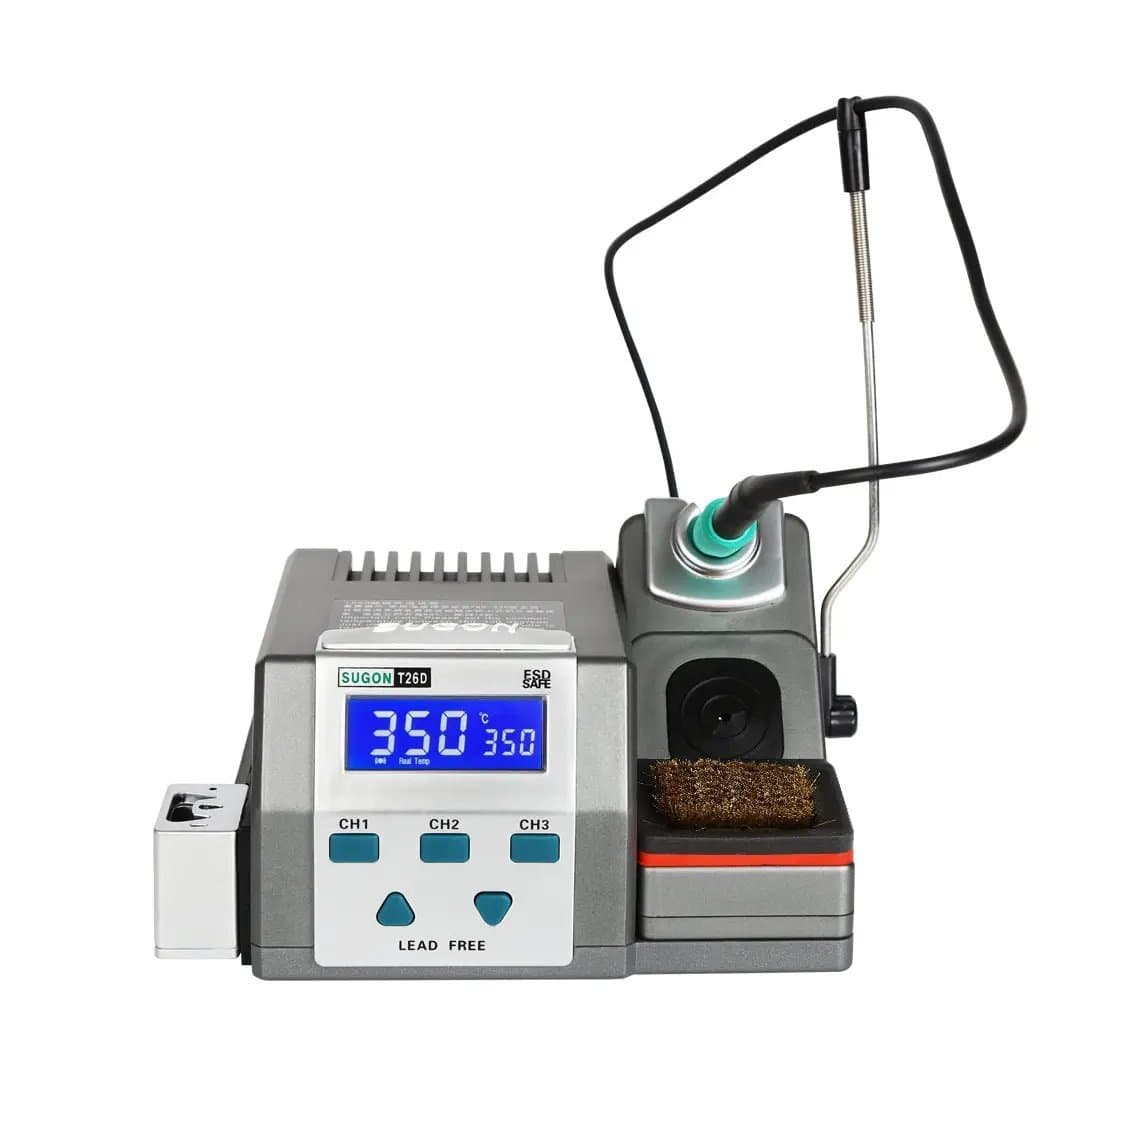
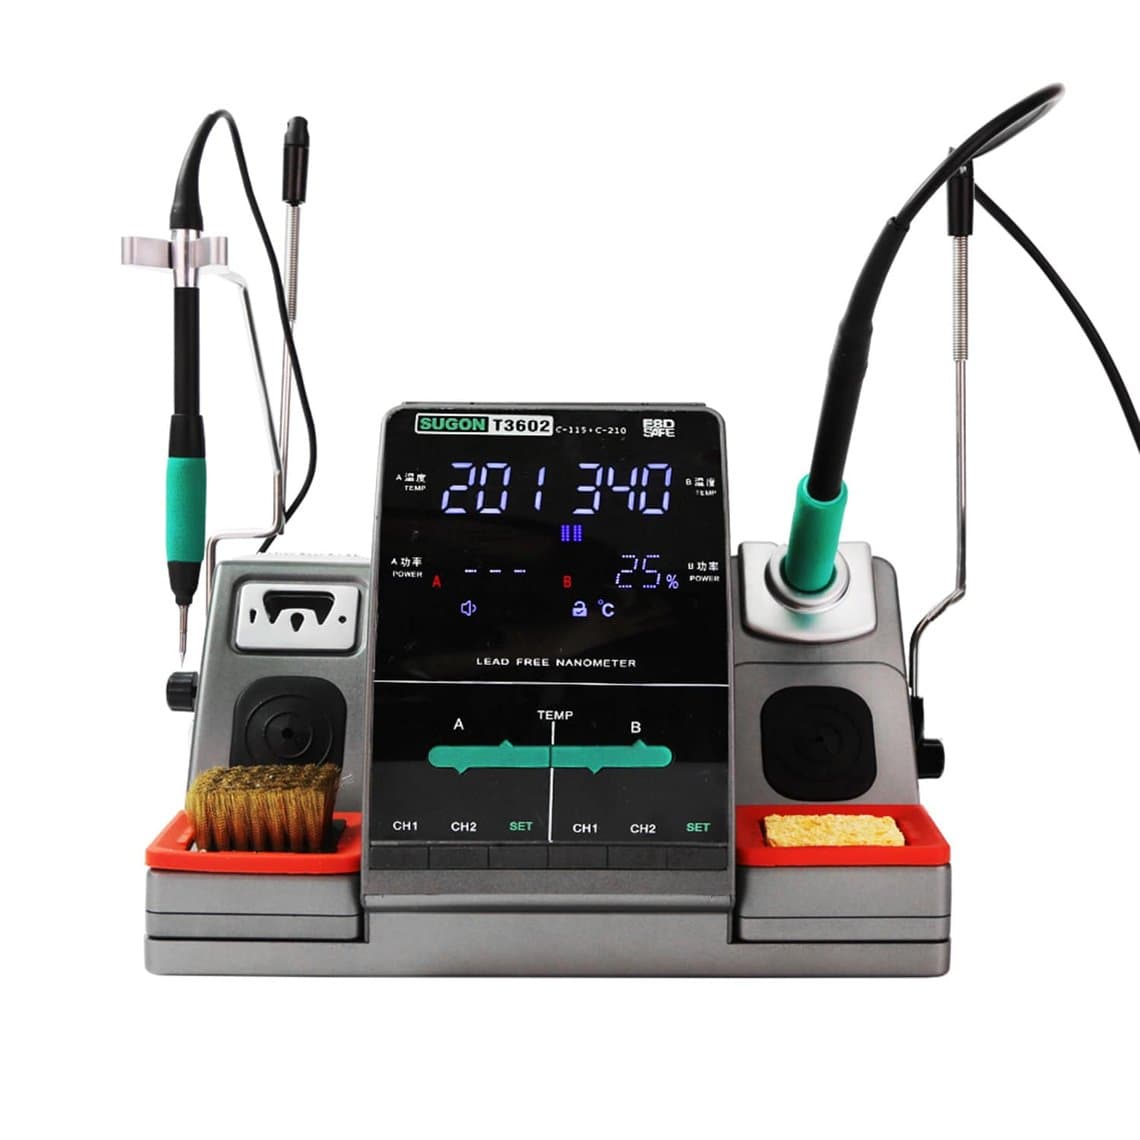
- C210/C115 cartridge stations. The heater and sensor are built into the tip, so heat-up and recovery are very fast and tips are small enough for 01005 work. This is the format most board technicians settle on. Options range from the JBC NASE-2C nano station at the top end to compatible units like the Sugon T26D for C210 tips. If you want two handles ready (one fine, one heavier), a dual unit such as the Sugon T3602 for C115 and C210 saves constant tip swapping.
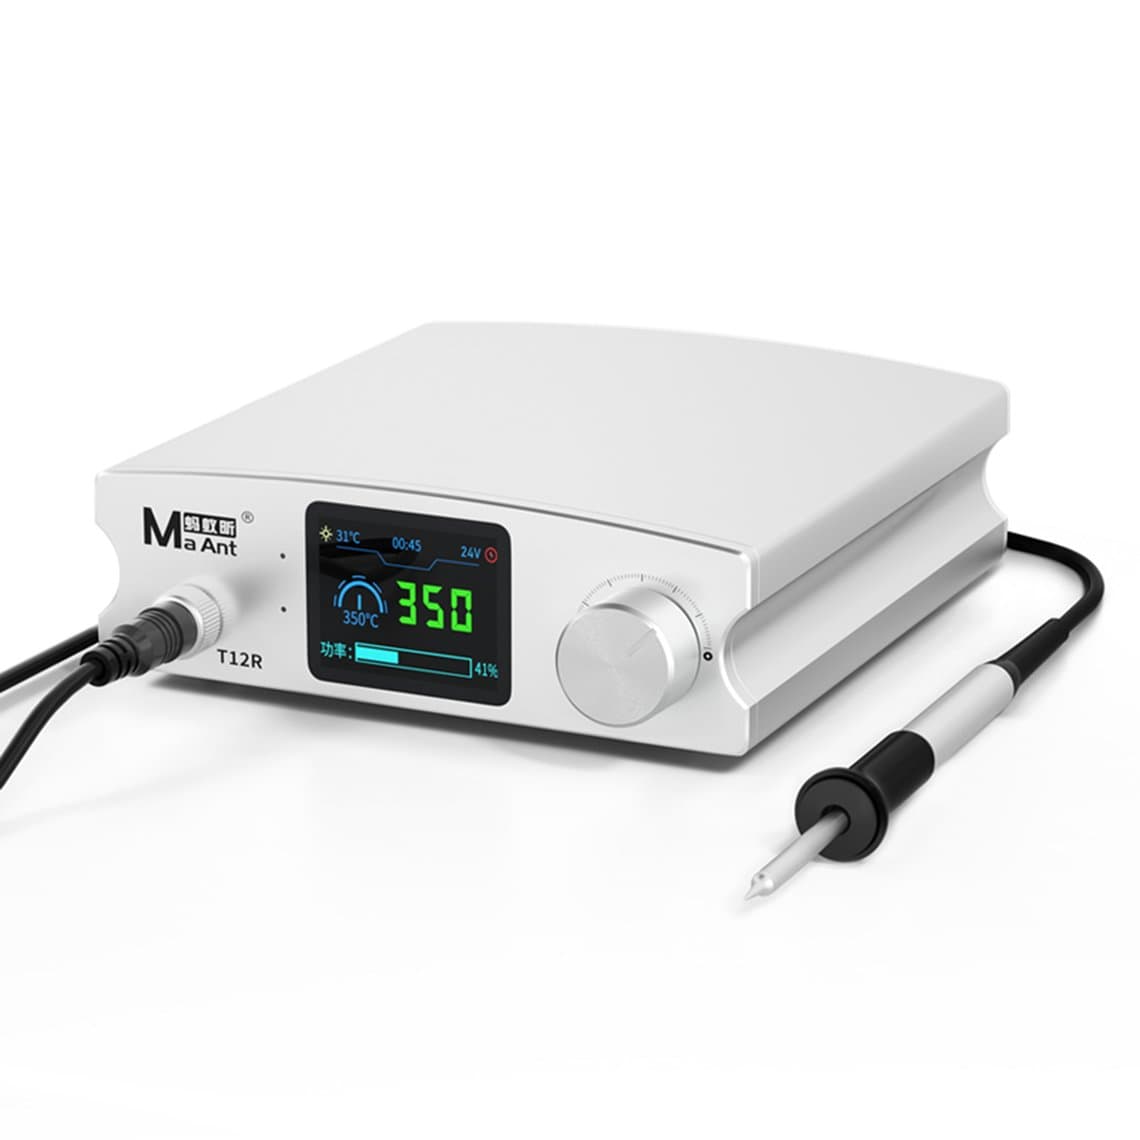
- T12 cartridge stations. Larger tips with integrated heaters. Good power for ground pads, shields and larger connectors, a bit bulky for the finest work. The Maant T12R 75W station is a typical example and makes a good second iron.
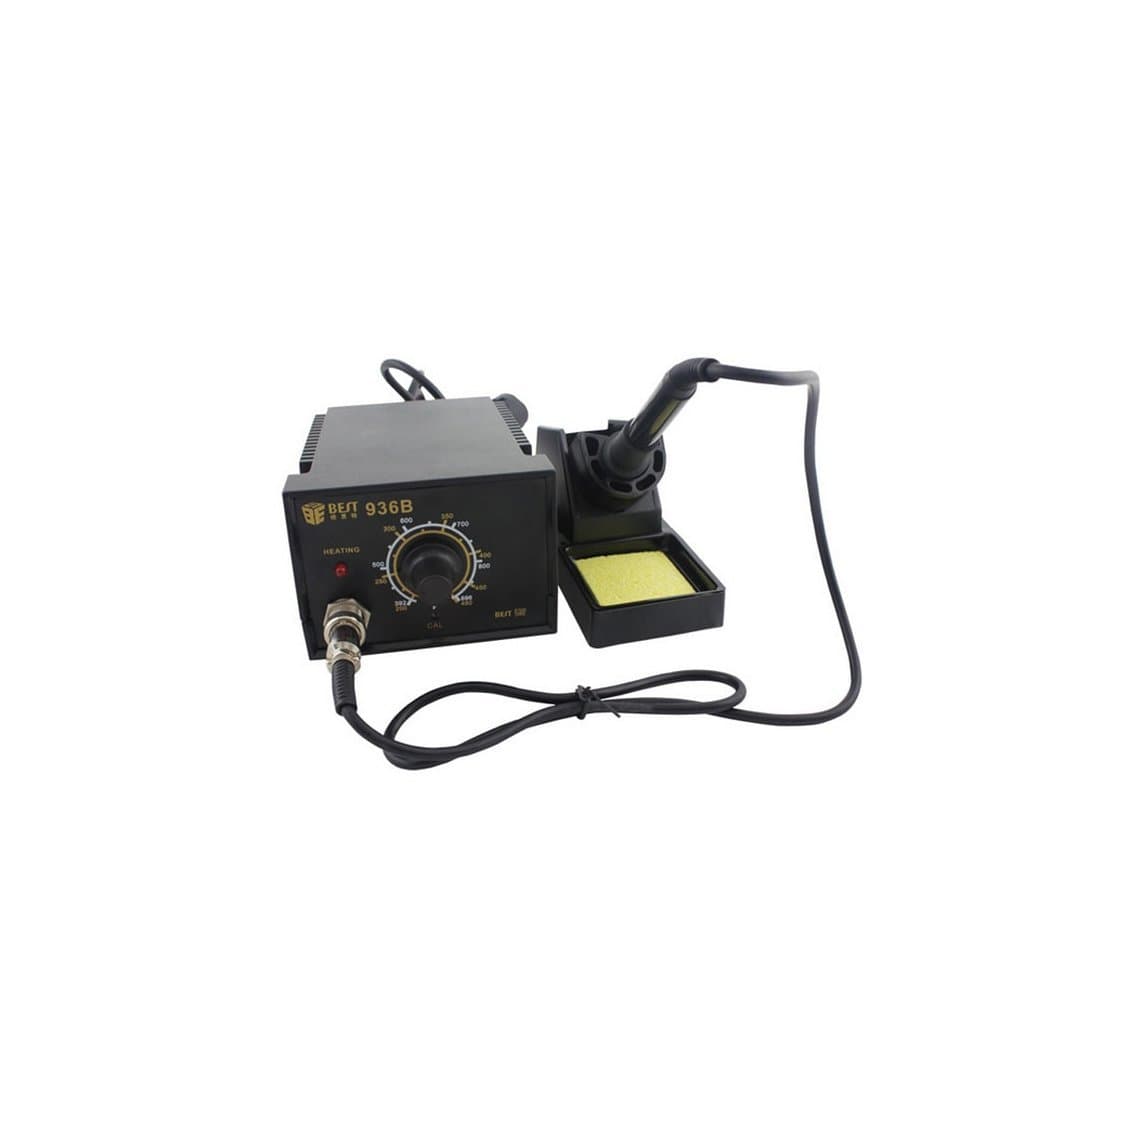
- 936-style stations. Separate heater and tip. Cheap and fine for wires and general work, but slower recovery and bigger tips make them a poor main tool for micro jobs. Keep one, like the BEST-936B anti-static station, for rough work so you are not wearing out expensive cartridges.
Browse the full range of soldering stations if you want to compare power and tip formats.
2. A stereo microscope
A stereo (binocular) microscope gives you depth perception, which you need to place a tip on a pad without hitting the part next to it. A typical zoom range of around 7x to 45x covers almost all phone work. Look for a stable boom or post stand, enough working distance under the lens to fit your iron and tweezers, and a good ring light. A camera port is useful if you want to record work for customers.
Digital screen-only microscopes are fine for inspection, but most technicians find them hard to solder under because there is no depth. See our microscopes for stereo models and stands.
3. Hot air station
You need hot air for removing and fitting connectors, shields and small ICs. Choose one with stable temperature, adjustable airflow down to a gentle level, and a selection of nozzles. Beginners usually use too much airflow and blow small parts off the board.
4. Consumables and hand tools
- Flux. A good tacky no-clean flux is the most important consumable you will buy. Fresh flux makes solder flow and protects pads from oxidising under heat.
- Solder wire. Thin wire (around 0.2 to 0.3 mm) for fine joints. Leaded solder is easier to learn on because it melts lower and flows better.
- Solder wick. Narrow widths for cleaning pads.
- Tweezers. Fine straight and curved anti-static tweezers. Cheap ones that do not close evenly cause dropped parts.
- Board holder. A rigid holder that keeps the board flat and still under the scope.
- Cleaning. Isopropyl alcohol (high purity) and a soft brush to remove flux residue.
- Multimeter and DC power supply. Diagnosis comes before soldering. You need to measure diode mode, resistance and current draw.
Later: advanced tools
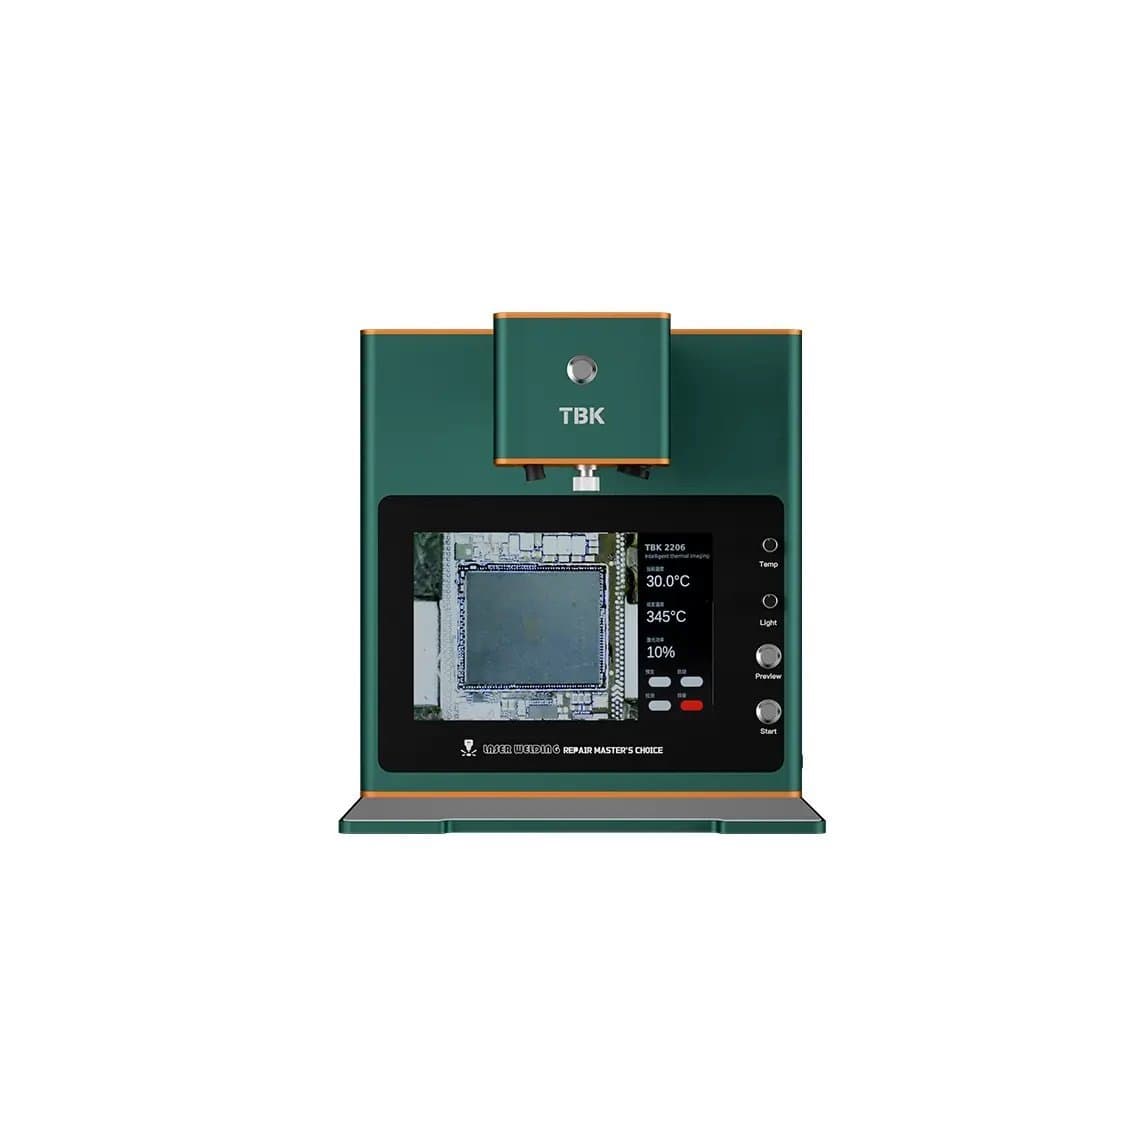
Preheaters, reballing stencils and laser tools come later. A laser machine like the TBK 2206 laser desoldering machine is aimed at removing glue and separating sandwich boards with very precise heat. It is a production tool for busy board shops, not a beginner's first purchase.
Station platforms compared
| Platform | Best for | Strengths | Limits |
|---|---|---|---|
| C210 / C115 cartridge | Fine pitch, 01005/0201 parts, connector pins | Very fast heat-up and recovery, tiny tips | Tips cost more and wear if run hot |
| T12 cartridge | Ground pads, shields, larger joints | Plenty of power, good value | Bulkier tips for fine work |
| 936-style | Wires, general work, practice | Cheap, simple | Slow recovery, larger tips |
Skills to learn, in order
Practise each skill on dead boards until it feels boring. Scrap phone boards are cheap and teach you more than any video.
- Tinning and tip care. Keep the tip tinned, wipe on brass wool, and do not leave the iron idling at high temperature. A dead tip will not transfer heat, and you will push the temperature up to compensate, which damages pads.
- Removing and replacing passives. Take capacitors and resistors off with two irons or hot air, clean the pads, and refit them straight. Start with larger sizes, then move down.
- Cleaning pads with wick. Add flux, lay the wick on the pad, and press the iron on top of it. Let the wick drag; do not scrub. Scrubbing lifts pads.
- Drag soldering connector pins. Flux the row, load a little solder on the tip, and drag along the pins. Clear any bridges with more flux and a clean tip, or with wick.
- Hot air removal of connectors and small ICs. Shield nearby plastic parts, flux first, use moderate airflow and lift the part only when all the solder has melted.
- Jumper wires. Repair a torn trace or pad with a fine enamelled wire. This teaches you precision and patience.
- IC removal, reballing and refitting. The last step, once you can control heat around a board without lifting pads or cooking parts.
Good first paid jobs
Once your practice joints look clean under the scope, start with jobs where the fault is clear and the risk is low:
- Damaged FPC connectors. Replacing a screen, battery or camera connector with bent or torn pins. Very common and easy to verify.
- Charging port replacements on phones and tablets where the port is soldered to the main board.
- Shorted filter capacitors on a power line, found with a power supply and thermal camera or isopropyl.
- Backlight and display circuit faults where a coil, diode or fuse has failed after a bad screen fit.
- Liquid damage clean-up where corrosion has eaten a few passives.
Leave CPU, NAND and baseband work until you have a steady record of clean results. Those chips are underfilled, sit on sandwich boards on newer iPhones, and one mistake can end the board and the customer's data.
Temperature: starting points, not rules
Every guide gives different numbers because the right temperature depends on the tip size, the solder alloy, the board's copper mass and the station itself. Use these as typical starting ranges and adjust:
- Iron on small parts with leaded solder: often around 300 to 350°C.
- Iron with lead-free solder or on ground planes: often around 350 to 400°C, with a larger tip rather than more heat.
- Hot air for small parts: commonly started in the 300 to 380°C range with low airflow, adjusted to the nozzle and part.
If solder is not melting quickly, the answer is usually more flux, a bigger tip, or preheating the board. Not just turning the dial up.
What beginners get wrong
- Too little flux. Dry joints, bridges and lifted pads almost always start here.
- Too much heat for too long. Holding the iron on a pad for many seconds weakens the pad adhesive and can damage nearby chips.
- Pulling parts before the solder is fully molten. This tears pads off with the component.
- High airflow. Blows away 0201 parts and shifts components you did not mean to touch.
- Skipping diagnosis. Replacing parts without measuring wastes time and creates new faults.
- Not protecting nearby parts. Plastic connectors, cameras and batteries do not survive hot air. Use heat-resistant tape or shields.
- Cheap tweezers and a wobbly board holder. Small things that cause most dropped parts.
Safety notes
- Fumes. Flux smoke irritates eyes and lungs. Use a fume extractor with a filter positioned close to the work, not just a desk fan.
- ESD. Use an anti-static mat and wrist strap, and an ESD-safe station. Static can kill chips without any visible sign.
- Batteries. Always disconnect the battery before board work, and never point hot air at a lithium battery.
- Burns. Return the iron to its stand every time. Hot air nozzles stay hot for a while after you switch off.
- Lead. If you use leaded solder, wash your hands before eating and keep food and drinks off the bench. Lead-free solder needs higher heat, which raises fume levels, so extraction still matters.
Questions
How long does it take to learn micro soldering?
It depends on how often you practise. Technicians who practise on scrap boards several times a week can usually handle connector and passive work within a few months. IC and BGA work takes longer, and most people keep improving for years.
Do I need a microscope for micro soldering?
Yes. Phone board components are too small to solder reliably with the naked eye or a magnifying lamp. A stereo microscope gives you the magnification and depth perception to place the tip accurately and inspect joints afterwards.
Should beginners use leaded or lead-free solder?
Leaded solder is easier to learn with because it melts at a lower temperature and flows well. Boards from the factory use lead-free solder, so mixing in some leaded solder during rework helps lower the melting point. Check local rules on leaded solder use in your shop.
What soldering iron is best for micro soldering?
A temperature-controlled station using C210 or C115 cartridge tips is the most common choice for phone board work, because the tips are small and recover heat very quickly. A T12 station makes a good second iron for larger joints and ground pads.
Ready to set up your bench? Start with our micro soldering kits and soldering stations. Repair shops can open a wholesale account (wholesale prices unlock after $500 of purchases), and use quick order to buy by SKU or upload a CSV.