Apple Watch Screen Replacement: Tools and Steps
17 November 2026 · LightspeedTools team
Short answer: An Apple Watch screen replacement means softening the display adhesive with gentle heat, opening the display with a very thin blade from the correct edge, disconnecting the battery before the display cables wherever the layout allows, and fitting a new display assembly with fresh model-specific adhesive. The display, its flex cables and the battery are all very fragile, so the right opening tools and a test before sealing matter more than speed. Water resistance cannot be guaranteed after any repair.
Apple Watch repairs look small but punish mistakes: flex cables have almost no slack, the panel cracks from a careless pry, and a punctured battery is a fire risk. This guide covers tools, opening, disconnect order, full assembly vs glass-only, adhesive, testing and no-boot watches. Layouts change between generations and sizes, so confirm the exact model before you start.
Why Apple Watch screens are delicate
- Thin display stack. The cover glass, touch layer and OLED panel are bonded into a very thin assembly. Prying against the panel instead of the glass edge cracks it or causes lines and dead areas.
- Short, fragile flex cables. The display connects to the logic board through one or more narrow flex cables along one edge. Open the display too far, or in the wrong direction, and the flex tears. A torn display flex usually means a new screen; a torn flex attached to the board side is worse.
- Force Touch layer on earlier models. Earlier generations have a pressure-sensing layer or gasket between the display and the case. Its position and cable vary by model, and on some generations it is easy to damage or leave behind when you lift the display. Apple stopped using Force Touch in later software and later hardware does not include it, so check whether the model you are working on has one before you start; if it does, the replacement process must handle it.
- Battery directly underneath. The battery sits close beneath the display and is glued in place. A blade slipping deep under the display can reach it.
Tools you need
| Tool | What it does |
|---|---|
| Heating pad or controlled heat source | Softens the display adhesive evenly without overheating the battery |
| Very thin curved blade and opening picks | Gets under the glass edge without reaching the panel or battery |
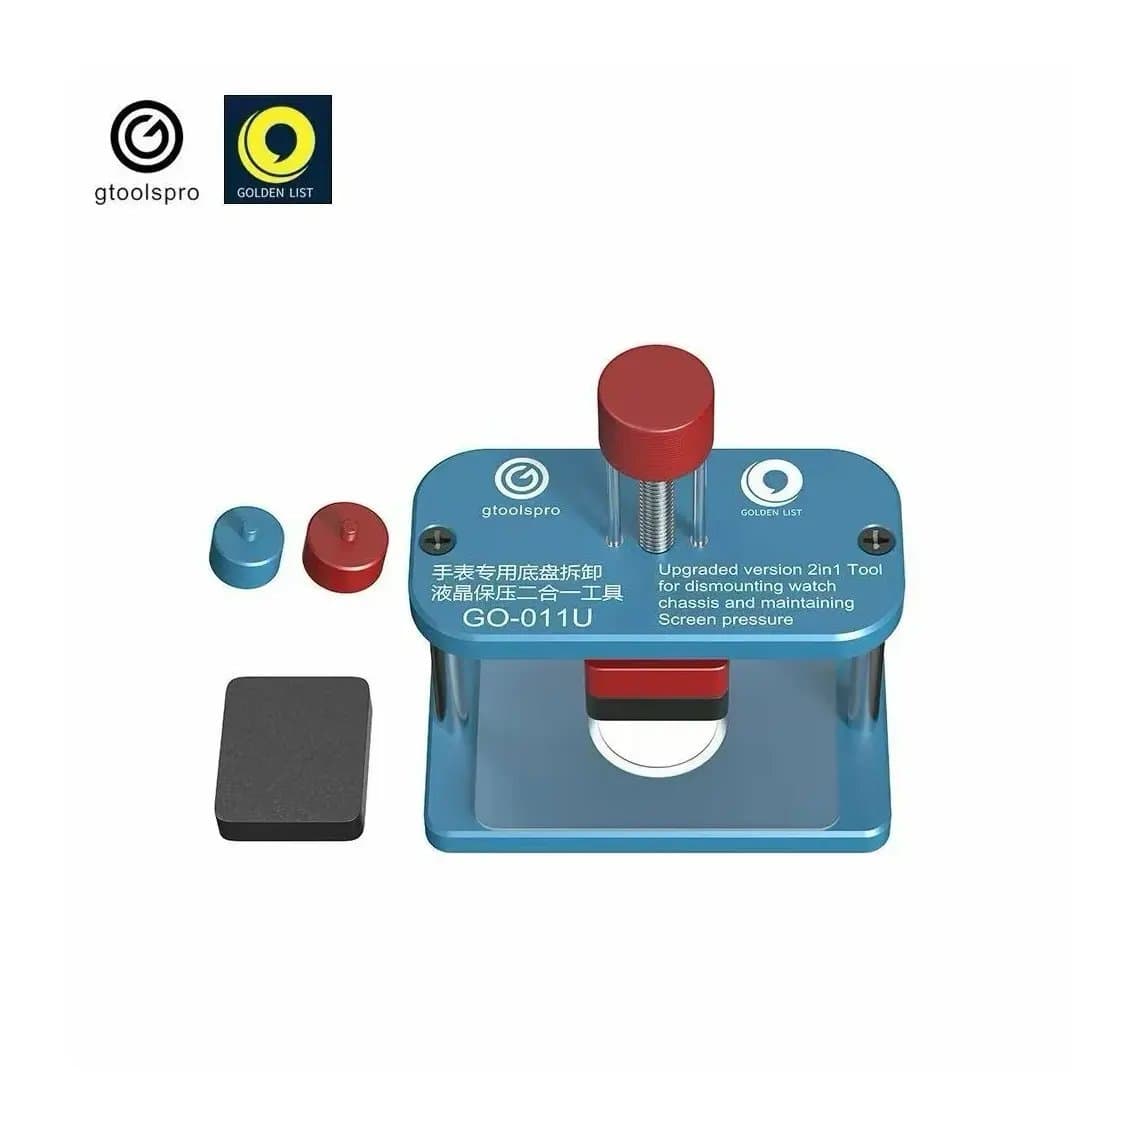
| Watch holder or clamp | Holds the case still while you open it and presses the new display while adhesive sets |
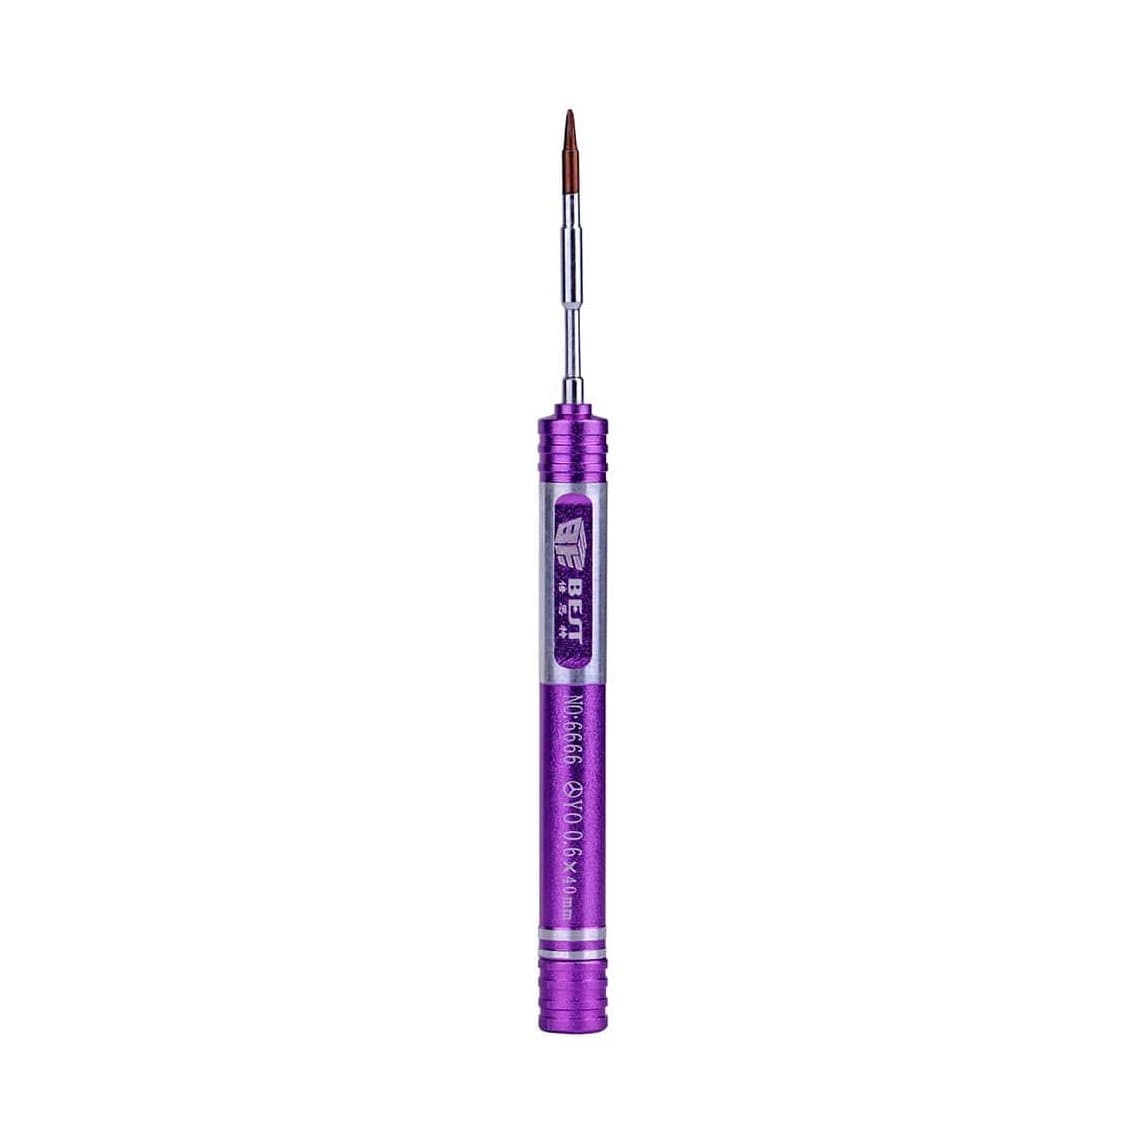
| Tri-point Y0.6 and small cross-head drivers | Remove the connector shield and internal screws (sizes vary by model) |
| Plastic spudger and fine tweezers | Disconnect connectors and handle flex cables without shorting anything |
| Model-specific pre-cut adhesive | Re-seals the display at the correct height |
| Microscope or magnifier | Lets you see connectors, flex damage and debris on the bonding surface |
A dedicated kit saves time. The iW-Opener 6-in-1 Apple Watch repair tool set groups the opening tools, and a tri-point Y0.6 screwdriver fits the shield screws on many generations. For holding the case and keeping pressure on the new screen, the GO-011U 2-in-1 watch chassis and screen pressure tool does both jobs. Heat with a pad from our heating pads range rather than a hot air gun, which concentrates heat. Work under one of our microscopes if you can; Apple Watch connectors are tiny.
Before you open the watch
- Identify the exact model and case size. Displays are not interchangeable between generations or between sizes, and some generations have separate GPS and Cellular parts.
- Check the battery. If the display is pushed up from inside, the battery is likely swollen. Treat it as a battery job first, and handle it with extra care.
- Ask for the passcode and pairing status. You need to test the watch after repair. Never attempt to remove Activation Lock; that stays with the owner's Apple ID.
- Discharge the battery a little. A watch at a lower charge is less dangerous if the battery is damaged during opening.
- Set up ESD protection. Use a grounded mat and wrist strap.
Step-by-step: replacing the display
1. Heat the display edge
Place the watch display-up on a heating pad, or warm it evenly, until the adhesive softens. Keep the heat moderate. You are softening glue, not cooking the watch; excess heat damages the OLED and stresses the battery.
2. Find the right entry point
The display flex cables run along one edge. You open from the opposite side and hinge the display towards the cables, like opening a book. On many models the cables sit nearer the Digital Crown side, but this varies, so confirm the layout for the model in front of you. Insert a very thin blade at the glass edge on the entry side, angled flat and shallow, and only as deep as the adhesive.
3. Work the blade around the edge
Slide the blade along the edges to cut the adhesive, keeping it shallow. Add a thin pick to hold the gap open as you go. Do not go deep on the cable side. If the glass is shattered, cover it with tape first so fragments stay together and you have a surface to lift.
4. Hinge, don't lift
Open the display only as far as the cables allow, normally a small angle, and support it there. Never pull it straight up. On earlier models with a Force Touch layer, check whether it stays with the display or the case, and keep it intact.
5. Disconnect the battery first where possible
Remove the screws holding the connector shield or bracket, then disconnect the battery before the display cables wherever the layout allows. On some generations the display cables are reachable before the battery connector; in that case, avoid touching any other contacts with metal tools and work slowly. Use a plastic spudger on connectors, never metal.
6. Disconnect the display and remove it
Release the display flex connectors (and the Force Touch flex, on models that have one) and set the old display aside. Photograph the cable routing if the model is unfamiliar.
7. Clean the case
Remove all old adhesive from the bonding lip and wipe with isopropyl alcohol. Any leftover glue or debris makes the new display sit high, which causes lifting, pressure marks or poor touch near the edges.
8. Connect the new display and test
Connect the new display, reconnect the battery and refit the shield. Before any adhesive goes on, power the watch up and test it (see the checklist below).
9. Fit the adhesive and seal
Disconnect the battery again, fit the model-specific pre-cut adhesive to the case or the display as the part requires, reconnect, fold the display down and press it evenly. Keep it in a clamp or pressure tool for the time the adhesive maker recommends.
Full display assembly vs glass-only refurbishing
When only the cover glass is cracked and the display underneath works, some shops separate the glass and re-laminate new glass instead of fitting a whole assembly. It is cheaper on parts but needs dedicated equipment and practice.
| Approach | When it fits | What you need | Risk |
|---|---|---|---|
| Full display assembly | Cracked panel, lines, dead touch, or any job where speed matters | Opening tools, adhesive, the correct assembly | Lower; fewest steps |
| Glass-only refurbishing | Glass cracked, display and touch still working | Separator, laminating moulds, OCA, practice | Higher; panel can crack during separation |
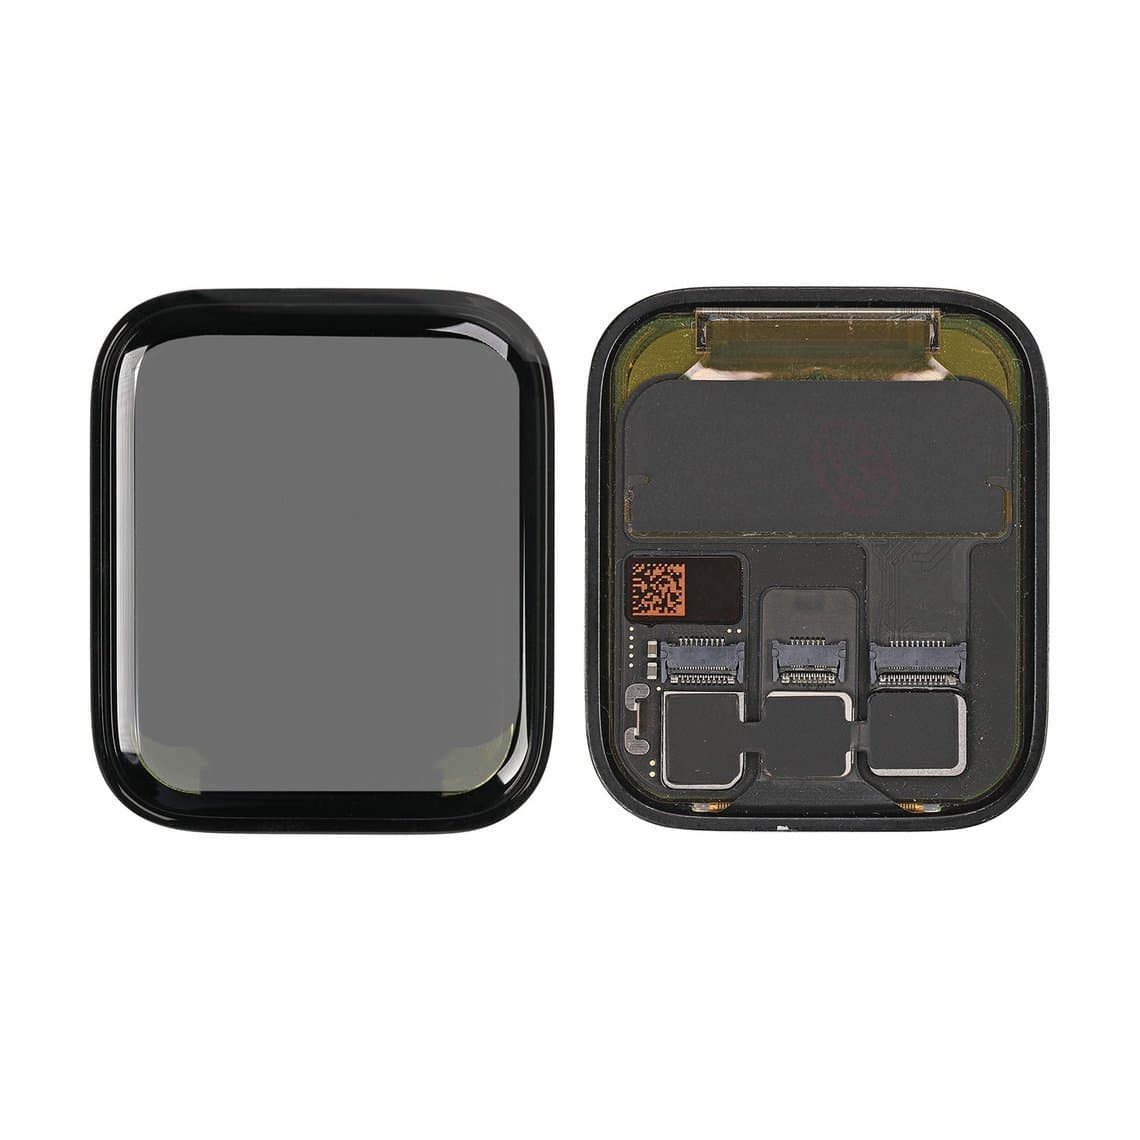
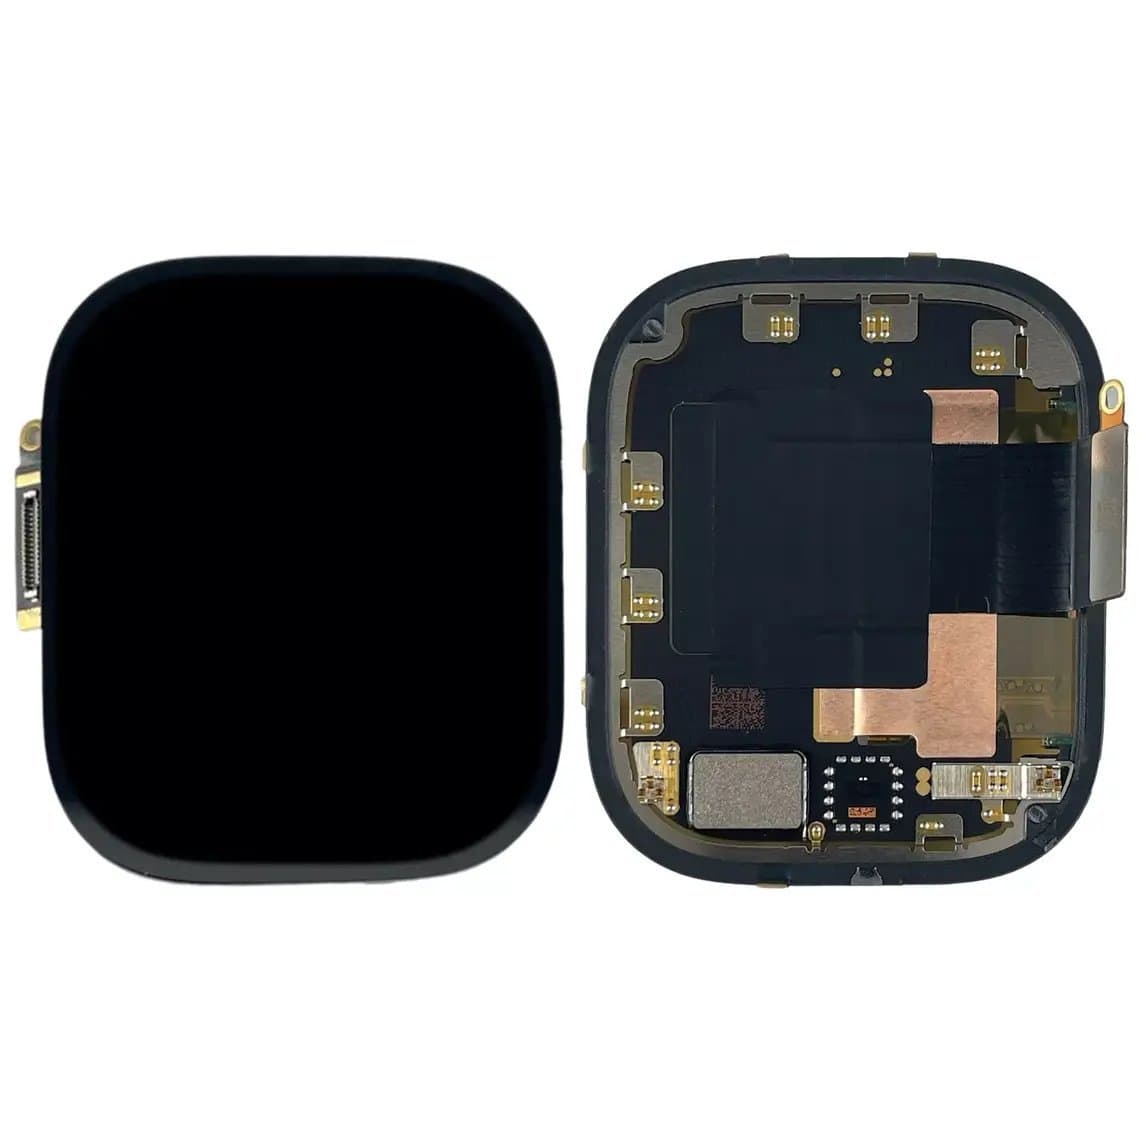
For full assemblies, order by exact generation and size: for example the 40mm Series 5/SE display assembly or the 49mm Apple Watch Ultra display assembly. For refurbishing, a temperature-controlled separator such as the HMT Apple Watch screen separator and a Gtoolspro Apple Watch screen repair and laminating set cover the separation and re-lamination steps. Our iPhone screen replacement kit guide covers the same bench habits.
Test before you seal
- Display lights up with even brightness, no lines, tint or dead pixels.
- Touch works across the whole surface, including the edges and corners.
- Digital Crown scrolls and clicks; side button works.
- Force Touch responds, on models and software versions that still use it.
- Always-on display behaviour, where the model supports it.
- Watch charges on its charger and the heart-rate sensor reads (these tell you nothing was disturbed at the back).
- Watch pairs or reconnects to the owner's iPhone.
Typical problems and how to avoid them
- Torn display flex. Caused by opening too far or in the wrong direction. Hinge from the correct edge and support the display at a small angle.
- Damaged or punctured battery. Caused by a blade going too deep. Keep the blade shallow; if a battery swells, smokes or smells, move it to a fireproof container and away from the bench.
- Display lifts after a few days. Old adhesive left behind, wrong adhesive, or too little clamping time.
- Touch dead near the edges. Usually uneven pressure or debris under the edge; occasionally a faulty part, which is why you test before sealing.
- Water resistance. A new adhesive helps against dust and splashes, but water resistance cannot be guaranteed after the watch has been opened. Tell the customer before the repair.
When the watch won't boot: restore tools
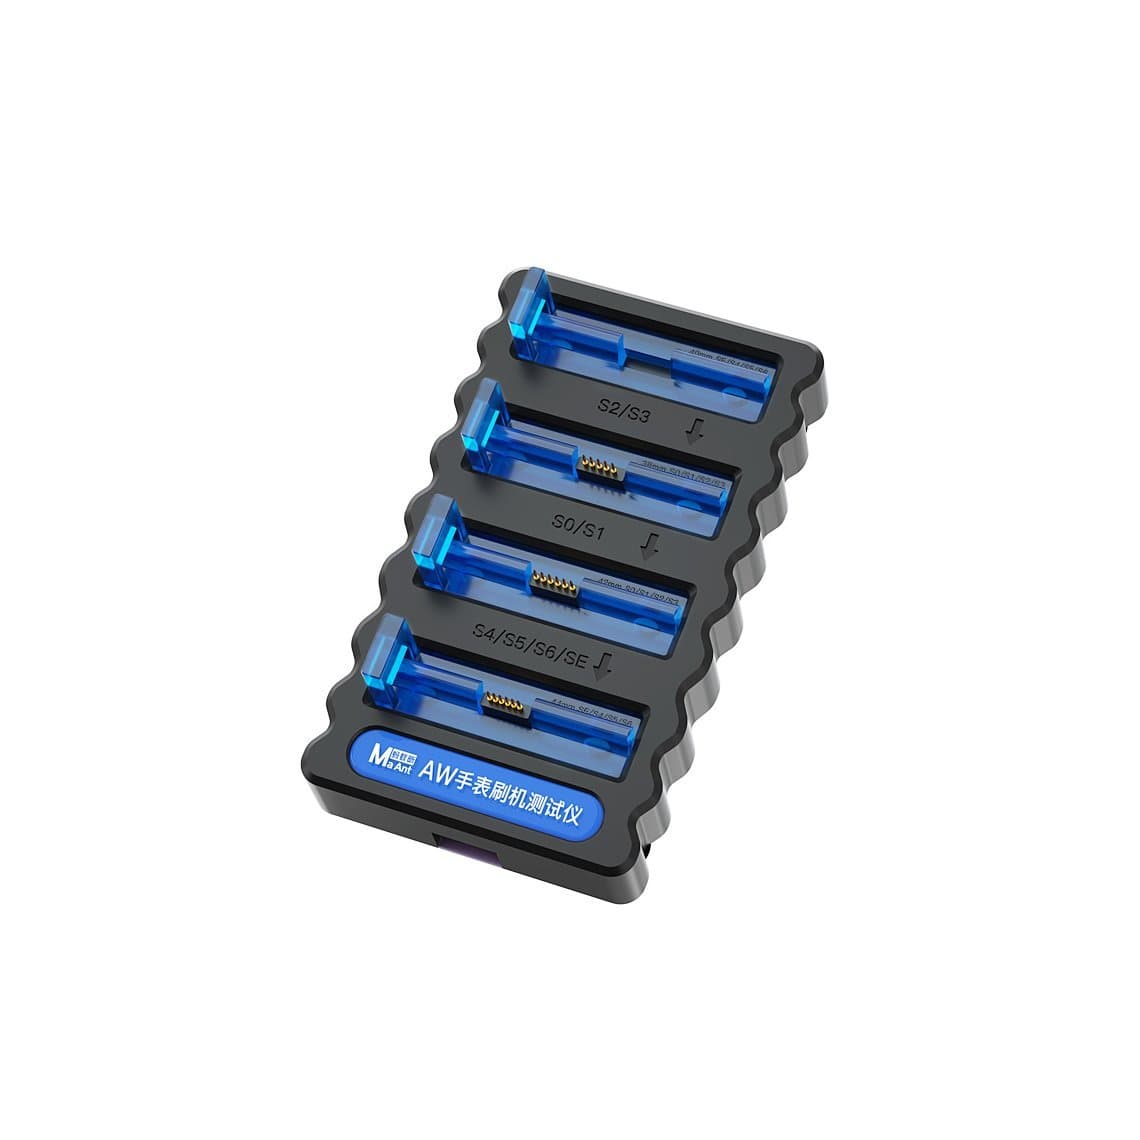
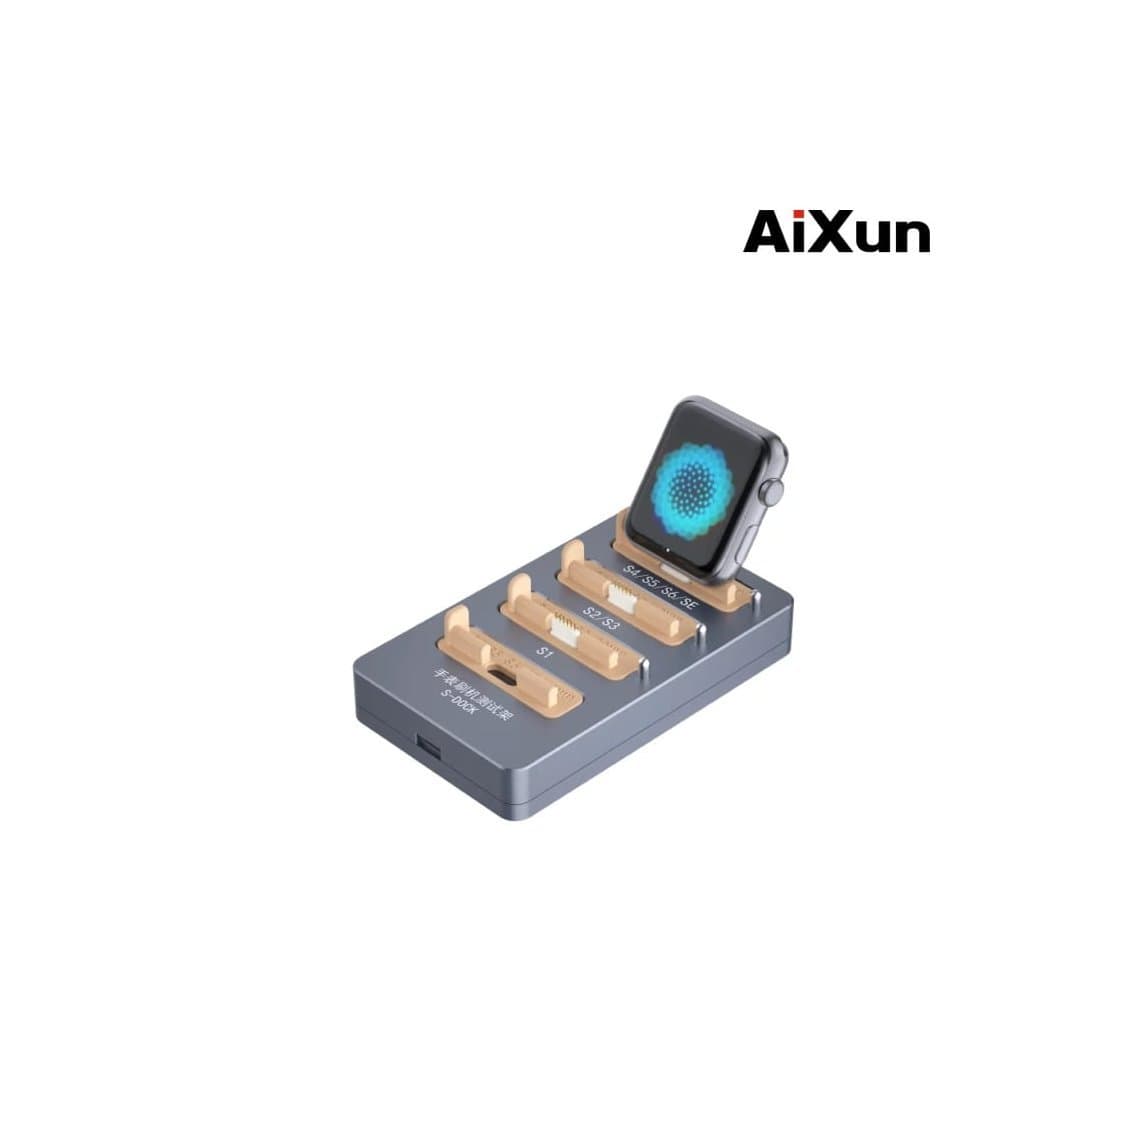
Sometimes a watch is stuck on the Apple logo, in a boot loop, or shows a red exclamation mark. That can follow a failed update or a power interruption, and it is a software problem, not the screen. Restore testers connect to the watch and let you restore its software from a computer. The MaAnt Apple Watch flashing restore tester and the AiXun S-Dock Apple Watch restore tester list the generations they support in their names; check compatibility before buying, because later generations connect differently. Restoring does not remove Activation Lock, and it should only be done for the owner. More options are in our watch restore tools range.
Safety summary
Moderate heat only, a shallow blade, plastic tools on connectors, the battery disconnected as early as the layout allows, a grounded ESD mat throughout, and a fireproof container on the bench for damaged lithium batteries.
Questions
Can you replace just the glass on an Apple Watch?
Yes, if the display underneath still works, the cover glass can be separated and new glass laminated on with a separator and laminating moulds. It needs practice and the panel can crack during separation. For most shops, fitting a full display assembly is faster and more predictable.
Are Apple Watch screens interchangeable between sizes or series?
No. Each generation and case size uses its own display, and some generations have separate GPS and Cellular parts. Check the model number on the back of the case and order the exact matching assembly.
Is an Apple Watch still water resistant after a screen replacement?
It cannot be guaranteed. Fresh model-specific adhesive fitted on a clean case gives the best seal you can achieve, but you should tell customers to avoid swimming and showering with the watch after any repair.
Why won't my Apple Watch turn on after a screen replacement?
Check the basics first: the battery connector is fully seated, the display flex is connected and undamaged, and the battery has charge. If the watch powers on but is stuck on the logo or a boot loop, a software restore with a restore tester may fix it.
Display assemblies, opening kits and pressure tools are in our Apple Watch repair tools and smartwatches categories, tested before they ship from Shenzhen. Repair shops can unlock wholesale pricing and reorder parts by SKU or CSV with Quick Order.