Phone Short Circuit Repair: How Technicians Find and Fix It
17 November 2026 · LightspeedTools team
Short answer: A phone short circuit is almost always one failed part, usually a small capacitor or an IC, that ties a power rail straight to ground. Technicians confirm it on a current-limited DC power supply or with a multimeter in diode mode, then find the exact part by making it warm and watching for heat with a thermal camera, rosin or freeze spray. Remove the part, measure again, and replace it if the circuit needs it.
What a short circuit on a phone board actually is
A phone logic board has a handful of power rails. The main rail comes straight from the battery connector and feeds the power management IC (PMIC), the charging IC, audio and backlight circuits and more. Smaller rails come out of the PMIC at lower voltages for the CPU, memory, cameras and sensors. Every rail is lined with decoupling capacitors that sit between the rail and ground.
When one of those capacitors cracks, takes liquid or is hit by a voltage spike, it can fail as a near-zero resistance path to ground. The whole rail is then pulled to ground through that one part. The same happens when an IC fails internally, for example a charging IC after a bad cable or a backlight driver after a cheap screen. The result is a rail that measures close to zero ohms to ground. A short can be hard (rail effectively welded to ground), partial (low but not zero, causing leakage and slow heating), or inside an IC or the board itself.
Signs of a short on the DC power supply
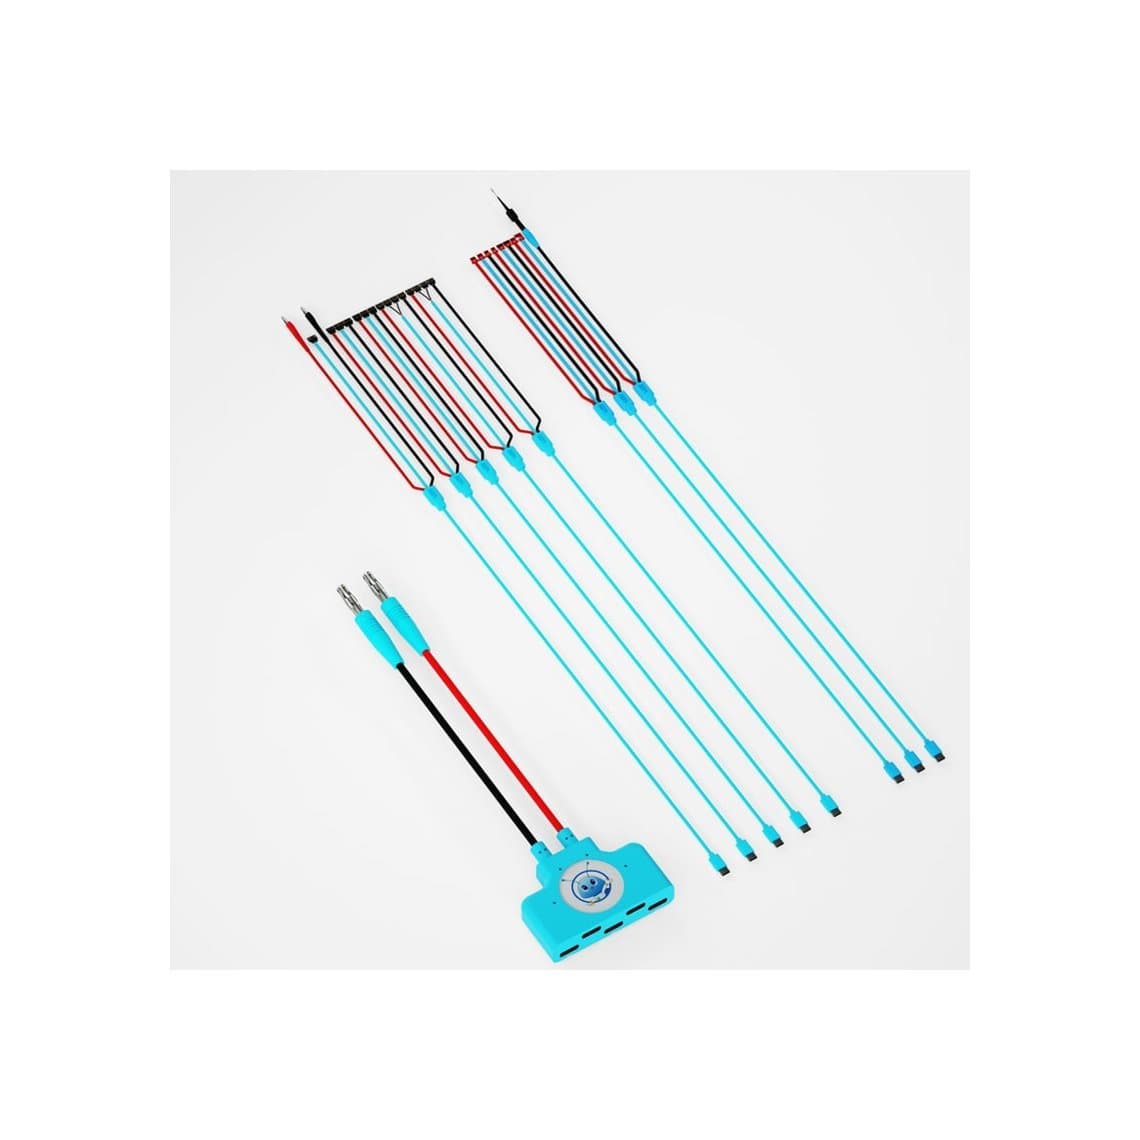
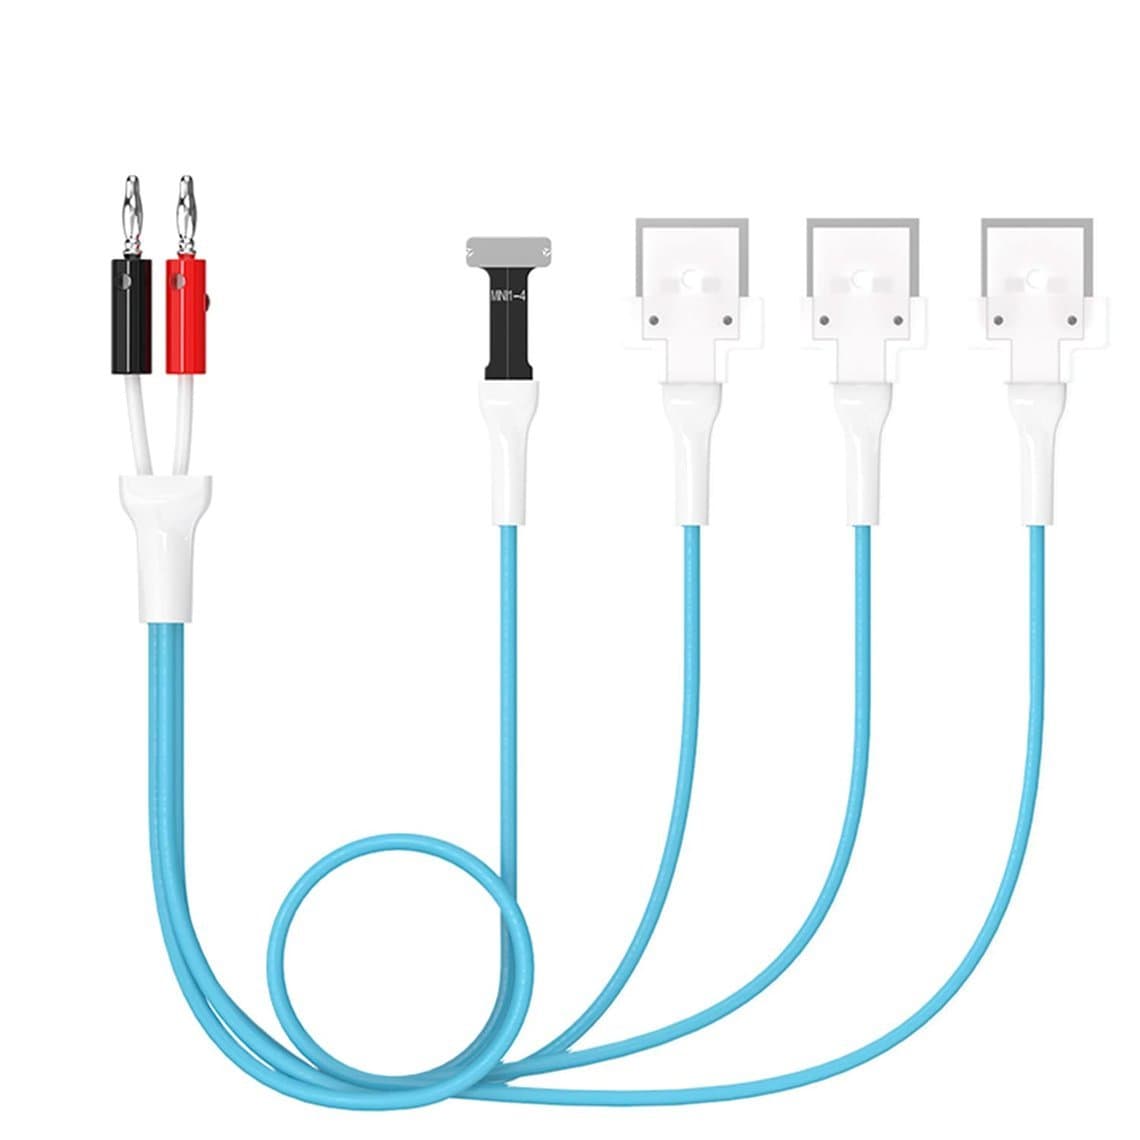
A bench supply with an adjustable current limit is the main tool here. Connect the board through a boot cable such as the SunShine iBoot A power supply cable for iPhone, the MaAnt KJ boot cable for iPhone and Android, or the WYlie WL-648 cable for iPad boards. Set the supply to the battery's nominal voltage with a modest current limit, then connect before pressing power.
| What the supply shows | What it usually means |
|---|---|
| Current jumps to the limit the moment you connect, voltage drops | Hard short on the main rail |
| Small steady current with no button press | Leakage on the main rail (compare with a known-good board; some boards draw a tiny standby current) |
| Normal at connect, then current climbs and sticks when you press power | Possible short on a rail that only turns on after the PMIC starts |
| Normal at connect, no reaction to the power button | Often not a short; see a full no-power diagnosis instead |
If the board shows no short at all and simply will not start, the cause is more likely a boot or power sequence fault. Our guide to phone not turning on: board-level diagnosis walks through that path, so this article stays on finding the short itself.
Confirm the short with a multimeter
With the board unpowered and the battery disconnected, measure the suspect rail to ground. Most phone technicians use diode mode for this, and some also use low resistance range. A reading at or very close to zero on a main rail test point, such as a large capacitor beside the battery connector, confirms a short.
The number only means something when compared. Board-view software and schematics list typical diode readings for many test points, and the most reliable reference is the same point on a known-good board of the same model. Use the same probe orientation the reference used. A reading that is low but not zero calls for care: some rails normally read low because of the parts hanging on them.
Fine probes matter. Phone capacitors are tiny and closely packed, and a broad tip can bridge two pads and give you a false short. A good meter from our multimeter range paired with fine needle probes avoids most of these mistakes.
Locating methods: how to find the failed part
A short turns the electrical energy you push into it into heat at the failed part. Every common location method is a way of seeing that heat.
Thermal camera
The quickest and cleanest method. Point the camera at the board, apply power to the shorted rail, and look for the spot that rises above the rest. Dedicated repair thermal cameras mount over the bench and show small hot spots on a dense board well. Shiny metal shields reflect heat and read wrongly, so remove shields where you can and remember that a hot spot under a shield may be a nearby part.
Rosin
Smoke a thin coat of rosin onto the board area with a soldering iron, let it frost white, then apply power. The rosin melts and turns clear first over the hottest part. It is cheap and precise, but it leaves residue that must be cleaned off with isopropyl alcohol afterwards, and the smoke should go into a fume extractor.
Freeze spray or alcohol
A short burst of freeze spray leaves a layer of frost. When power is applied, the frost melts first over the warm part. A drop of isopropyl alcohol works on the same principle, evaporating first where it is warm. Both are fast and leave little behind, but freeze spray can carry a static risk, so keep your ESD setup in place.
Injecting a limited voltage: the principle and the cautions
To make the failed part warm enough to see, you push current into the shorted rail from a bench supply. This is often called voltage injection. The point is not the voltage but the controlled current: because the rail is shorted, the supply hits its current limit, and almost all the power is dissipated at the failed part.
- Disconnect the battery. Never inject with a battery attached.
- Find the rail's normal operating voltage from the schematic or board view. Set the supply at or below that voltage. Going above a rail's rated voltage can destroy healthy parts on the same rail, especially low-voltage CPU and memory rails.
- Set a low current limit first and raise it gradually, watching the camera or rosin the whole time.
- Connect positive to the shorted rail (a capacitor pad on that rail) and negative to a solid ground point, such as a shield frame. Check polarity twice.
- Apply power in short bursts. Stop as soon as a spot shows heat.
Main rail shorts tolerate injection better than tiny rails because the parts on them are rated for battery voltage. On low-voltage rails, keep the voltage conservative and expect less heat, which is where a sensitive thermal camera earns its cost. There is no single safe voltage for every phone; it depends on the rail and the model.
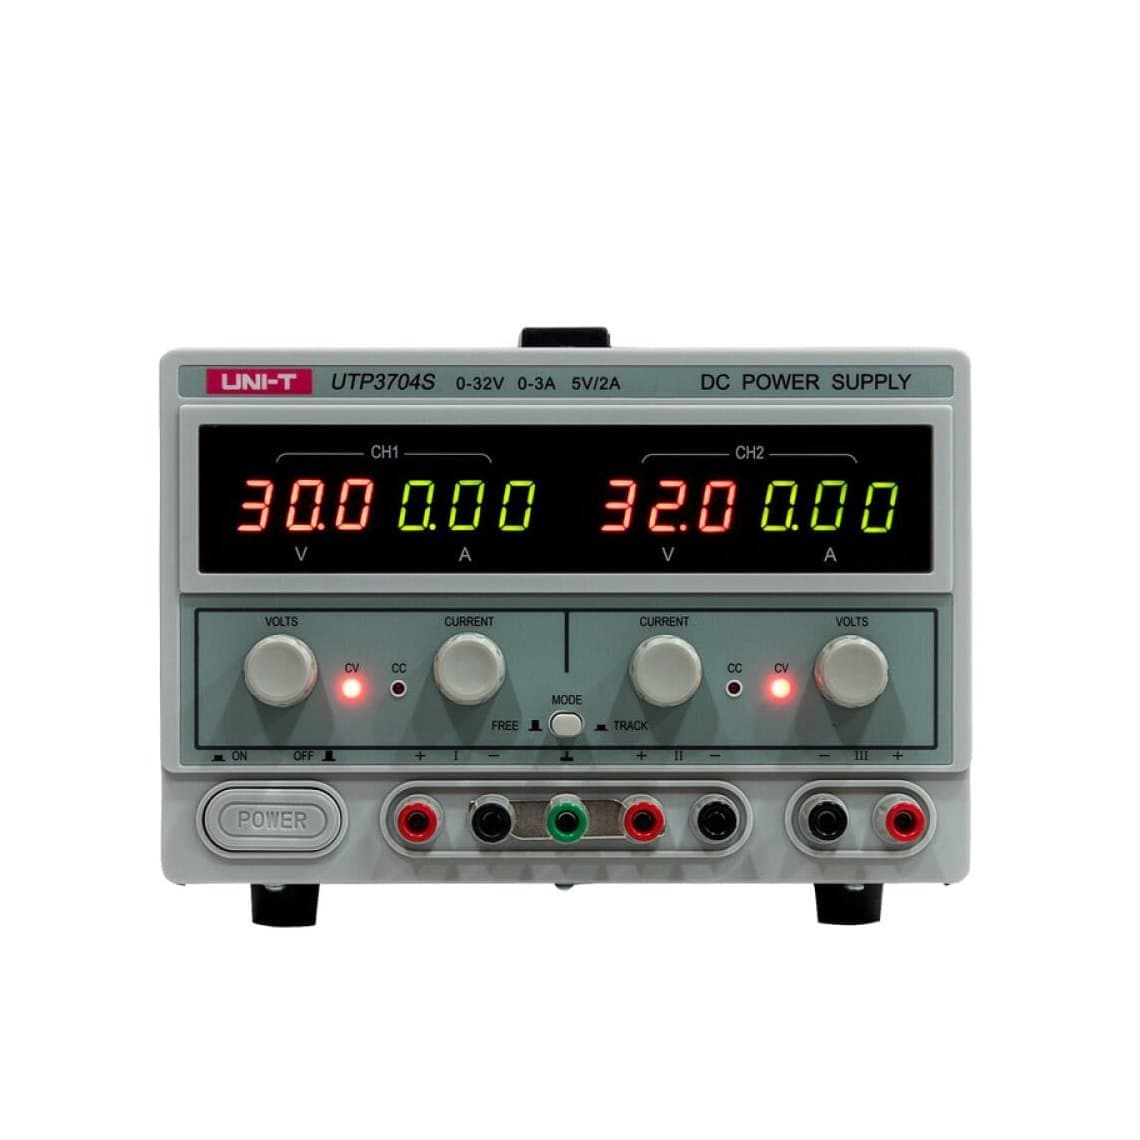
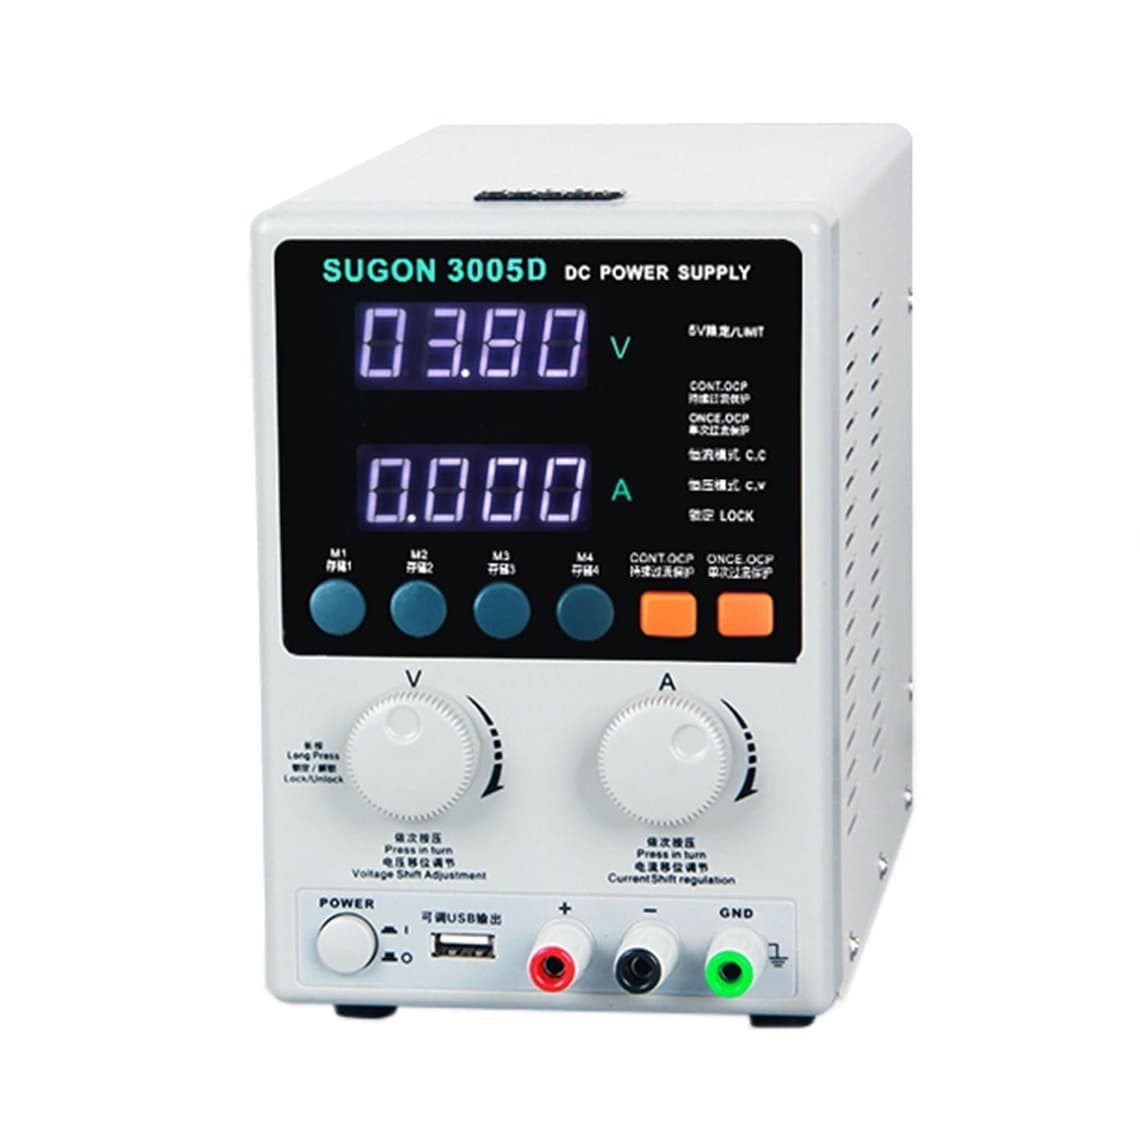
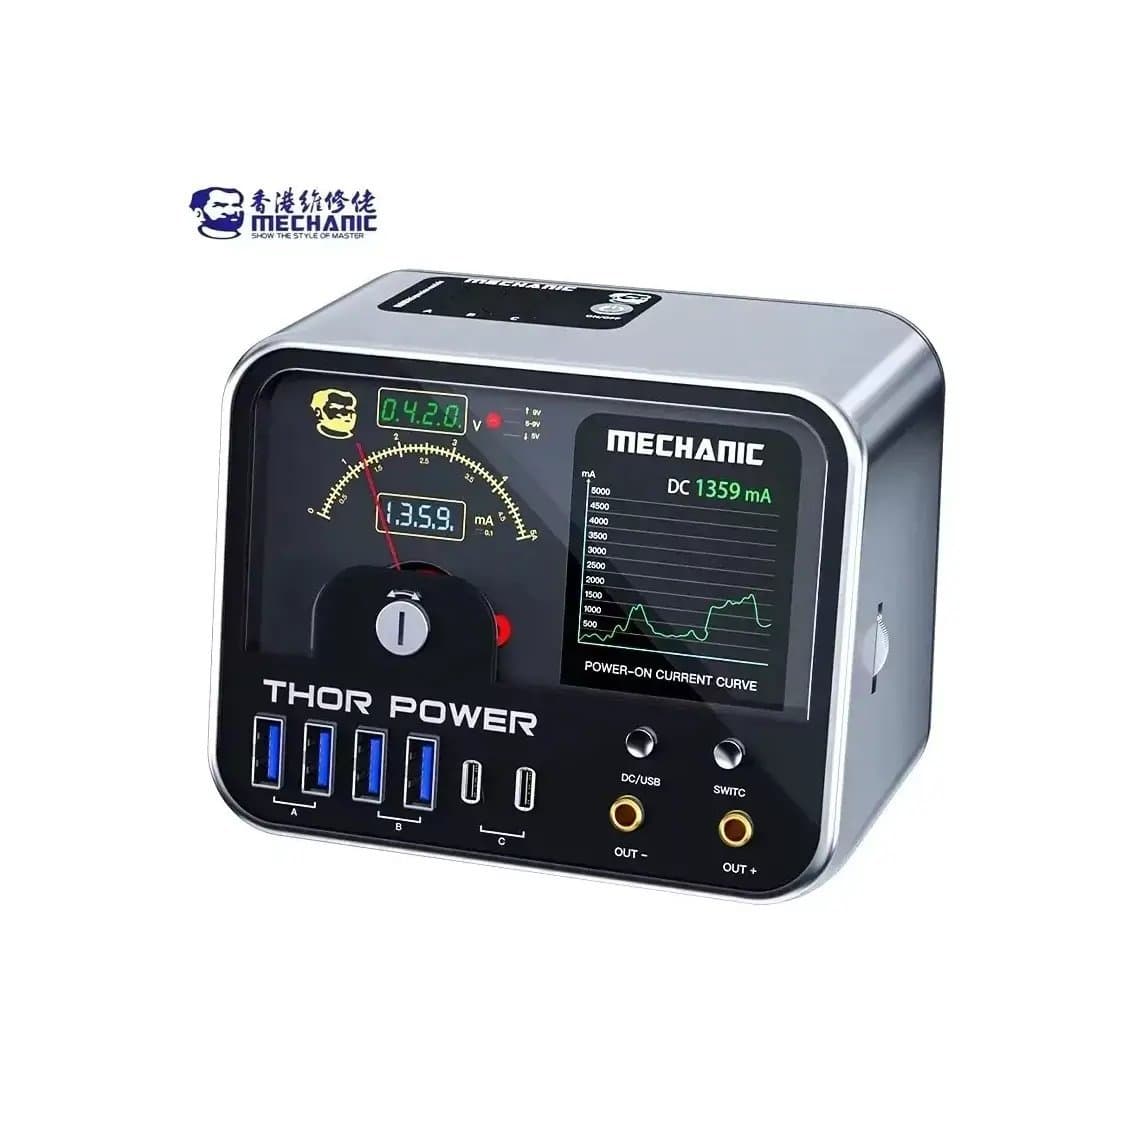
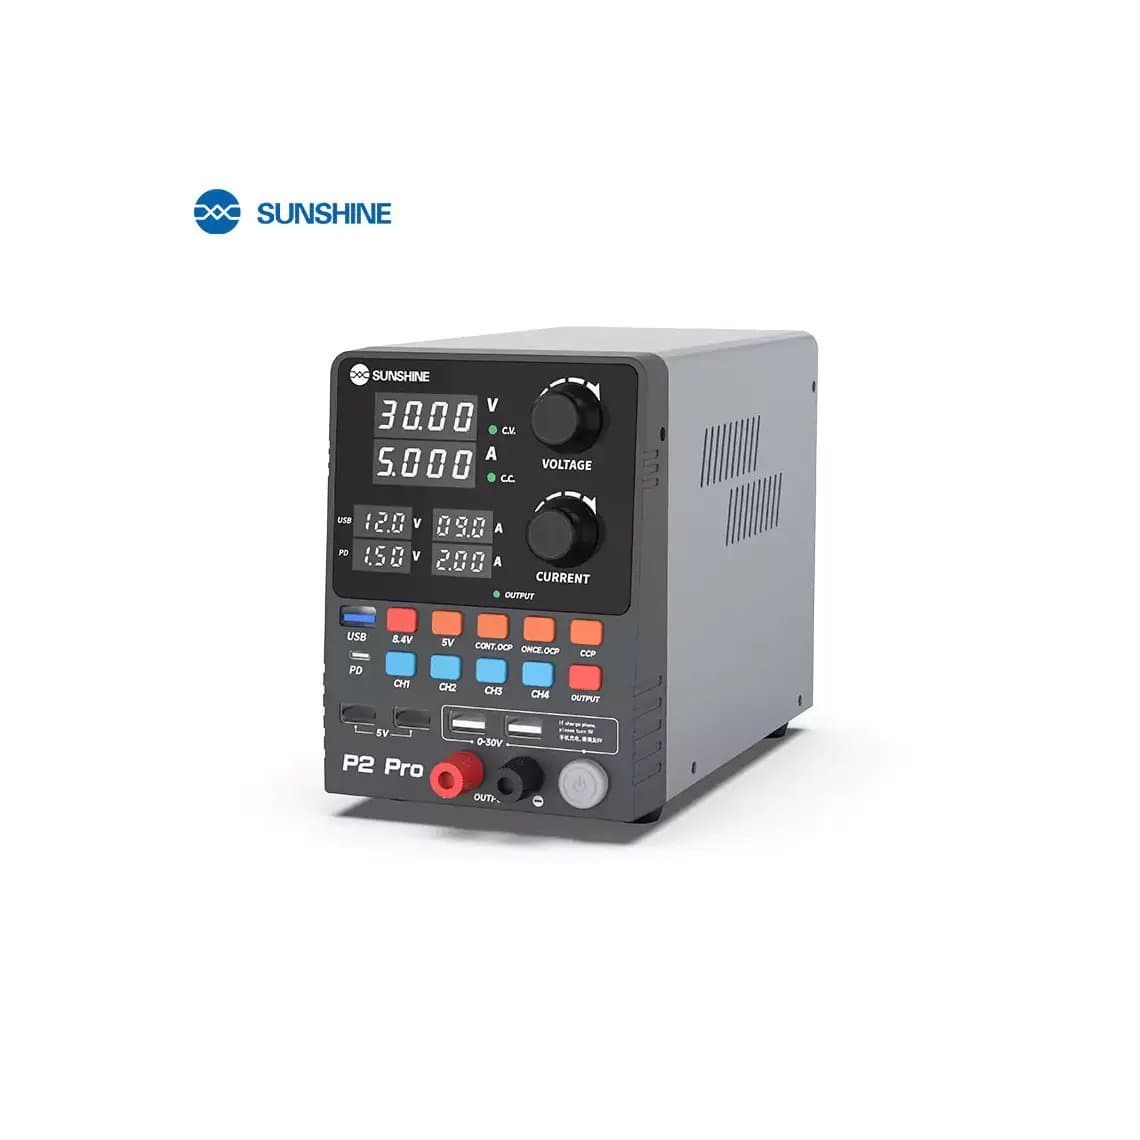
A supply with a precise, stable current limit makes this safer. Options such as the UNI-T UTP3705S, the SUGON 3005D, the Mechanic Thor Power and the SunShine P2 PRO are listed in our DC power supply category.
Removing the component and confirming the fix
Once a part shows heat, confirm before replacing anything:
- Inspect the part under a microscope. Cracks, burn marks, corrosion or a swollen body are common.
- Remove it with tweezers and an iron, or with a hot air rework station for ICs. Shield nearby plastic connectors and keep heat away from any battery.
- Measure the rail to ground again. If the reading returns to normal, you found the culprit.
- Decide whether to replace. A single decoupling capacitor on a heavily filtered rail is sometimes left off as a temporary fix, but the correct repair is to fit a part of the same value and size from a donor or the schematic. ICs must always be replaced.
- Power the board and check current draw and function before reassembly.
Ask why the part failed. A shorted charging IC often follows a damaged cable or charger, and a backlight or display power short often follows a faulty screen. If the root cause is still in the phone, the new part may fail the same way.
When the short is inside an IC or a board layer
Sometimes the heat appears on a large IC such as the PMIC, the CPU or a memory chip. Before condemning it, remove the small capacitors around it and re-measure, because a failed capacitor under or beside an IC can look like an IC fault on a thermal image. If the short follows the IC, replacing it requires BGA rework skills, and with CPUs and memory on recent phones, pairing and data limits may make the repair impractical.
A short can also sit inside the board itself, between internal copper layers, often after liquid damage, a bent board or a drop. Signs are a rail that stays shorted after every part on it is removed, or heat spread across an area with no component. Stacked boards used on many recent iPhones and some Android flagships add another possible location: the interposer and the joints between layers. Layer shorts can sometimes be isolated by cutting or jumpering a trace, but success varies and is often uneconomic. Be honest with the customer about the odds.
Safety checklist
- Remove the battery before injecting or using hot air. A punctured or overheated lithium battery can catch fire.
- Work on a grounded ESD mat with a wrist strap.
- Wear eye protection when injecting; a failed capacitor can crack or pop.
- Use fume extraction for rosin and flux smoke.
Common mistakes
- Injecting a voltage higher than the rail's normal voltage and killing healthy parts.
- Reading a probe bridge as a short because the tips were too broad.
- Replacing an IC when a neighbouring capacitor was the real fault.
- Skipping the root cause and sending the phone back with a faulty screen or charge port still fitted.
Questions
What causes a short circuit in a phone?
The most common causes are liquid damage, drops that crack small capacitors, faulty chargers or cables, and defective aftermarket screens or flex cables. Each can make a capacitor or IC fail as a path to ground on a power rail.
Can a short-circuited phone be fixed?
Often, yes. When the short is a single capacitor or a replaceable IC, the repair is routine for a board-level technician. Shorts inside a CPU, memory chip or board layer are much harder and may not be worth repairing.
What voltage should I inject into a shorted phone rail?
There is no universal value. Set the supply at or below the normal voltage of that specific rail, taken from the schematic or board view, and rely on a low current limit to control heat. Never inject with the battery connected.
Do I need a thermal camera to find a short?
No. Rosin, freeze spray and alcohol all work and cost little. A thermal camera is faster, cleaner and better at finding the weak heat from small rails and partial shorts, which is why busy board repair benches use one.
Short hunting comes down to a stable current-limited supply, good probes and a way to see heat. You can browse our DC power supplies, thermal cameras and multimeters, all tested before shipping from Shenzhen. Shops buying for several benches can open an account through wholesale, where prices unlock after $500 of purchases, and reorder by SKU or CSV through Quick Order.