iPhone Water Damage Repair: The Complete Bench Process
17 November 2026 · LightspeedTools team
Short answer: Good iPhone water damage repair starts with getting the battery disconnected as fast as possible, then opening the phone, finding corrosion under a microscope and cleaning the logic board with a proper solvent, often in an ultrasonic cleaner with sensitive parts removed first. Only after the board is fully dry do you power it from a current-limited DC supply and replace whatever the liquid destroyed, usually the charging port flex, the screen or Face ID parts.
Corrosion keeps growing as long as there is moisture and voltage on the board, so the job is two jobs: stop the damage, then repair what has already happened. Here is the bench process in order.
What the customer should and should not do
If a customer calls before coming in, give them this short list.
- Power it off and leave it off. A phone that is still running is pushing current through wet circuits, which drives corrosion and can short components.
- Do not charge it. Plugging in a wet phone puts voltage straight onto the charging port and the lines behind it. Recent iPhones may show a liquid detection alert on the Lightning or USB-C port for exactly this reason.
- Do not put it in rice. Rice does not draw water out of a sealed phone, it leaves dust and starch in the port, and it wastes the hours when cleaning would help most. Apple itself advises against it.
- Do not use a hair dryer or oven. Heat can warp the display and stress the battery.
- Bring it in quickly and say what the liquid was. Fresh water, salt water, sugary drinks, coffee and chlorinated pool water all behave differently.
Bench intake: record before you touch
Record the state of the phone before any work.
- Model, storage and whether it powers on, vibrates, charges or shows anything.
- What liquid, how long ago and what the customer has already tried.
- Whether the data matters more than the phone. This decides how you work.
- Have the customer confirm in writing that liquid-damaged phones can fail during or after repair, and that some faults only appear once the board is cleaned.
Do not plug the phone into a charger or computer at intake to "see if it's alive".
Step 1: Open it and disconnect the battery immediately
Open the phone the normal way for that model, with gentle heat on the adhesive, and get to the battery connector before anything else. Use a plastic tool to lift the connector so you do not bridge anything with metal. On many iPhones the connector sits under a bracket that comes off first.
Lithium batteries that have been in liquid deserve caution. If the cell is swollen, punctured, hot or smells sweet or chemical, stop, keep it away from flammable material and handle it according to your local battery safety rules. Do not reuse a battery that has been submerged; fit a new one from our iPhone batteries range once the board is repaired.
Step 2: Full disassembly
Take the phone down to the bare logic board. Remove the screen, cameras, Taptic Engine, speaker, charging port flex and any other flex cables that connect to the board. Note where water stains, white residue or green and blue deposits appear on the housing and flexes; the pattern often tells you where the liquid entered and where to look on the board.
On iPhone X and later, the logic board is a stacked sandwich of two boards joined by an interposer. Liquid can get between the layers. Separating a sandwich board needs a preheater, the right stencils and practice; if you are not set up for it, clean what you can reach and be honest with the customer that hidden corrosion may remain.
Step 3: Inspect under the microscope
This is where most of the diagnosis happens. Under a stereo microscope from our microscopes range, go over both sides of the board and every connector.
- Connectors: battery, display, touch, charging port and camera connectors corrode early because they sit at board level and trap liquid.
- Around the power management area: white or green residue near filter capacitors and coils often marks a short to ground.
- Under shields: liquid wicks under shield cans, and corrosion can be hiding where you cannot see it with the shield on.
- Small passive parts: look for parts that are discoloured, lifted or eaten away completely.
Take photos before cleaning to compare later and to show the customer.
Step 4: Clean the board
The goal is to remove every trace of residue and dissolved minerals, not just to make the board look shiny.
Prepare the board
Remove anything that should not go into a bath. As a general rule that means microphones, speakers, the earpiece, cameras, Face ID parts, any part with a membrane or open cavity, and of course the battery. Removable shields are usually taken off so the solvent can reach underneath; soldered shields on some models are a judgement call, since removing them adds heat risk. If you are unsure about a part, keep it out of the bath and clean it by hand.
Ultrasonic cleaning
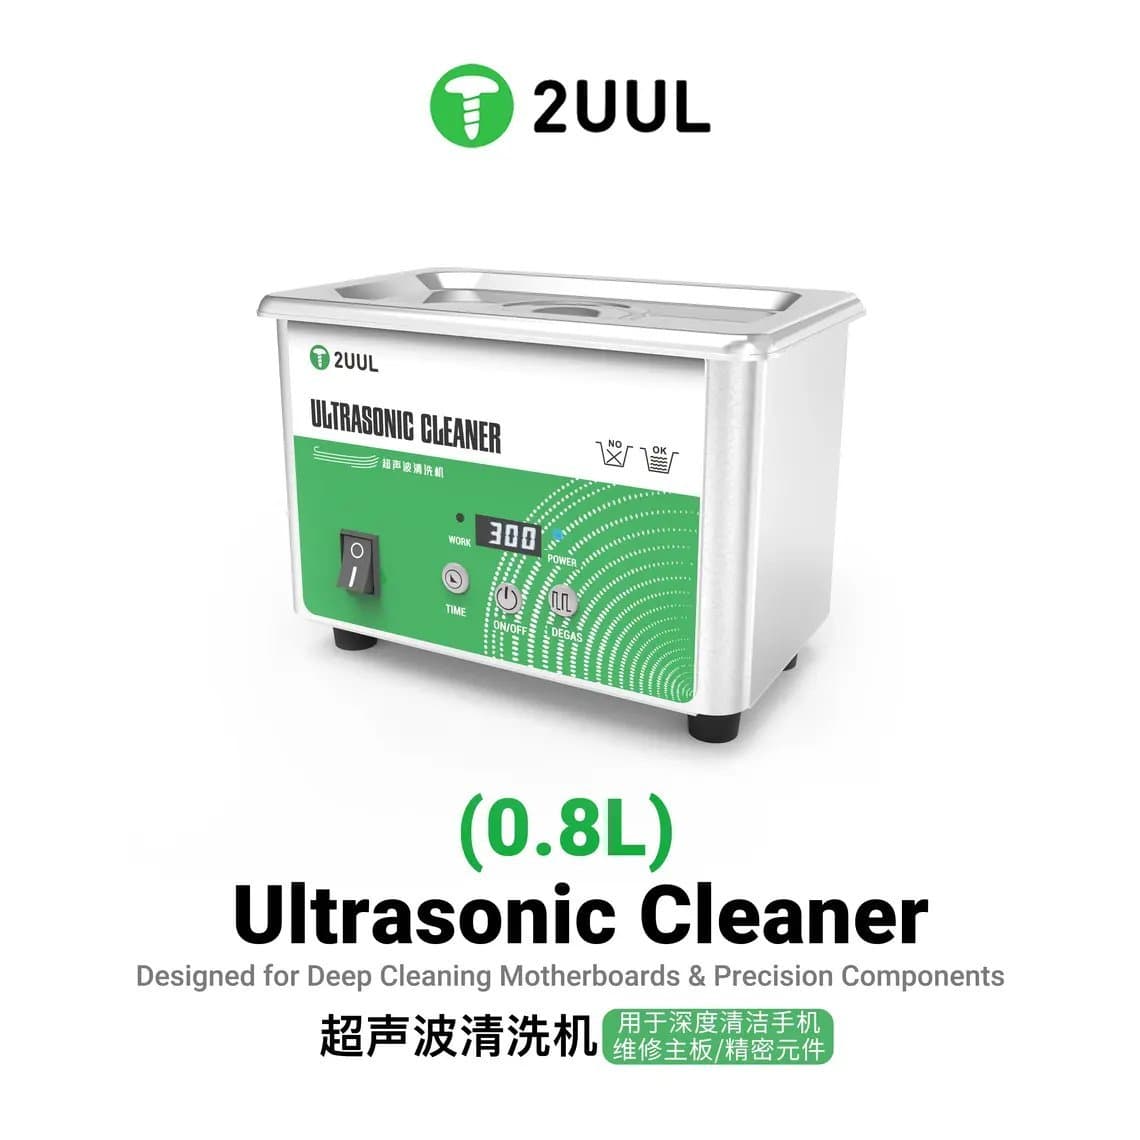
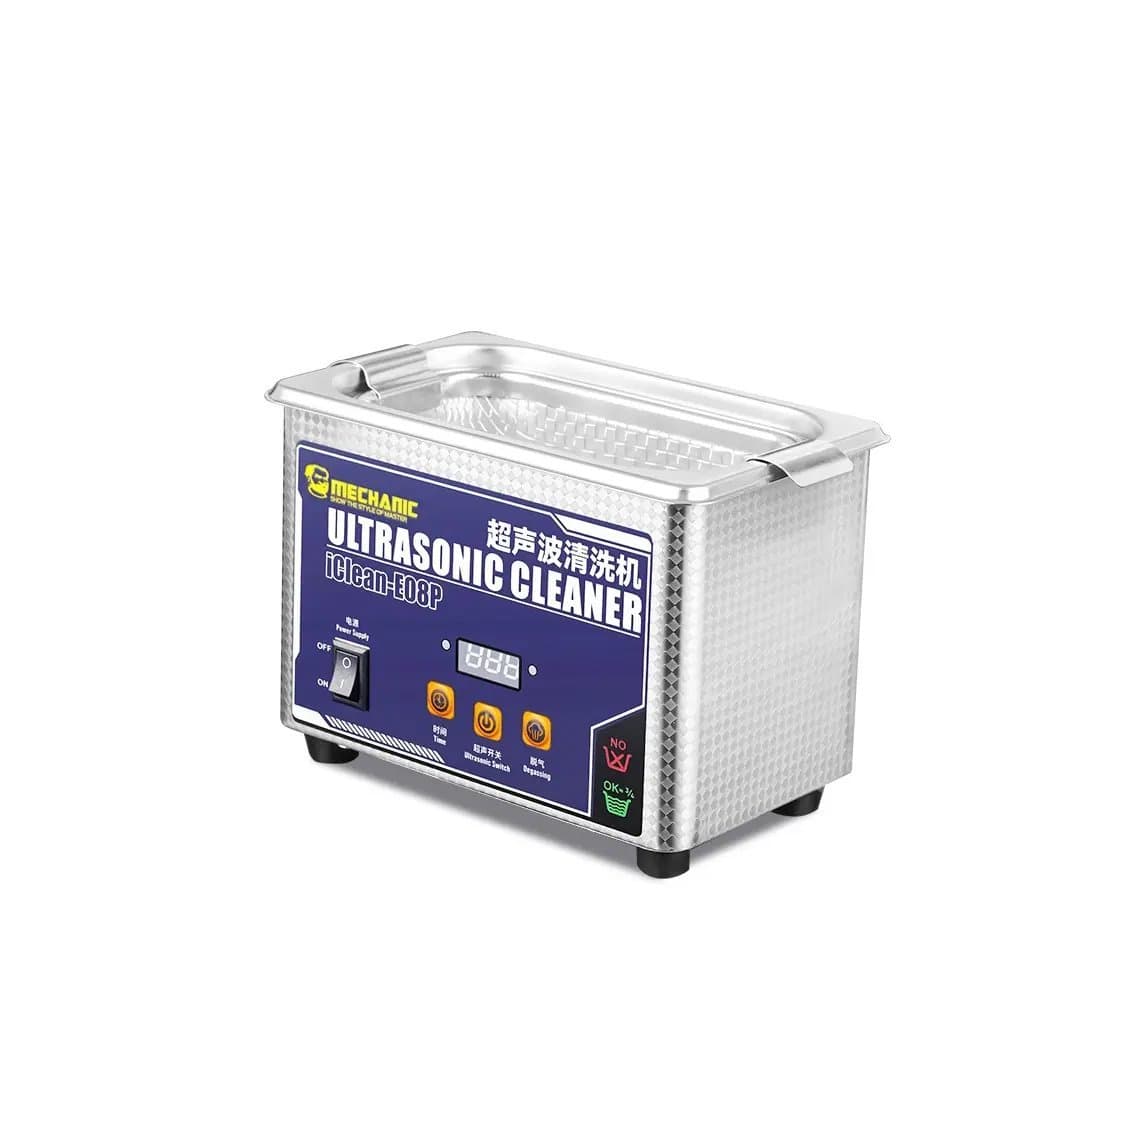
An ultrasonic cleaner reaches under chips and between pins in a way brushes cannot. Units such as the 2UUL SS01 0.8L ultrasonic cleaner or the Mechanic iClean-E08P are sized for phone boards. Use a cleaning fluid intended for electronics from our cleaning liquids range, and follow the cleaner's instructions on which fluids are safe in the tank. Flammable solvents such as isopropyl alcohol need care: work in a ventilated area, keep ignition sources away and do not use a heater function with a flammable fluid. Run short cycles and check the board between them.
Brushing and isopropyl alcohol
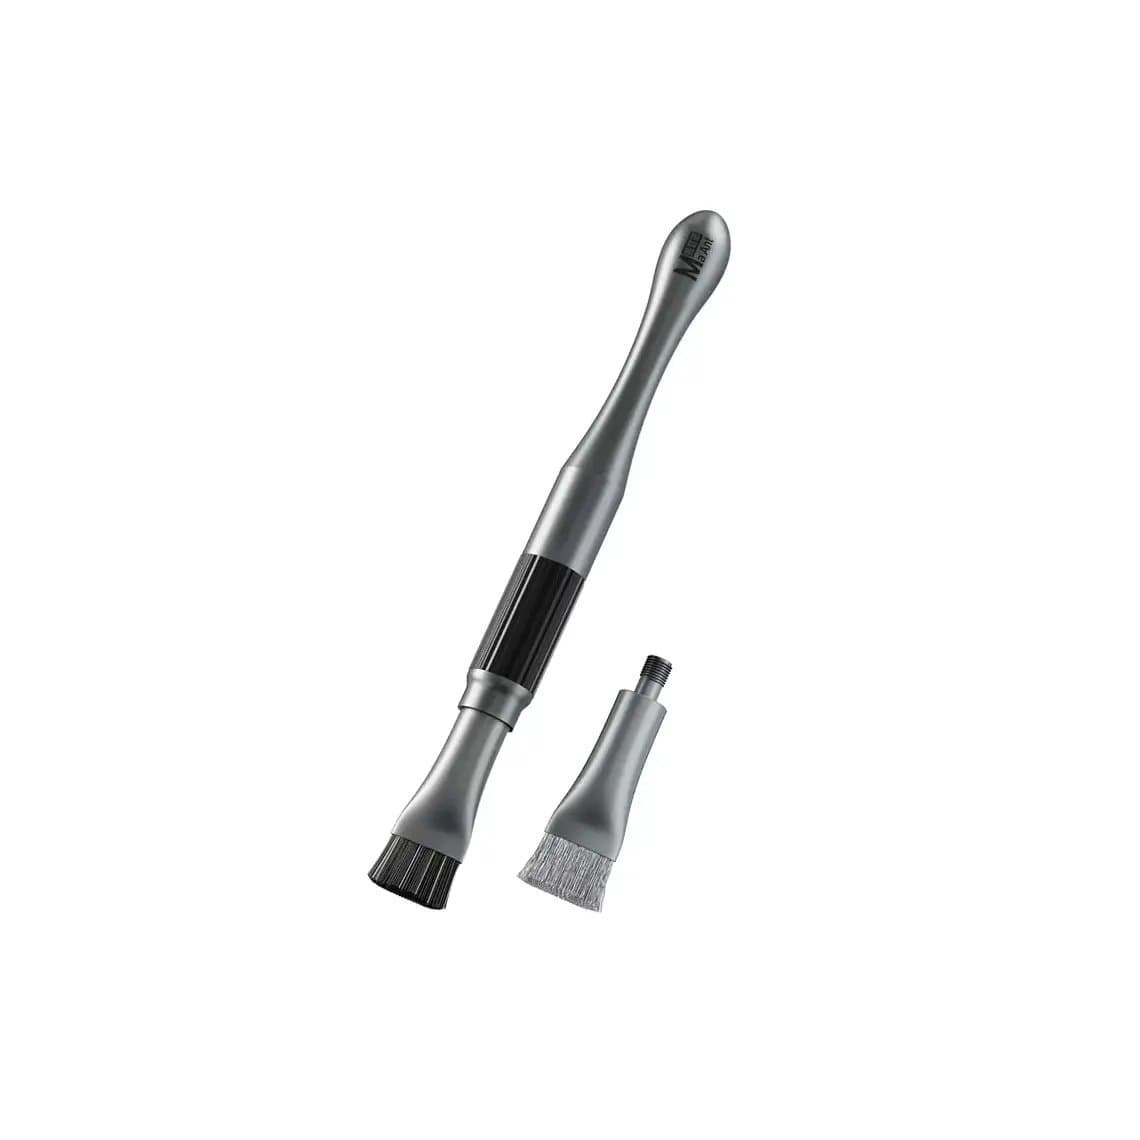
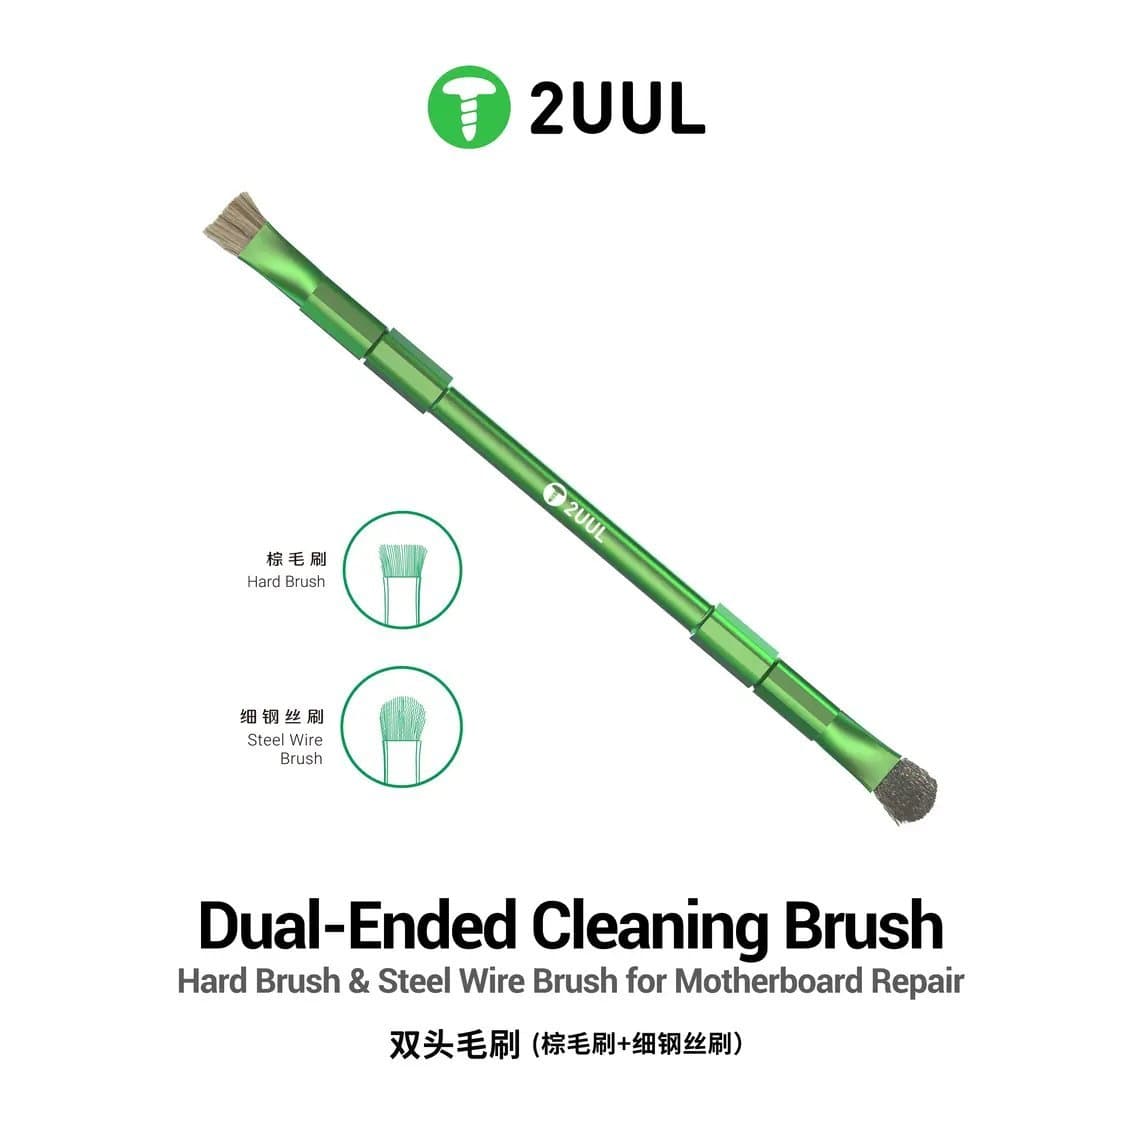
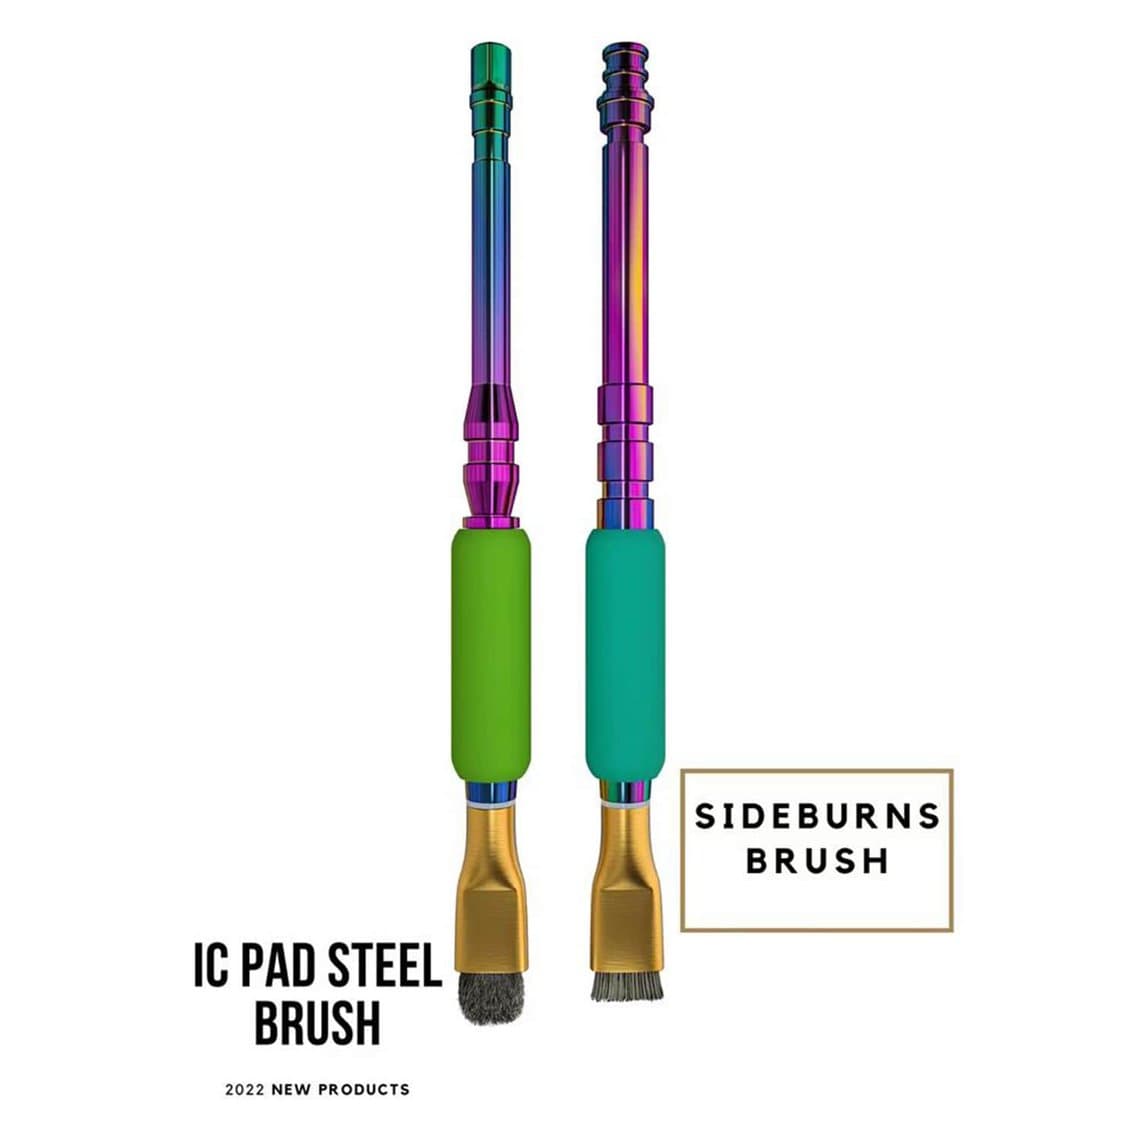
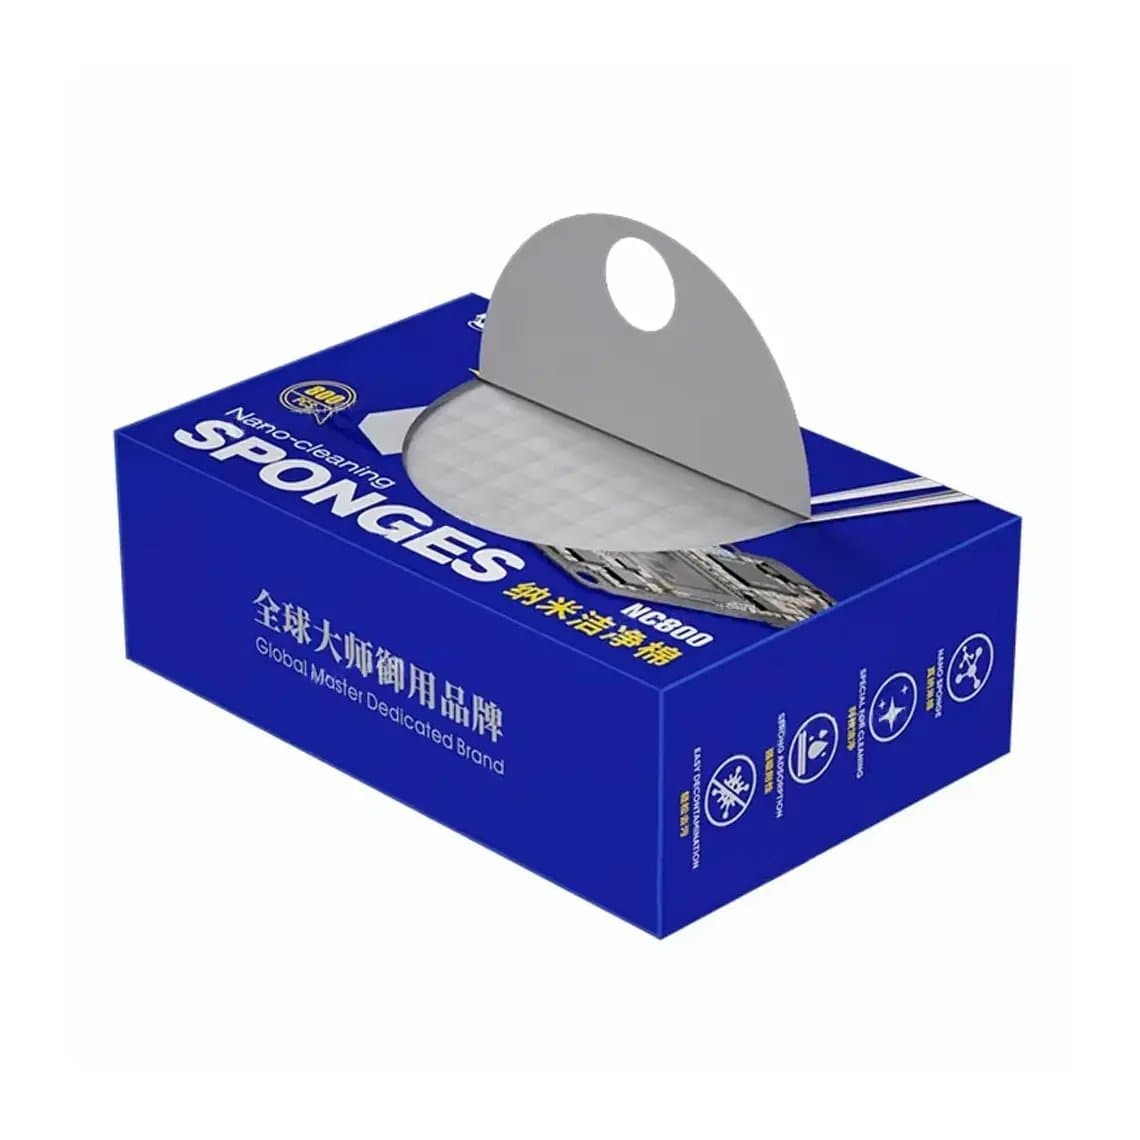
After the bath, or instead of it on parts that cannot go in, scrub with high-purity isopropyl alcohol (99% or close to it; lower grades contain more water). An anti-static, non-shedding brush such as the MaAnt no-shedding brush or the dual-ended 2UUL CL15 works for general cleaning, and finer Mijing IC pad brushes help on connector pins. Stiff or steel brushes can remove heavy corrosion but will also lift tiny components, so use them sparingly and never on fine-pitch areas. Wipe away loosened residue with nano cleaning sponges or lint-free microfiber wipers.
Common cleaning mistakes
- Putting microphones or speakers in the ultrasonic bath.
- Cleaning only the visible corrosion and leaving residue under shields and chips.
- Skipping ESD protection. Work on a grounded mat with a wrist strap.
Step 5: Dry it properly
Let the board dry completely before any power is applied. Gentle warm air or a low-temperature drying cabinet speeds things up; avoid high heat. Check under the microscope that no liquid is trapped under chips or in connectors. Powering a board with liquid still under a chip can create a new short.
Step 6: Power supply testing
Do not reconnect the old battery for the first test. Power the board from a current-limited bench supply from our DC power supplies range through a suitable connector or boot cable, with the current limit set low at first.
- Current jumps high with no button press: there is a short on the main power line. Find it with thermal imaging, freeze spray or the rosin method, then replace the shorted part.
- Normal standby, then the current climbs in steps when you trigger power-on: the board is trying to boot. Connect a known-good screen and watch.
- No current draw at all: check the battery connector, the power path and the power button lines.
- Boots, then restarts in a loop: often a faulty peripheral or sensor line; see the section below.
If the board powers on but the display stays black, the fault may be the screen or the display circuit rather than the board's power. Our guide on an iPhone black screen while the phone is still on covers that path.
Parts that commonly need replacing
| Part | Typical sign after liquid | Notes |
|---|---|---|
| Charging port flex | Not charging, liquid alert, reboot loops | On many models it also carries microphones and sensor lines, so a corroded flex can cause more than charging faults. |
| Screen | Lines, patches, dead touch, dim or flickering image | Liquid between layers is not reliably cleanable; replace from iPhone screens. |
| Battery | Swelling, fast drain, shutdowns | Replace after submersion as a rule. |
| Face ID parts | "Face ID is not available" | The dot projector is very sensitive to liquid. Face ID parts are paired to the board, so a simple swap does not restore it. |
| Speaker, earpiece, microphones | Muffled or no sound | Often cleanable if caught early, otherwise replace. |
| Cameras | Fog, spots, black image | Moisture inside the lens module usually means replacement. |
On recent iPhones, replacing a screen, battery or camera with a non-Apple part can show an "Unknown part" notice in Settings. The part still works. True Tone and battery health data can be handled with a programmer on supported models.
When data is the priority
If the photos matter more than the phone, do the minimum needed to get the board booting and let the customer back up before any riskier work. Avoid anything that might trigger a restore or update, since a restore erases the phone. iPhone data is encrypted and tied to the board, so moving the storage chip to another board does not give access to the data; the original board has to boot.
Setting customer expectations
Liquid repairs are less predictable than a screen swap, so be clear from the start.
- Some phones cannot be saved, especially after salt water, sugary drinks or long delays.
- Phones can work after repair and still develop faults weeks later as hidden corrosion spreads.
- Water resistance will not be restored to factory level.
- Face ID may stay unavailable even if everything else works.
- Explain your diagnosis fee and quoting policy before you start.
Questions
Can a water-damaged iPhone be fixed?
Often, yes, if the battery is disconnected and the board is cleaned quickly. The chances drop with time, with salt water or sugary drinks, and if the phone was charged while wet. A technician can only tell after opening it and inspecting the board.
Does putting an iPhone in rice work?
No. Rice does not remove water from inside a sealed phone, and it leaves dust and starch in the port. It also delays the cleaning that actually stops corrosion. Power the phone off and get it to a repair shop instead.
How long after water damage will an iPhone stop working?
It varies. Some phones fail within minutes from a short circuit, while others keep working for days or weeks as corrosion slowly spreads. Working normally after a spill does not mean the phone is free of damage.
Can you put an iPhone logic board in an ultrasonic cleaner?
Yes, this is common bench practice, but only after removing the battery, microphones, speakers, cameras and other parts with membranes or cavities. Use a fluid suited to electronics, follow the cleaner's safety guidance and dry the board fully before applying power.
For the cleaning side of the job, browse our cleaning liquids, brushes and ultrasonic cleaners, and every part we sell is tested before it ships from Shenzhen. Shops that buy regularly can open trade pricing through wholesale, and restock by SKU or CSV with Quick Order.