BGA Stencils Explained: Universal, 3D and Magnetic
17 November 2026 · LightspeedTools team
Short answer: A BGA stencil is a thin steel sheet with holes that match the ball pattern of a chip, so you can rebuild fresh solder balls on it before refitting. Chip-specific stencils give the best results for one IC, universal stencils cover many pitches and ball sizes for odd jobs, 3D stencils locate the chip for you, and magnetic platforms hold stencil and chip flat while you work. Match the stencil to the chip's pitch and ball size, then pick paste or solder balls to suit.
Every reball job lives or dies on the stencil: if the holes do not line up with the pads, or the sheet bends under heat, no amount of skill fixes it. This guide covers the stencil types, matching one to a chip, technique and common mistakes. If you want the full reball process from chip removal to refit, read our guide on how to reball a BGA chip.
What a reballing stencil does
A BGA (ball grid array) chip connects to the board through a grid of small solder balls under its body. When you remove the chip, those balls are damaged or partly left on the board. Before refitting, you clean the pads and build a new, even set of balls.
The stencil's holes sit exactly over the chip's pads. You fill them with solder paste or solder balls, heat, and each hole leaves one even ball on one pad, so the chip sits flat and connects everywhere.
Two numbers define whether a stencil fits a chip:
- Pitch – the distance from the centre of one ball to the next. The holes must follow the chip's pitch exactly.
- Hole size and sheet thickness – together these set how much solder goes onto each pad, and so the size of the finished ball.
The main types of BGA stencil
Chip-specific stencils
These are cut for one IC or a family of ICs: a CPU, a NAND, a baseband, a power IC, a display IC. The hole pattern, size and thickness are matched to that chip, often with the outline or chip name etched on the sheet. They are the first choice for any chip you reball regularly.
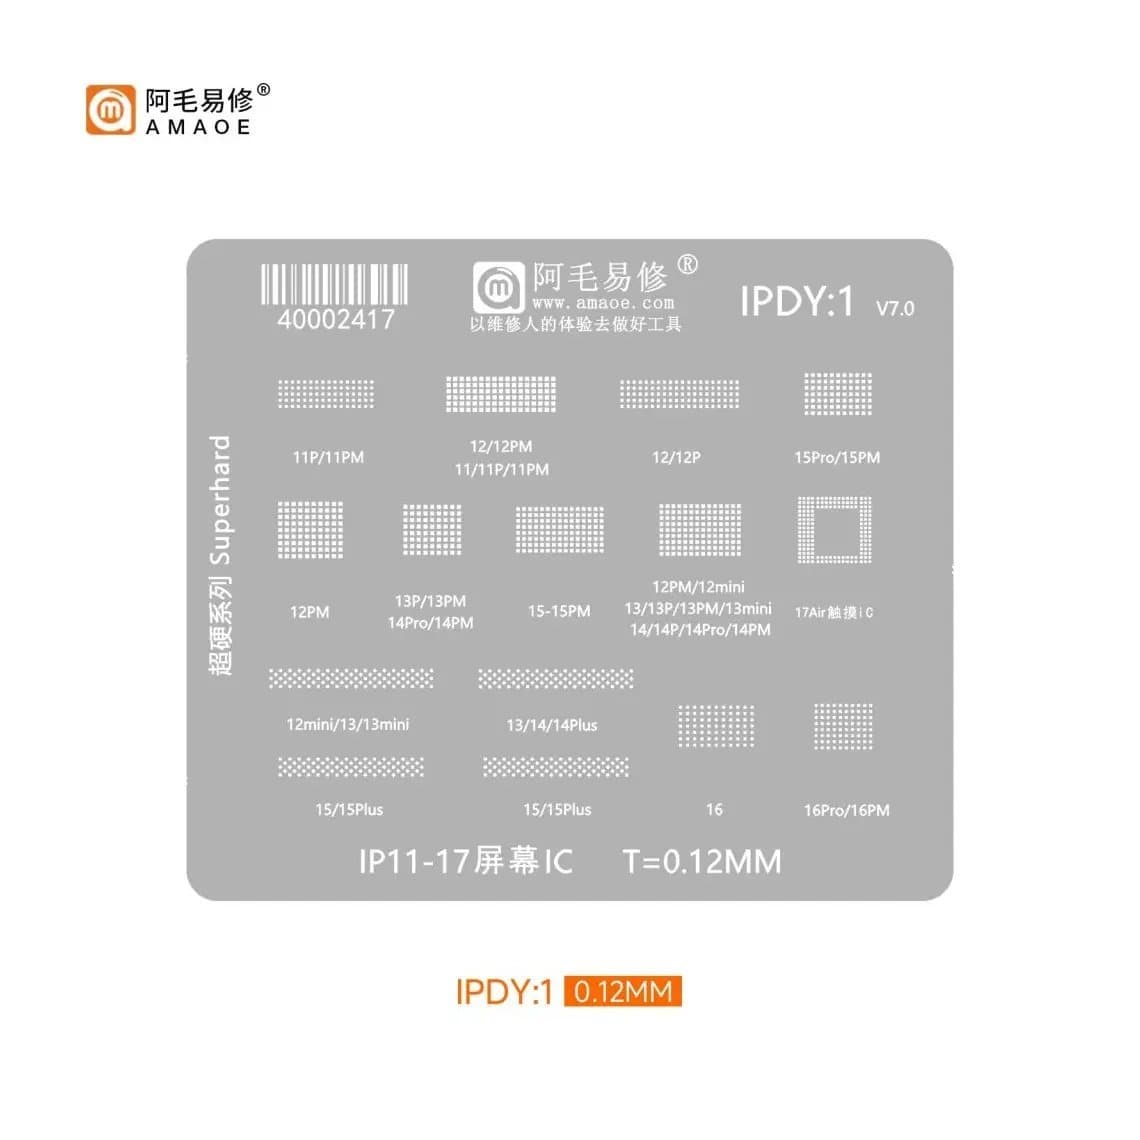
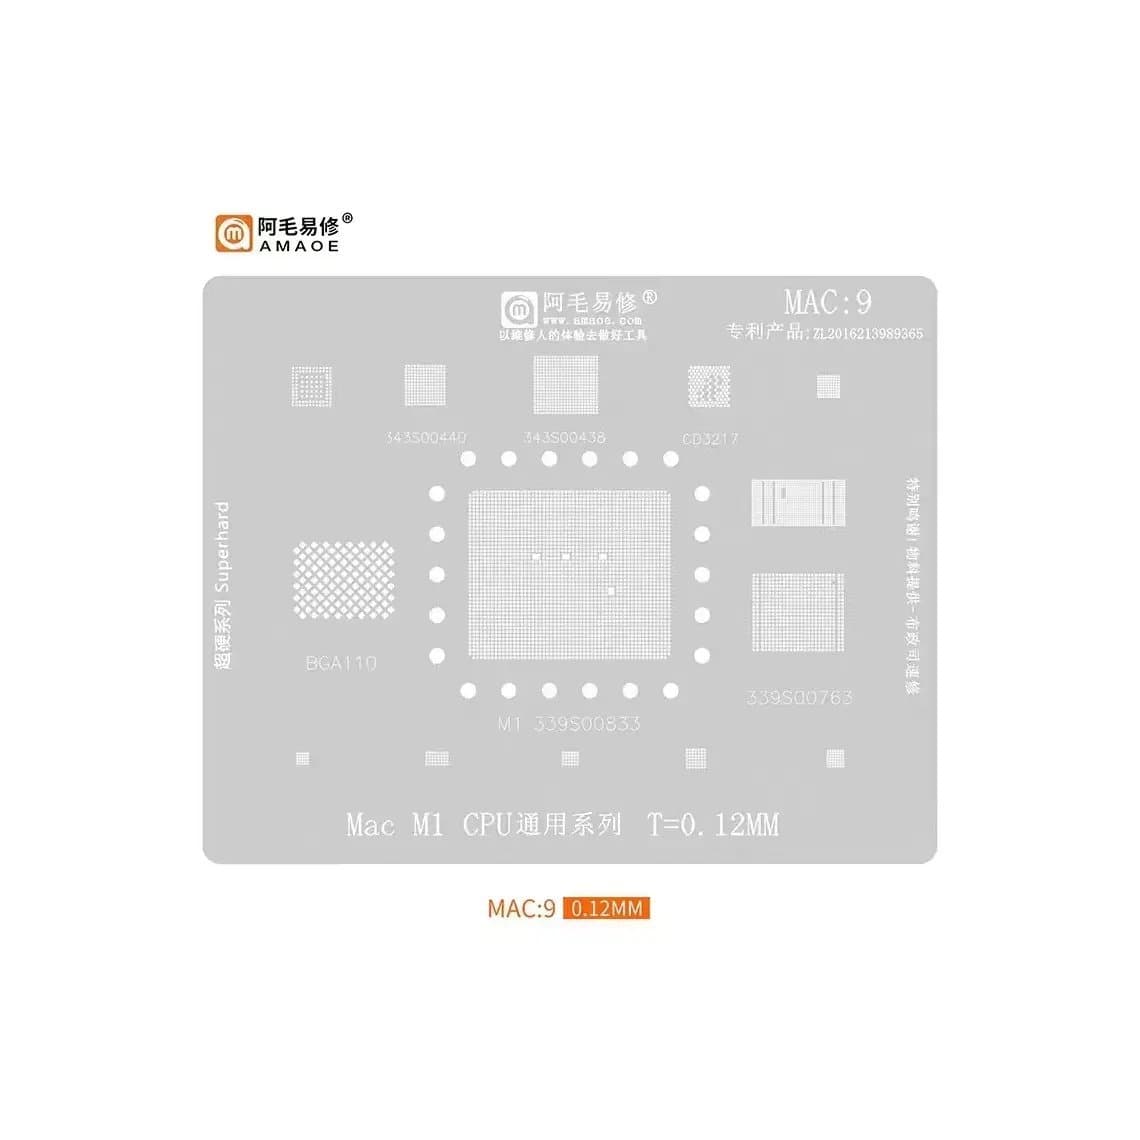
Examples cover very different jobs: an Amaoe LCD screen IC stencil for iPhone 11 to 17 Air for display IC work, an Amaoe stencil for Samsung CPUs for Android boards, and a DDR to DDR5 stencil kit for laptop and desktop memory chips. Laptop technicians also use dedicated sheets such as the Amaoe 0.12mm Mac CPU series stencil for M1 to M5.
Universal stencils
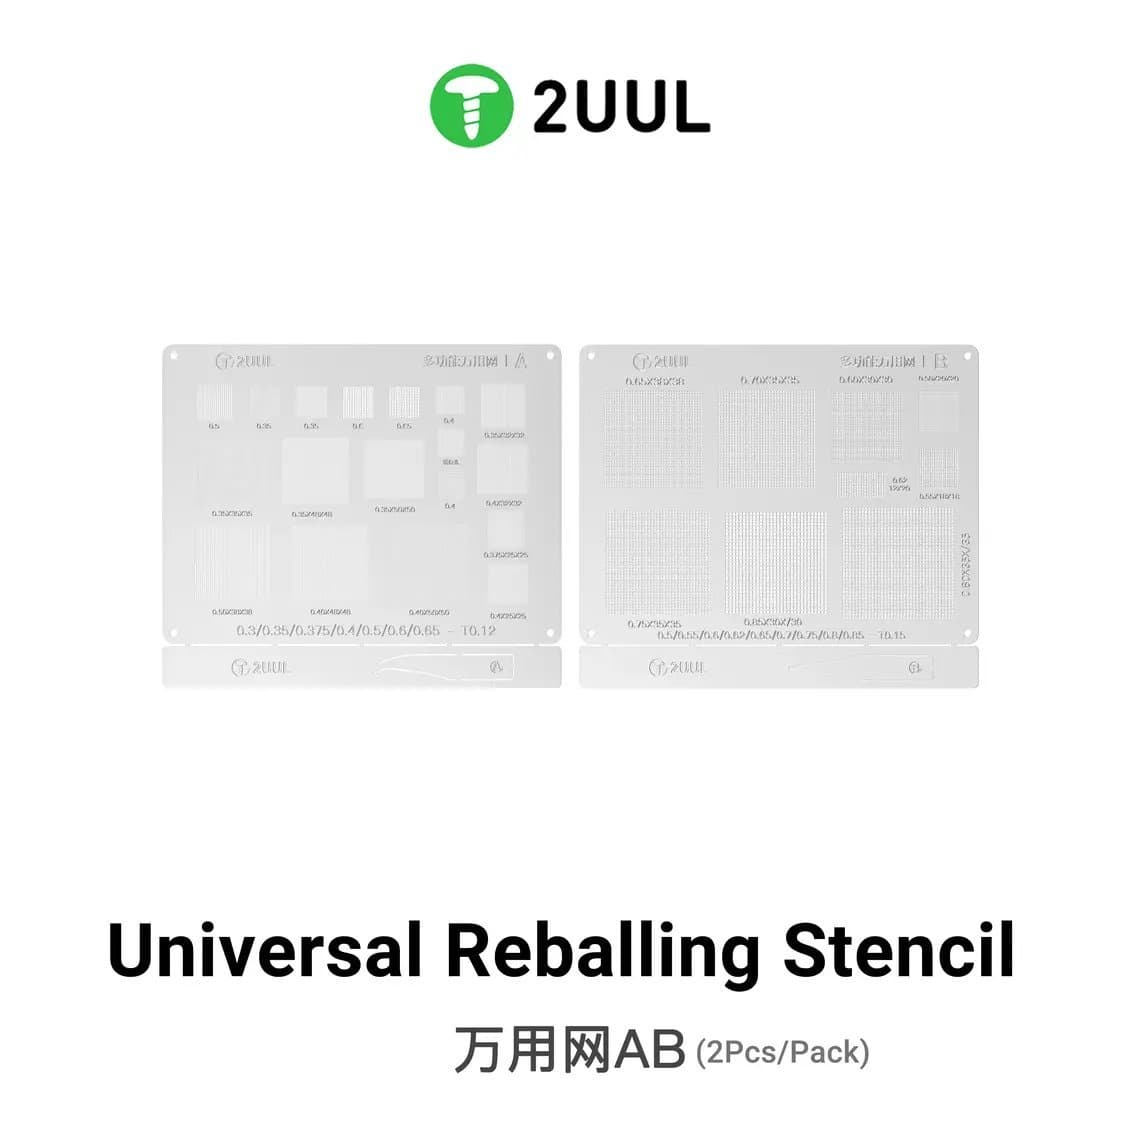
A universal stencil carries blocks of holes at several pitches and ball sizes on one sheet. You choose the block that matches your chip, mask off the holes you do not need with heat-resistant tape, and reball the chip on that area. Sets like the 2UUL BG02 universal stencil (A and B, two-piece pack) are useful for small ICs that have no dedicated stencil, or for the odd job where buying a dedicated sheet is not worth it.
The trade-off is alignment: with no chip outline to guide you, it is easy to end up with an extra or missing row. Use them as a backup, not for chips you see every week.
3D (stepped) stencils
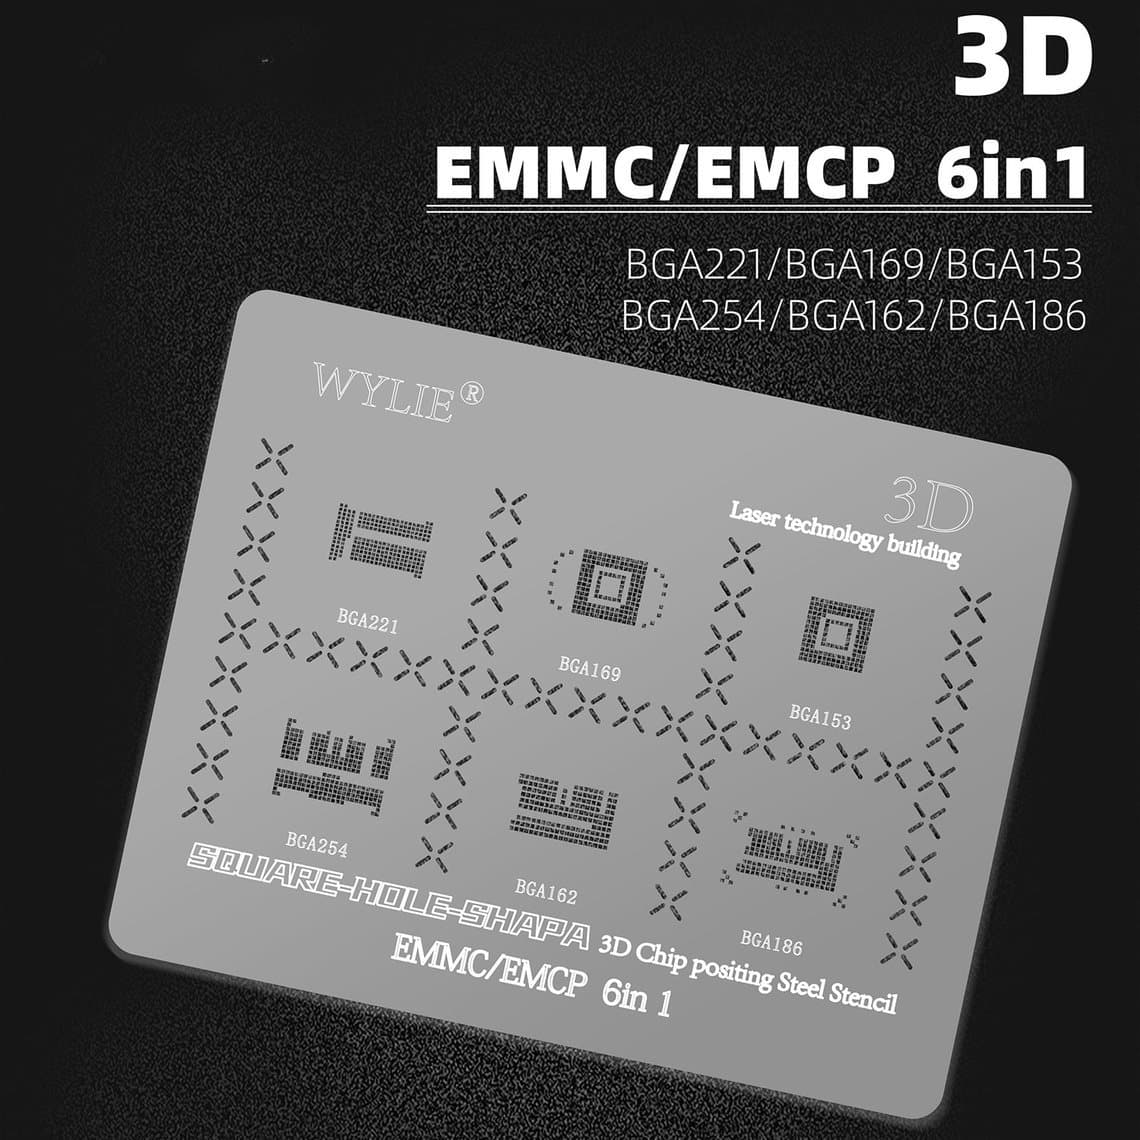
A 3D stencil has a recessed pocket or raised frame shaped to the chip. The chip drops into the pocket, so the holes line up with the pads without you lining them up by eye. The sheet also holds the chip more firmly, which reduces sliding while you apply paste and heat.
They are popular for memory chips where alignment is tedious, such as the Wylie 3D eMMC/eMCP stencil. The main limitation is fit: the pocket is cut for a chip body size, so a chip from a different supplier with a slightly different body may not seat well.
Magnetic stencil platforms and holders
A magnetic platform is a base that holds the chip in a clamp or recess while magnets hold a steel stencil flat on top. Because the stencil is pulled down evenly, it is less likely to lift or bow when heated, and the chip cannot move. Many bases accept several stencils, so one platform serves a range of chips.
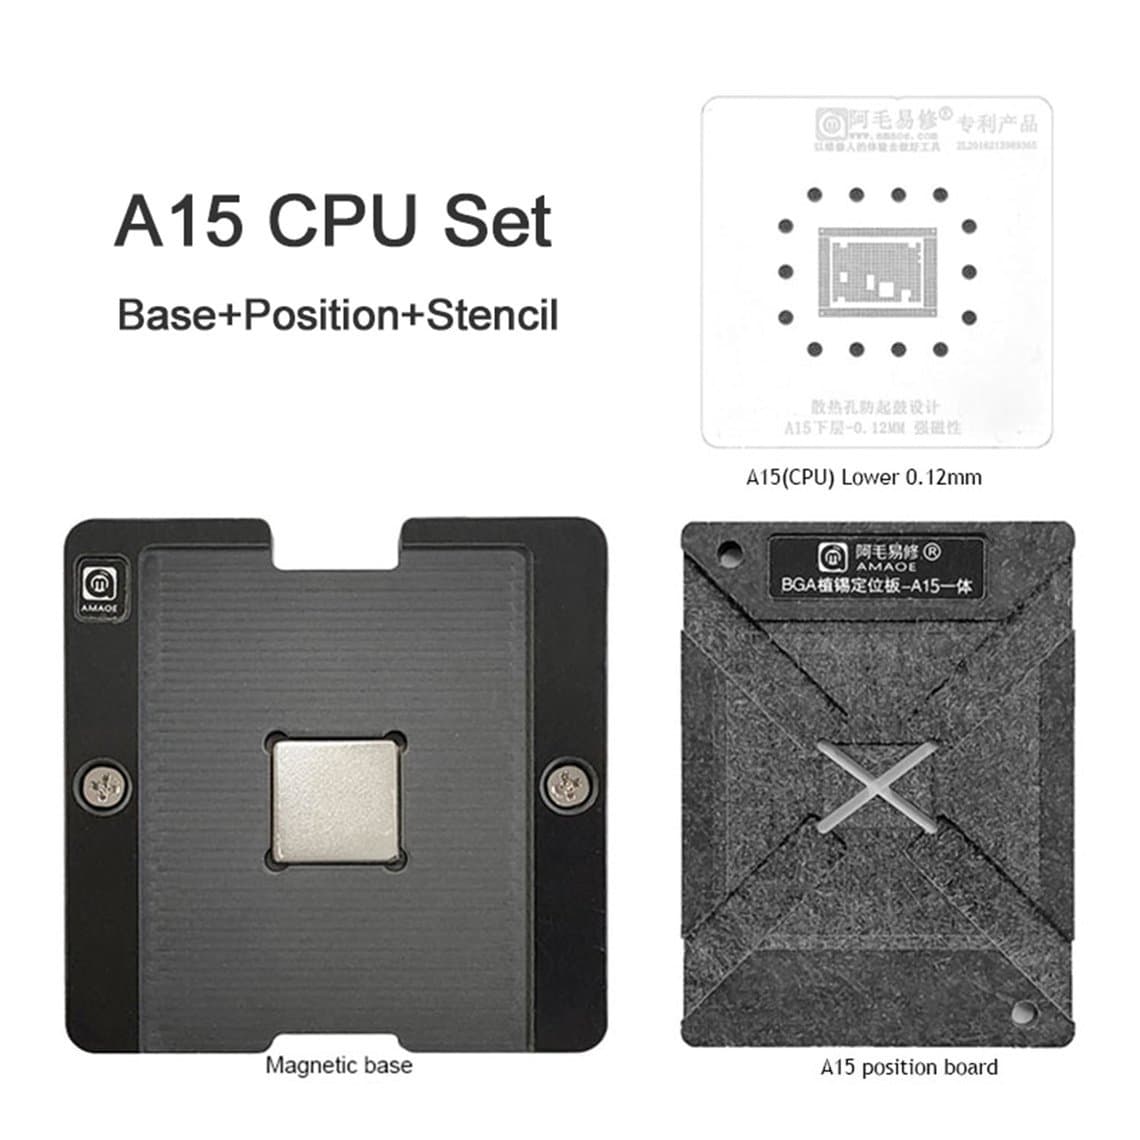
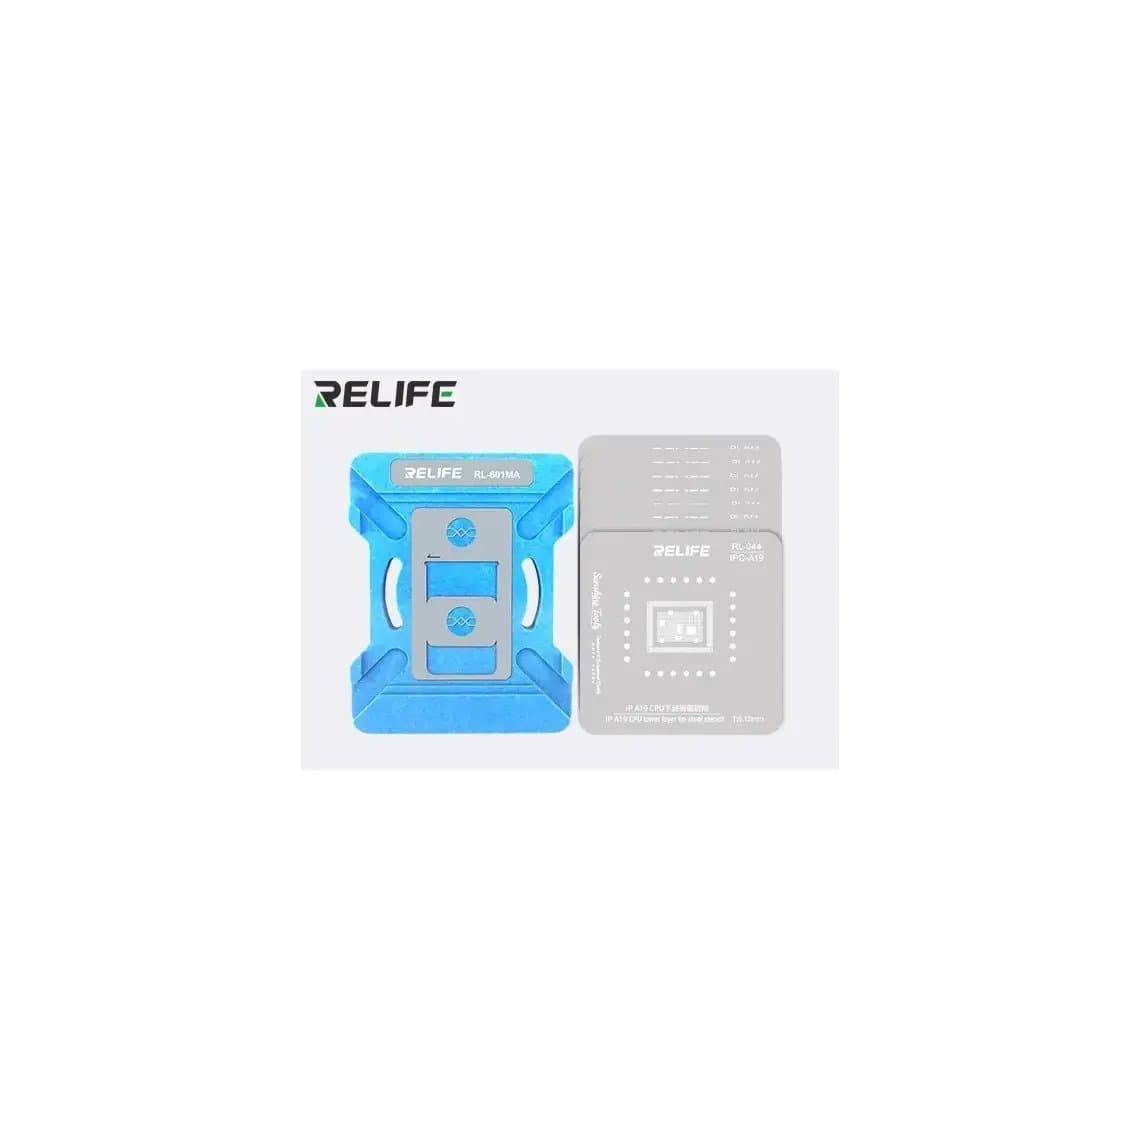
Examples include the Mijing M21 universal magnetic base, the Amaoe CPU stencil platform for iPhone 6 to 13 Pro Max, and CPU sets such as the Relife RL-601MA for A11 to A19 Pro. For iPhone CPUs and other large, fine-pitch chips, a platform makes a large difference to consistency.
Comparison
| Type | Best for | Strength | Weakness |
|---|---|---|---|
| Chip-specific | ICs you reball often | Exact pattern and ball size | One sheet per chip family |
| Universal | Small or rare ICs | Many pitches on one sheet | Manual alignment, easy to misplace |
| 3D / stepped | Memory and chips that slide | Self-aligning, holds chip | Must match chip body size |
| Magnetic platform | CPUs and large fine-pitch chips | Keeps stencil flat and chip fixed | Costs more, needs matching stencils |
You can browse all of these in our BGA stencils category.
Stencil thickness and ball size
Thickness is the part many technicians overlook. The volume of solder on each pad is roughly the hole area multiplied by the sheet thickness. A thicker sheet with the same holes leaves bigger balls; a thinner one leaves smaller balls.
- Too thick for the chip: balls come out too large, they can merge into bridges under the chip, and the chip may sit high.
- Too thin for the chip: balls are too small, some pads may not make contact once the chip is refitted, and you get intermittent faults.
Makers usually state the thickness on the sheet or in the title, as with the 0.12mm sheets above. Use the thickness designed for that chip rather than guessing. Fine-pitch phone chips generally need thinner sheets than older laptop chips.
Solder paste or solder balls?
There are two ways to fill a stencil.
- Solder paste is wiped into the holes with a scraper, then heated so each deposit pulls into a ball. This is the most common method for phone chips because the pitch is fine and it is fast. Choose the paste alloy and melting range to suit the job; see our solder paste range.
- Solder balls are pre-formed spheres of a set diameter. You apply a thin layer of flux to the chip, lay the stencil on, pour balls across so one falls into each hole, lift the stencil and heat. Balls give very even results on larger-pitch chips, such as laptop and console BGAs, but you need the exact ball diameter for the chip.
Whichever you use, match it to the original solder where you can. Mixing low-temperature paste with a chip that will see high heat in use, or reballing with a very different alloy, can lead to weak joints.
Technique outline
- Clean the chip pads. Remove old solder with flux and a wide iron tip or braid until the pads are flat and bright. Clean off flux with isopropyl alcohol. Check under a microscope for lifted or missing pads.
- Clean the stencil. Make sure every hole is clear. One blocked hole means one missing ball.
- Align. Seat the chip in the platform or 3D pocket, or align it by eye under the microscope on a flat sheet. Every hole should sit fully over a pad.
- Fix in place. Use the platform clamps or magnets, or heat-resistant tape on a plain sheet, so nothing moves.
- Apply paste. Press paste through the holes with a scraper in firm, even strokes, then scrape off the excess so the stencil surface is clean. Holes should be filled level, not domed.
- Heat. Use low airflow and move the nozzle evenly over the whole stencil until the paste reflows into shiny balls. Do not concentrate heat on one corner.
- Cool and release. Let the stencil cool before lifting it, or the balls can pull off. A gentle flex or a little heat on the edges can release a stuck chip.
- Inspect. Check every ball is present, round and similar in size. Add flux and reflow once more to round off any uneven balls.
A stable station with fine airflow control helps a lot here; see our hot air rework stations and the hot air station buying guide for what to look for. Good magnification is just as important for alignment and inspection; our microscopes are chosen for board work.
Cleaning and care
- Clean the stencil after every job, while flux is still soft. Wipe both sides with isopropyl alcohol or a flux remover.
- Check the holes against a light or under the microscope. Clear blocked holes with a soft brush or by soaking, not by forcing a needle through, which can deform the hole.
- An ultrasonic cleaner is useful for heavily clogged stencils; dry them fully afterwards.
- Store stencils flat in a sleeve or case. A bent stencil does not sit flat on the chip again.
Common mistakes
- Warping from heat. Thin sheets bow when heated unevenly. The gap lets paste spread under the sheet and balls bridge. Heat the whole area, use a magnetic platform or tape all edges, and let the sheet cool flat.
- Wrong thickness. Using whatever stencil is to hand instead of the one made for the chip gives balls that are too big or too small.
- Pitch almost right. On a universal sheet, a close-but-wrong pitch looks fine at the centre and drifts off at the edges. Check corners before applying paste.
- Too much airflow. High air pressure blows paste out of the holes or moves the chip.
- Dirty pads. Old solder or oxidation leaves uneven balls or bare pads. Clean until the pads are flat.
- Lifting too early. Pulling the stencil while hot drags balls off with it.
- No ESD care. Bare BGA chips are sensitive; use a grounded mat and wrist strap.
If you are newer to board work, our micro soldering for beginners guide covers the basics before you take on CPUs.
Questions
Can I use a universal stencil instead of a chip-specific one?
Yes, if one of its blocks matches the chip's pitch and ball size exactly. Mask off the unused holes and align carefully. For chips you reball often, a dedicated stencil is faster and more consistent.
What is the difference between a 3D stencil and a normal stencil?
A normal stencil is a flat sheet you align by eye. A 3D stencil has a pocket or frame shaped to the chip, so the chip drops in and lines up with the holes on its own. That saves time and reduces sliding during heating.
Why do my solder balls bridge together after reballing?
Usually the stencil was not flat against the chip, so paste spread under it. Warping from uneven heat, a stencil that is too thick, or excess paste on top are the common causes. Use a platform or tape all edges and heat evenly.
How do I know which stencil fits my chip?
Check the chip marking or board location and look for a stencil made for that IC or model range. Before applying paste, confirm under the microscope that every hole sits over a pad.
Find chip-specific, universal, 3D and magnetic stencils in our BGA stencils category. Repair shops buying regularly can open a wholesale account or reorder by SKU through Quick Order.