How to Open an iPhone Screen Without Damaging the Flex Cables
17 November 2026 · LightspeedTools team
Short answer: Remove the two bottom screws, warm the display edges until they are warm but not hot, lift a small gap with a suction cup and slide a thin pick in only a few millimetres. Slice the adhesive around every edge except the side where the display cables sit, then open the screen like a book no further than the cables allow, and disconnect the battery before you touch the display connectors.
Most damaged display flex cables are not torn during the repair itself. They are torn in the first two minutes, when the screen comes up too fast, a pick goes in too deep, or the display swings past the point where the cable can follow. This guide covers that opening step only. For the full job, from parts transfer to reassembly and testing, follow our iPhone screen replacement step-by-step guide.
What you need before you start
- The right screwdriver bits. iPhones use pentalobe screws at the bottom edge and a mix of tri-point, Phillips and other heads inside. A good set from our screwdrivers range avoids stripped heads, which turn a ten-minute opening into an hour.
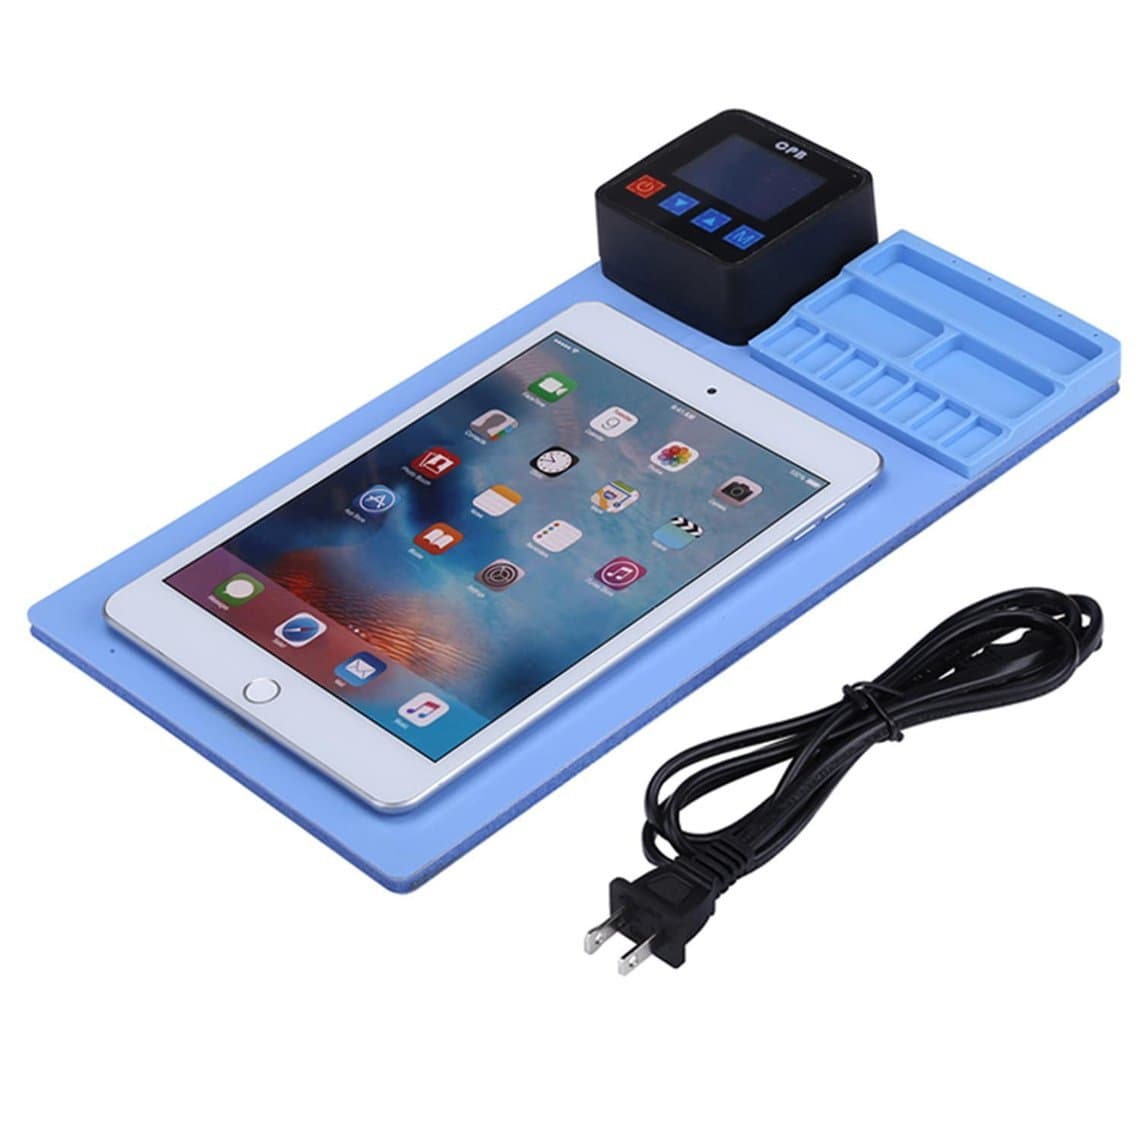
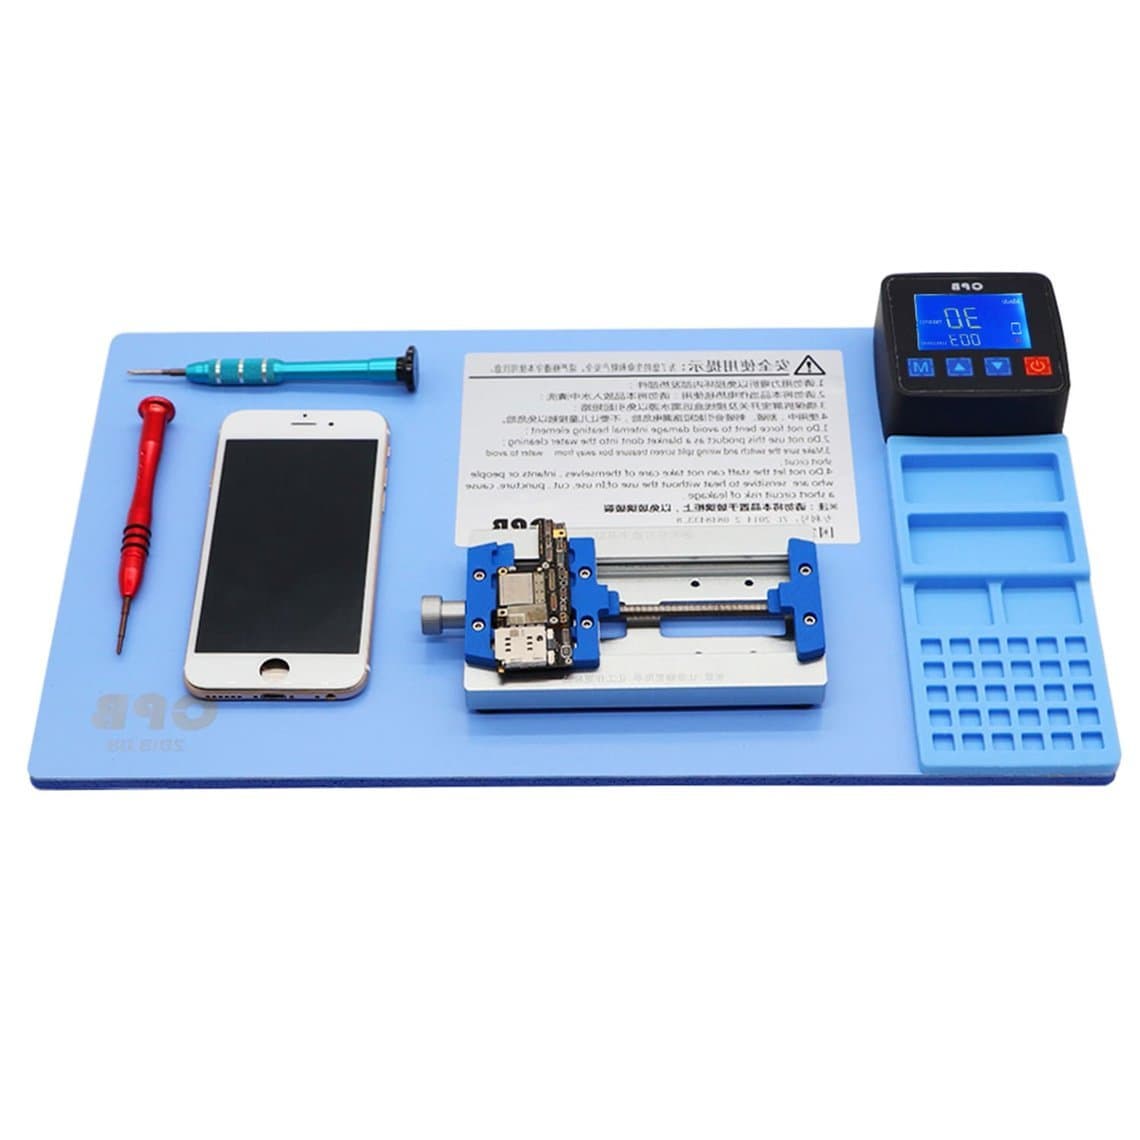
- A heat source you can control. A heating pad with a temperature setting is safer than a heat gun for this step. Compact pads such as the Mini CPB300 heating pad suit a single phone; larger plates like the CP320 heating pad handle several phones or tablets at once.
- A suction cup or puller. A plain suction cup works, but a lever puller gives steadier force.
- Thin opening picks. Plastic picks with a thin, flexible tip. Metal blades scratch frames and cut flex cables. See the screen opening tools category.
- Clear packing tape for cracked glass, plus tweezers, a spudger and an anti-static mat or wrist strap.
Step 1: Power down and remove the bottom screws
Switch the phone off fully. If the battery is swollen and pushing the screen up, stop here; a swollen lithium battery needs a different, careful approach and should not be heated or pressed.
Remove the two pentalobe screws on either side of the charging port. Keep them separate from the internal screws. They are short, but mixing up screw lengths inside the phone is a classic way to damage the board later, so use a magnetic mat or a labelled tray from the start.
Step 2: Warm the edges, not the phone
Since roughly the iPhone 7, iPhones use a water-resistant adhesive gasket between the display and the frame. Cold, it holds firmly and the glass flexes before it lets go. Warm, it softens and releases with far less force on the panel and its cables.
The goal is warm, not hot. The edges should feel clearly warm, but you should still be able to hold the phone comfortably. Heat soaks into the battery that sits right under the screen, and lithium batteries do not tolerate high heat. Follow the heating pad maker's guidance for the setting, and give the phone a few minutes rather than turning the pad up.
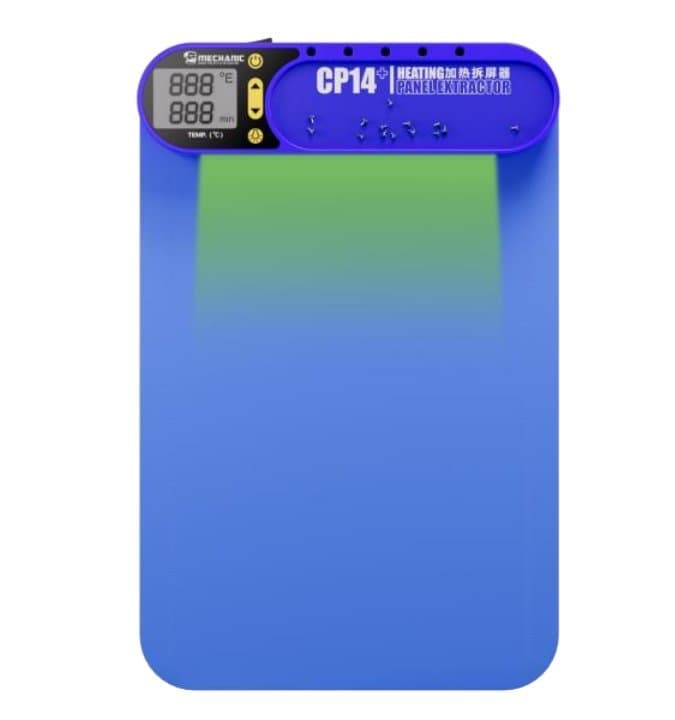
- Lay the phone screen-down on a heating pad, or use a heated separator such as the Mechanic CP14+.
- If you use hot air, keep the nozzle moving along the edges only and keep it well away from the centre of the screen.
- Re-warm when the adhesive starts to resist again. Two short heats are better than one long one.
Our heating pads category has pads in several sizes, including ESD-safe models like the REFOX RS30 for benches where static control matters.
Step 3: Lift a gap with a suction cup
Place the suction cup on the lower part of the screen, just above the bottom edge and away from any crack. Pull with slow, steady force. You are looking for a gap of about the thickness of a pick, nothing more.
A preheat puller station combines the heat and the pull in one tool: the 2UUL DA10 preheat puller station warms the phone while a suction arm applies gentle, even lift. Hand-held pullers such as the 2UUL DA08 Pro puller give the same controlled lift without a heater.
Step 4: Insert the pick, but only a little
Slide a thin pick into the gap at the bottom edge. Insert it only a few millimetres, just past the adhesive. This is the step that decides whether the cables survive.
Behind the edge of the display sit things you do not want to touch with a pick: display and touch flex cables, the front camera and sensor flex at the top, and on many models the earpiece speaker. A pick pushed deep into the phone can nick a flex, cut an antenna line or scrape the OLED panel's own edge. Keep the pick shallow and let it cut adhesive, not reach inside.
Leave the first pick in place so the adhesive cannot reseal, and work with a second one.
Step 5: Know where the cables are
The side where the display cables run is the hinge. You never slice deeply along that edge, and the screen opens away from it. Where it sits depends on the model generation, so check before you start:
| Model range | Typical cable side (screen facing you) | How it usually opens |
|---|---|---|
| iPhone 7 / 8 / SE (2nd and 3rd gen) | Right edge, upper half | Lift from the left, open like a book; the cables are short |
| iPhone X to 13 series | Right edge | Lift from the left, open like a book |
| iPhone 14 series and newer | Varies by model and generation | Check model-specific guidance; some models are also serviced from the rear |
Treat this table as a starting point, not a rule. Apple changes internal layouts between generations, and within a generation the standard and Pro models can differ. If you are unsure, lift the bottom edge a few millimetres, look in with a torch, and find the cables before you slice further.
Step 6: Slice the adhesive around the edges
Slide the pick along the bottom edge, around the corner and up the side opposite the cables. Then work along the top edge. On many models the top edge has clips or a bracket that hooks under the frame, so the top is often released by pulling the screen gently downwards (towards the charging port) rather than by lifting it.
- Keep the pick shallow the whole way round.
- Re-warm if the adhesive starts to drag or the glass flexes.
- Along the cable side, run the pick only at the very edge, just enough to free the adhesive, and only if the screen is still held there.
- Never lift from the cable side.
Step 7: Open within the cable's reach
Once all the adhesive is free, swing the display open like a book from the side away from the cables. Do not twist it, do not flip it over and do not open it past the angle the cables allow. On some models, notably the iPhone 7 and 8, the cables are short enough that the display can only open to roughly a right angle. Prop it against something soft at that angle so it cannot fall back or flop open.
If you feel any resistance as the screen swings, stop. There is still adhesive holding somewhere, or a cable is at its limit. Find out which before you continue.
Step 8: Battery first, then the display
Remove the bracket over the connectors and disconnect the battery before anything else. Only then disconnect the display and touch cables. Connecting or disconnecting a display while the battery is live can damage the display, its backlight or OLED driver, or the board's display circuits. It also means a slipped spudger cannot short anything.
Lever connectors straight up from their side with a plastic spudger. Do not pull on the flex itself.
Cracked screens: tape before you lift
A shattered screen does not pull up in one piece. The suction cup slips, shards fall into the phone and the pick catches on broken glass.
- Cover the whole front with overlapping strips of clear packing tape until it is smooth.
- Put the suction cup on the taped area. If it still will not seal, use a strong piece of tape folded into a pull tab.
- Warm a little longer than usual, because a cracked panel spreads heat unevenly.
- Wear eye protection. Broken glass can flick when the adhesive lets go.
Heat-free fixtures and puller stations
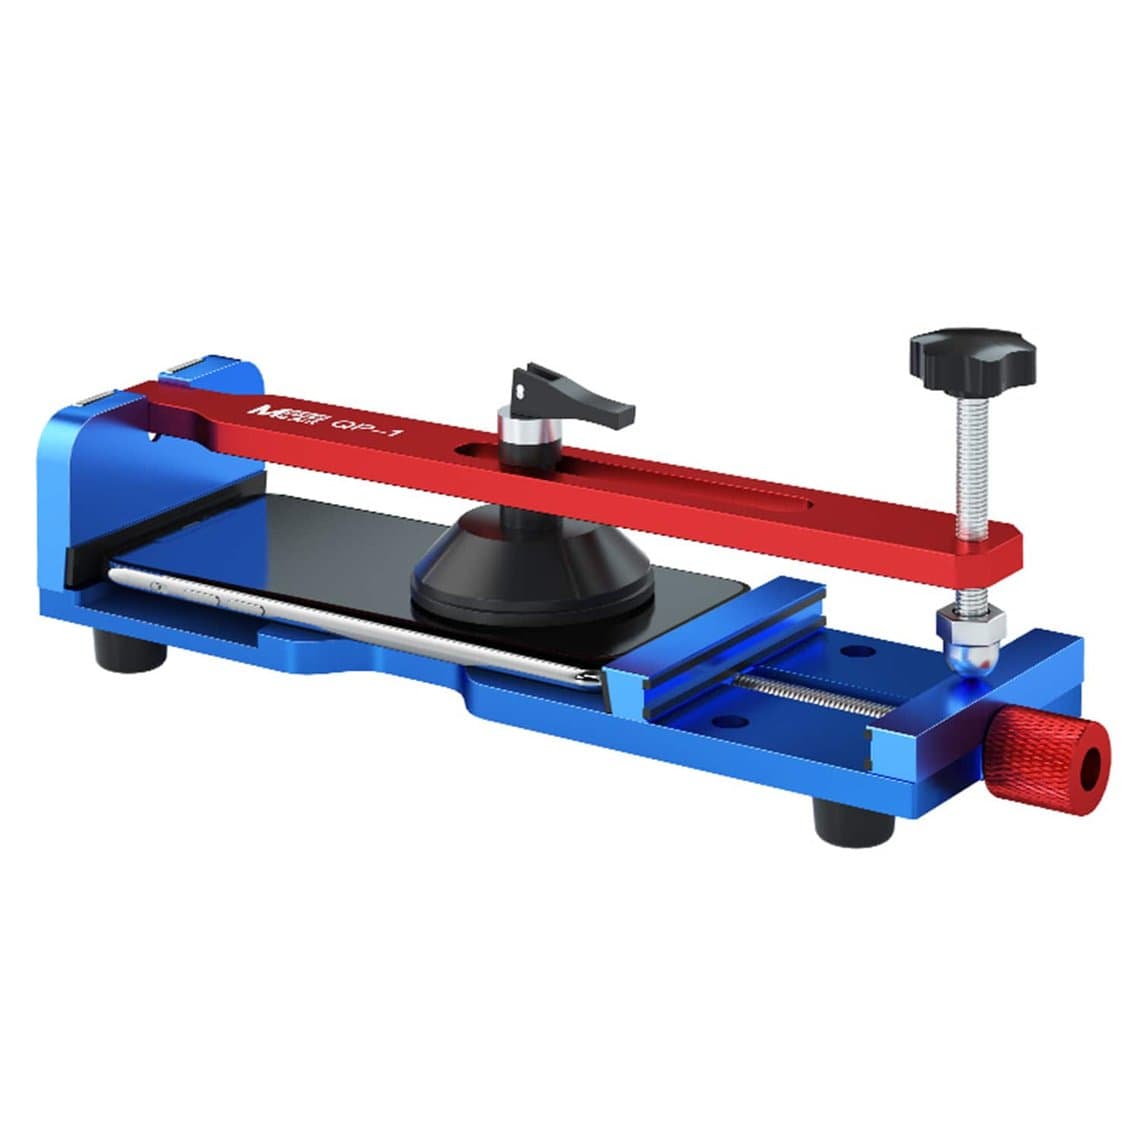
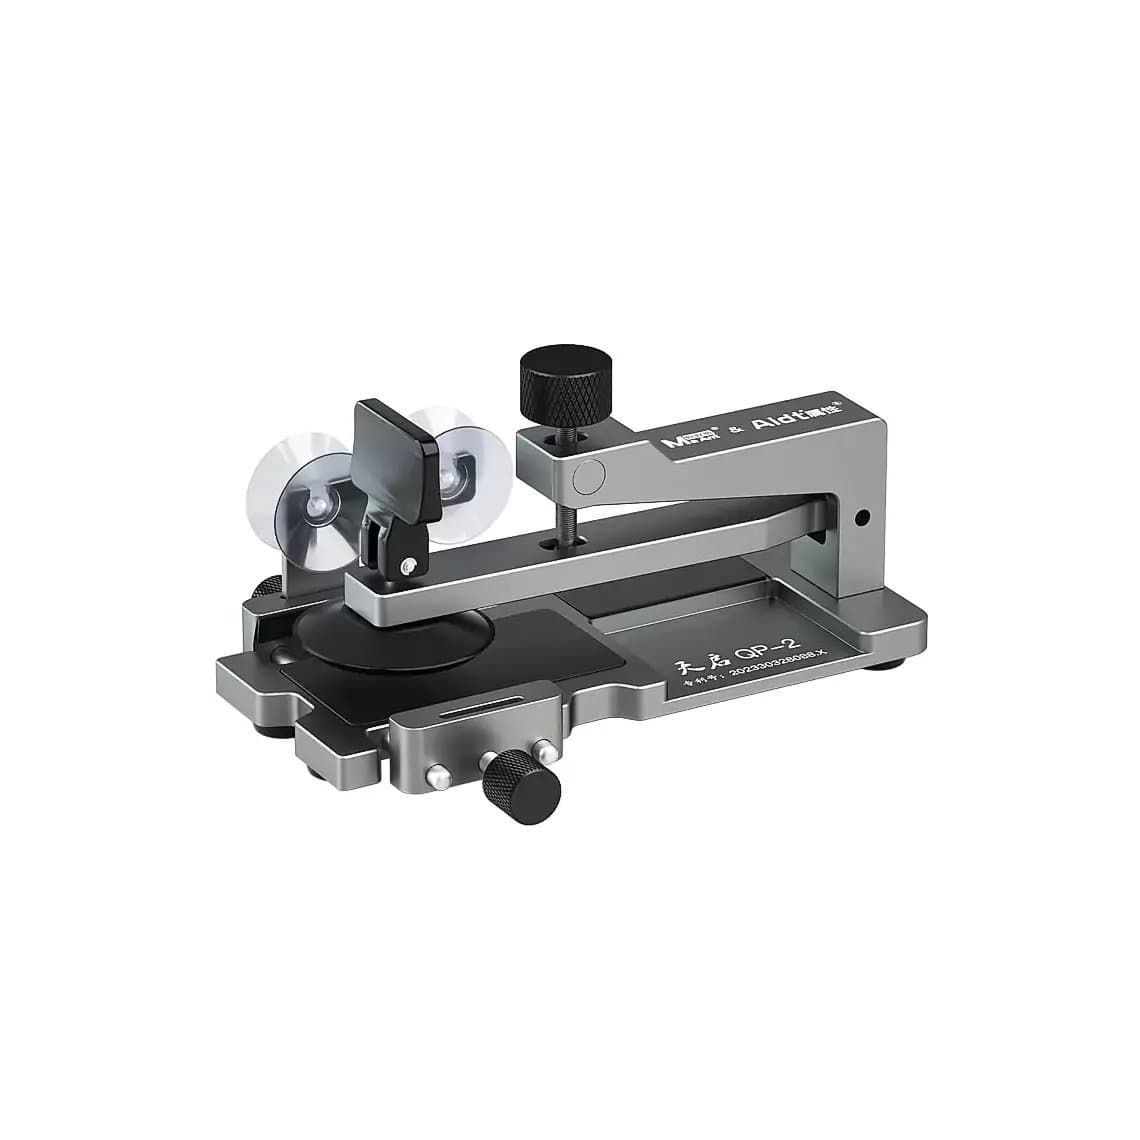
For shops opening many phones a day, a dedicated fixture removes most of the guesswork. A heat-free screen removal fixture clamps the phone and uses a controlled mechanical lift, often with a thin wire or blade, to release the adhesive without warming the battery. Examples include the MaAnt QP-1 heat-free fixture, the MaAnt QP-2 and the Sunshine SS-601G.
| Method | Best for | Watch out for |
|---|---|---|
| Heating pad + suction cup + picks | Low volume, any model | Overheating, deep picks |
| Preheat puller station | Regular screen work, steadier lift | Still needs careful pick depth |
| Heat-free removal fixture | High volume, battery-sensitive jobs | Setup per model; the wire can still reach a cable if mis-set |
Common mistakes that tear flex cables
- Prying before the adhesive is soft. The glass bends, the panel cracks or the frame bends.
- Inserting the pick too deep, especially along the top and the cable side.
- Lifting from the wrong side because the model's cable side was not checked.
- Swinging the display open too far or letting it drop back.
- Disconnecting the display before the battery.
- Overheating, which can damage the battery, warp the frame or mark the OLED.
- Using metal blades that cut cables and scratch the frame edge.
If a phone shows lines, touch faults or no image after the job, a nicked cable or a connector seated with the battery live are common causes. Our guide to an iPhone screen not working after replacement walks through the checks.
Questions
Do you have to heat an iPhone screen to open it?
On most models since the iPhone 7, yes, unless you use a heat-free removal fixture. Warmth softens the adhesive so the screen releases with less force. Keep it warm, not hot, because the battery sits right under the display.
Which side of the iPhone screen has the cables?
On the iPhone 7 through the 13 series, the display cables usually run along the right edge with the screen facing you, so the screen opens like a book from the left. Newer generations vary by model, so check the layout for the exact model before you lift.
Can I open an iPhone screen without a suction cup?
Yes. On a cracked screen, a pull tab made from strong tape works. A lever puller or a heat-free fixture also replaces the suction cup and gives more even force than a hand-held cup.
Why disconnect the battery before the display?
Plugging or unplugging a display while the battery is connected can damage the display or the board's display circuits. Disconnecting the battery first also removes the risk of a short if a tool slips.
The right opening tools save more screens than any other step of the repair. Browse our screen opening tools, heating pads and replacement iPhone screens, all tested before they ship from Shenzhen. Shops can unlock wholesale pricing and reorder by SKU through Quick Order.