How to Remove OCA Glue Safely Without Damaging the Polarizer
17 November 2026 · LightspeedTools team
Short answer: To remove OCA glue after separating a screen, warm the display gently, then roll or rub the soft glue off with your thumb, removal stickers or a plastic blade, working slowly from one edge so you never scrape the polarizer. An electric glue remover with a rotating wheel speeds this up on a volume line. Use solvents only sparingly and test them first, because many can cloud or damage the polarizer.
Why OCA removal decides the whole refurbish
When cracked glass is separated from a display, most of the old OCA (optically clear adhesive) stays behind on the panel. It has to come off completely before new OCA and glass can be laminated. Any residue, scratch or fingerprint left on the display surface will show through the new glass as a spot, a streak or a bubble.
The difficulty is what sits under the glue. On most screens, the top of the display is a polarizer film. On an LCD it is part of how the picture is formed; on an OLED it also cuts reflections. The polarizer is soft and scratches easily. Damage it and the screen shows a mark, a dark area or a hazy patch. The goal of OCA removal is to take off all the glue and none of the polarizer.
If you are still working out the earlier steps, our guides on using an LCD separator machine and refurbishing a phone screen cover the full process.
Before you start
- Work on the display assembly only. The screen should already be removed from the phone. Never work on a screen still connected to a phone with its battery fitted.
- Ground yourself. Display driver chips and flex cables are static-sensitive. Use an ESD mat and wrist strap.
- Protect the flex. Tape or fold the flex cable out of the way so it is not bent, heated or caught by a blade or wheel.
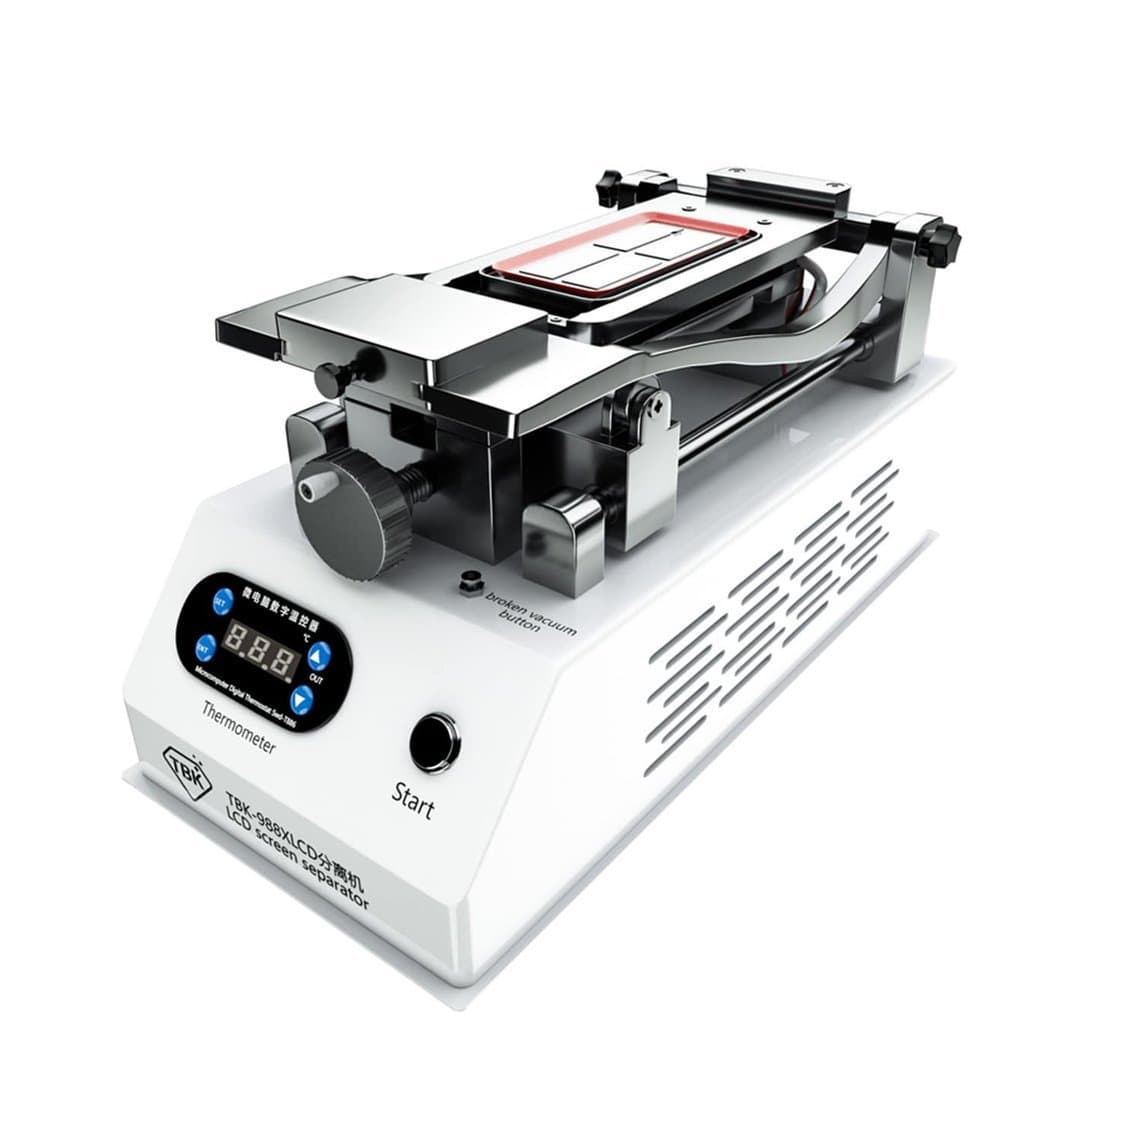
- Remove the frame glue if needed. On frame-bonded screens, the edge adhesive may need to come off separately. A machine such as the TBK-988X rotatable frame glue remover is designed for that job.
- Check the display first. Test the display before investing time in it. A panel with lines, dead pixels or pressure damage is not worth cleaning.
Manual methods
Rolling and rubbing
Fresh OCA left on a warm display can often be rolled off with a clean thumb or finger cot. Start at one corner, press lightly and roll the glue toward the centre so it gathers into a ball. Keep rolling until the ball picks up the rest of the film. This is slow on a large screen but it is the gentlest method there is, since nothing hard ever touches the polarizer.
Removal stickers and sticks
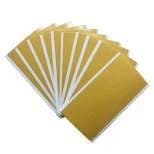
Glue removal stickers are tacky pads that grab OCA and lift it away. Press one onto the glue, then peel it off at a low angle. Repeat with fresh areas of the sticker as it fills up. TBK OCA glue removal stickers come in packs suited to daily use. Stickers work well for the last thin layer that rolling leaves behind.
Plastic and ceramic blades
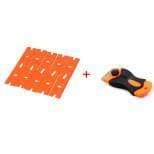
For thicker or stubborn patches, a blade can lift the glue. Plastic blades are softer than the polarizer surface and are far less likely to scratch it, which makes them the safer choice for most technicians. A plastic OCA glue removal knife with replaceable blades lets you change to a fresh edge often, which matters because a nicked blade scratches.
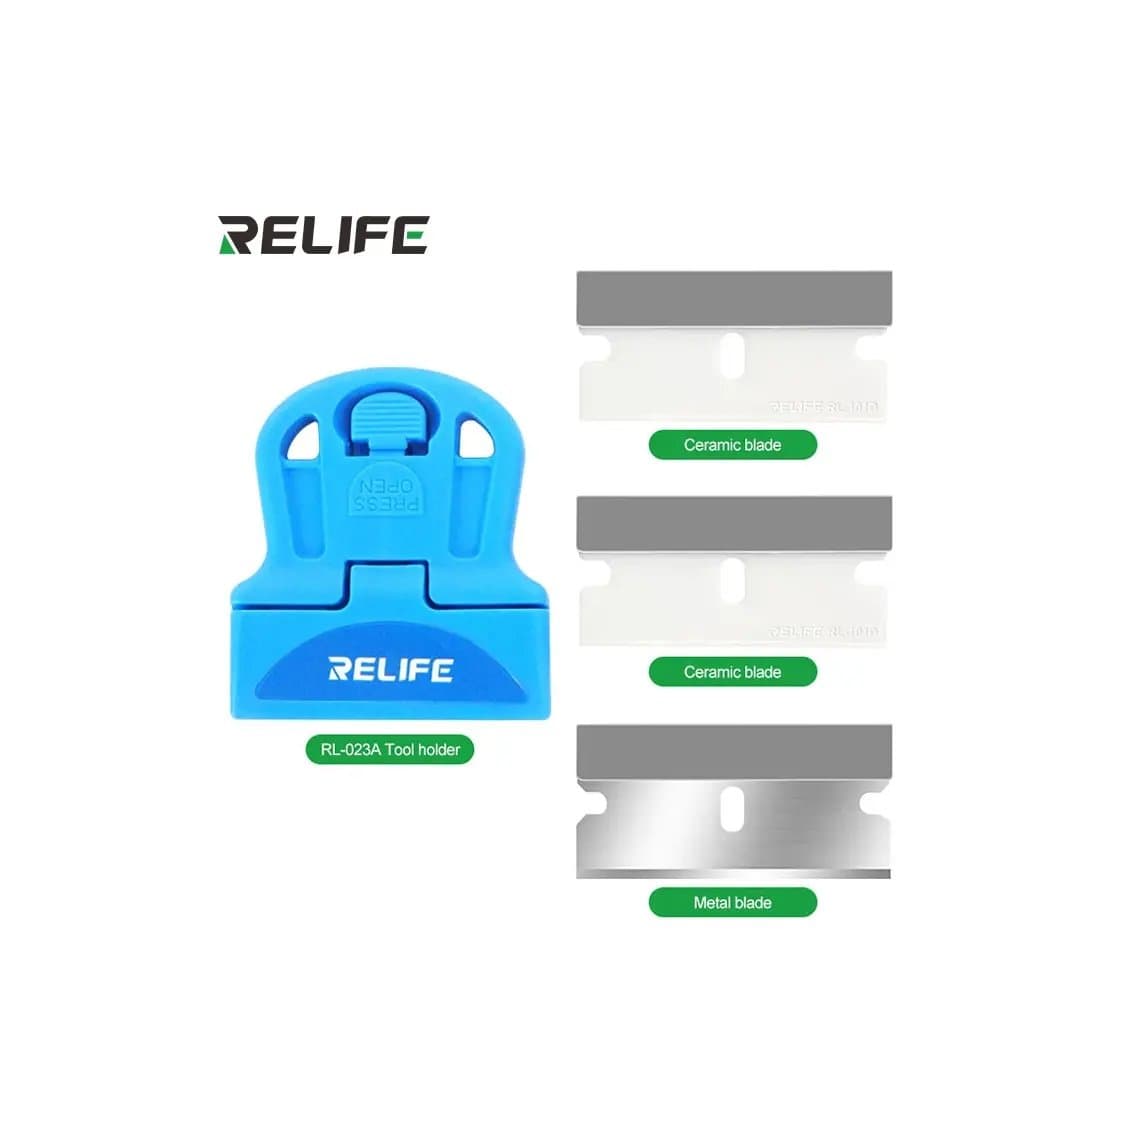
Ceramic blades, used in a holder such as the Relife RL-023A ceramic glue remover knife holder, are harder and cut cleaner through tough glue. They need a light hand and a flat angle. Hold the blade nearly flat to the display and push the glue, do not dig. Never use steel scrapers or metal blades on the polarizer.
More hand tools are listed in the adhesive removal tools category.
Electric glue removers
A refurbishing line that handles many screens a day usually moves to an electric glue remover. These spin a rubber or soft wheel that rubs the OCA off the display surface. They are much faster than hand work, but they also concentrate friction and heat in one spot, so technique matters.
- The Mijing GR-10 speed-adjustable electric glue remover lets you lower the speed for delicate screens.
- The Mechanic IR14 electric remover combines cutting and grinding attachments in one handpiece.
Good practice with a rotating remover:
- Start at a low speed and raise it only if the glue is not coming off.
- Keep the wheel moving. Holding it still in one spot heats the polarizer and can leave a mark.
- Use light pressure. Let the wheel do the work.
- Stay away from the flex and the very edge of the panel, where the polarizer can lift.
- Replace worn wheels and tips. A glazed or damaged wheel drags and scratches.
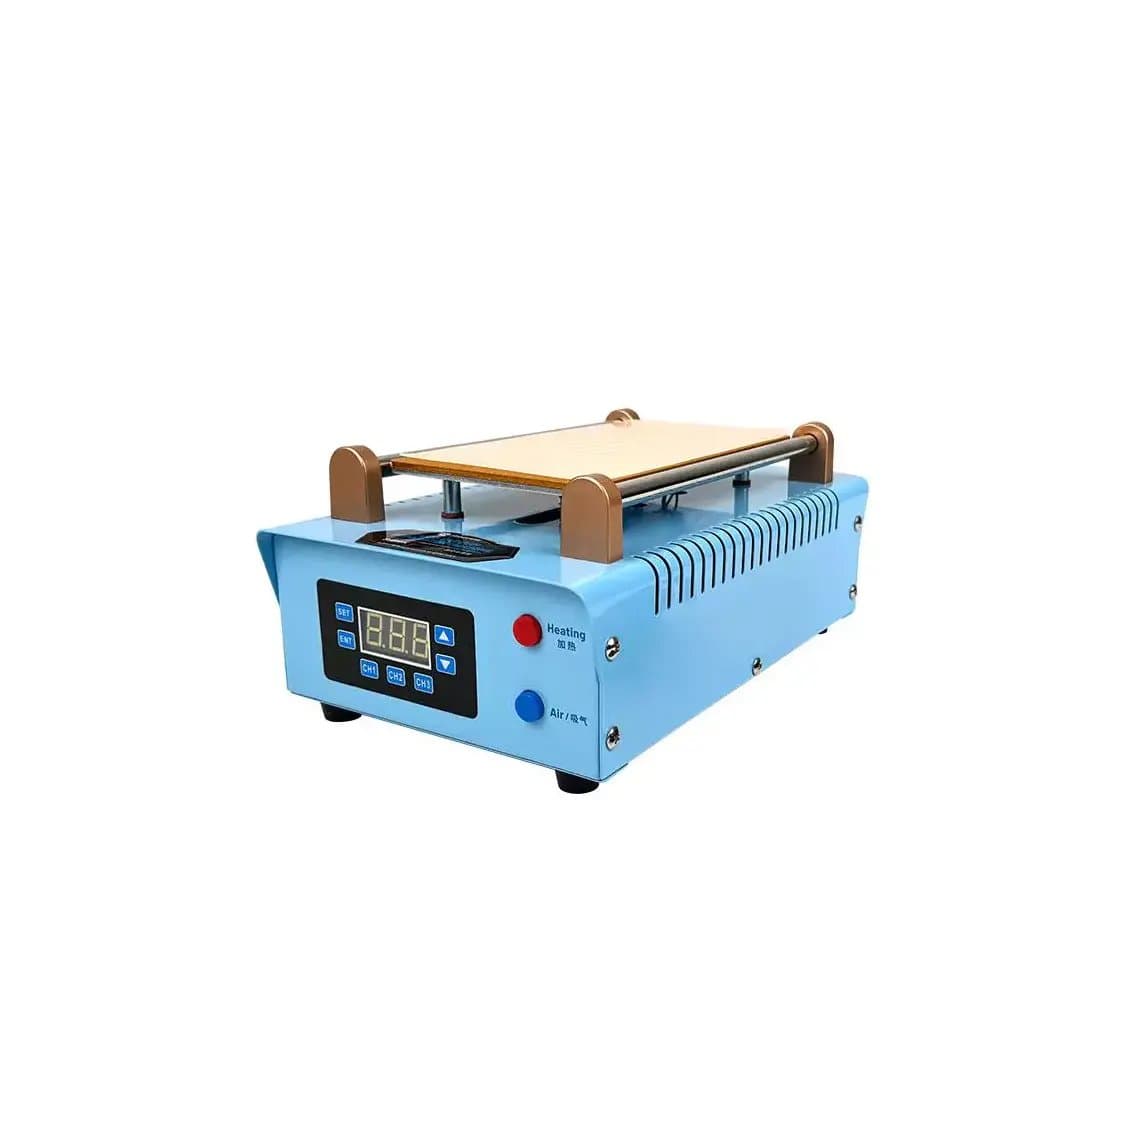
Some separators also include glue-removal functions, such as the Sunshine S-918K separator and OCA glue remover. For automated systems that remove OCA and polarizer film, see OCA and polarizer removers.
Using heat
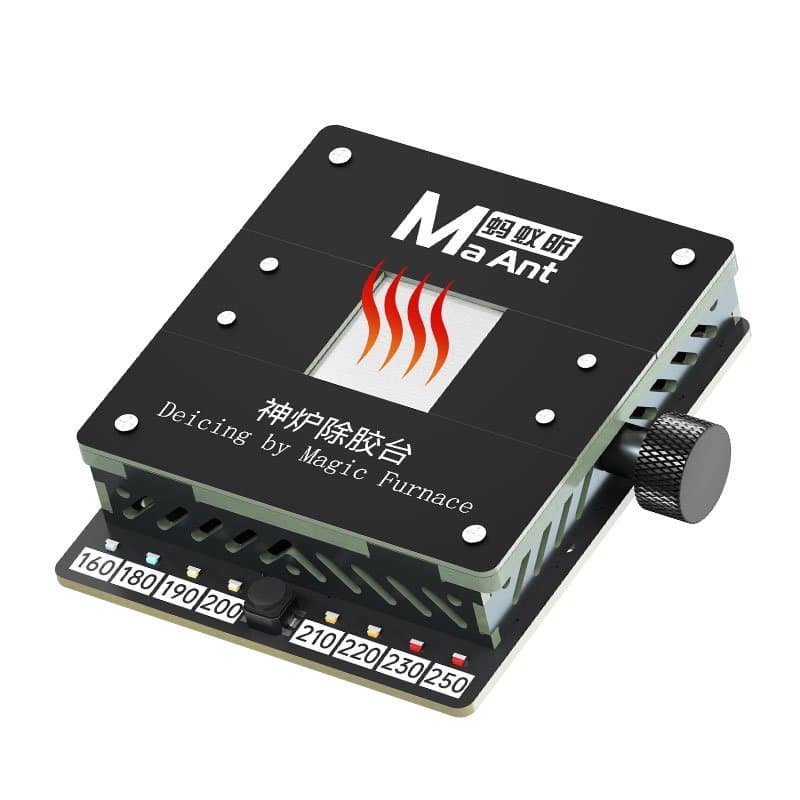
OCA softens when warm, which makes it roll and peel far more easily. A constant heating platform such as the MaAnt SL-1 keeps the display at a steady temperature while you work. Keep the heat moderate. Too much heat can damage the polarizer, cause mura or dark patches on LCDs and stress OLED panels. If you are unsure, start lower and work slower. Avoid heat guns pointed at one spot on the display for long periods.
Solvents: use with care
Solvents are tempting because they make glue soft very quickly. They are also the most common way technicians ruin a good display. Many solvents can cloud, swell or strip a polarizer, and some can seep under the edge of the polarizer or into the panel.
- Test first. Try any solvent on a scrap display of the same type before using it on a screen you want to keep.
- Use very little. Apply a small amount to a lint-free cloth or swab, never pour it on the display.
- Keep it off the edges. Solvent wicking under the polarizer edge or into the flex area causes damage that is hard to see until later.
- Wipe off and dry. Do not let solvent sit. Remove residue and let the surface dry fully before lamination.
- Ventilate. Work with airflow and follow the product label for handling.
Products such as the adhesive remover for UV glue are aimed at glass and LCD glue work, but how they react with a particular polarizer varies, so the test-first rule applies every time.
OLED vs LCD: what changes
| Factor | LCD | OLED |
|---|---|---|
| Structure | Rigid layers with backlight behind | Thin panel, often flexible, with the polarizer on top |
| Heat tolerance | Moderate; too much causes dark patches | Lower; panels can be damaged or show burn-like marks |
| Pressure | Too much can cause pressure marks | Very sensitive; pressure can crack the panel or create dead lines |
| Best approach | Rolling, stickers, plastic blade, low-speed wheel | Gentle rolling and stickers first, minimal heat, very light wheel work |
Flexible and curved OLED panels need the most care. Support the whole panel on a flat, clean surface and never bend it while removing glue.
If the polarizer gets damaged
A scratched, hazy or lifted polarizer does not always mean the display is lost. On many LCDs the polarizer can be removed and replaced with new polarizer film, which is a common refurbishing step. Polarizer replacement on OLEDs is more delicate and on some panels it is not practical. The exact approach varies by model and panel, so check that replacement film and the right process exist for that screen before deciding.
Dust control and finishing before lamination
- Inspect the display under bright light and a magnifier or microscope. Look for any glue islands, especially at the edges and corners.
- Remove remaining traces with a fresh sticker rather than more scraping.
- Clean with a lint-free cloth and a suitable cleaner, wiping in one direction.
- Use an ionizing blower to remove static and loose dust.
- Use dust-removal tape just before lamination and move the display to a dust-free cabinet straight away.
Once the surface is clean, the screen is ready for new OCA and glass in a laminating and bubble removing machine.
Common mistakes
- Scraping with metal tools or with a worn blade.
- Holding a rotating wheel still in one spot.
- Pouring solvent on the display or using it without testing.
- Too much heat on OLED panels.
- Leaving thin glue islands that later show as spots under the glass.
- Cleaning in a dusty area and carrying dust into lamination.
Questions
What is the safest way to remove OCA glue from a screen?
Warm the display gently and roll the glue off with a clean finger or finger cot, then lift remaining traces with glue removal stickers. Nothing hard touches the polarizer, so the risk of scratching is very low. It is slower than a machine, but it is the safest method for valuable screens.
Can I use alcohol or acetone to remove OCA glue?
Be very careful. Strong solvents such as acetone can damage polarizers quickly, and even milder ones may cloud some films. If you use any solvent, test it on a scrap display of the same type first and use only a little on a cloth.
Why does my screen have marks after using an electric glue remover?
Marks usually come from too much speed or pressure, holding the wheel in one spot, or a worn wheel. Lower the speed, keep the wheel moving and replace worn wheels. If the polarizer is scratched, it may need replacing.
Do I have to remove all the old OCA before lamination?
Yes. Any residue left on the display will show through the new glass as a spot or bubble, and the new OCA will not bond evenly over it. Inspect under strong light before you laminate.
You can find hand tools, stickers and blades in our adhesive removal tools range and full refurbishing equipment under machines. Shops buying regularly can unlock wholesale pricing and reorder consumables by SKU through Quick Order.