iPhone Camera Not Working After Screen Replacement: Causes and Fixes
17 November 2026 · LightspeedTools team
Short answer: When an iPhone camera stops working after a screen replacement, the cause is almost always mechanical: a camera connector knocked loose, a front camera or sensor flex torn while transferring parts, or debris and bent pins on a connector. Reseat and inspect first, then swap in a known-good camera to isolate the fault. True camera pairing messages only appear when the camera itself was swapped, not after a screen job alone.
A black camera app after a screen job is a classic, avoidable comeback. This guide explains why a screen job can affect the cameras, how the risk changes across iPhone generations, the symptoms you will see, a bench order that finds the fault fast, and what to do when a replacement camera shows a message in Settings.
Why a screen replacement can affect the cameras
The display and the cameras share the same small area at the top of the phone. Their connectors sit close together on the logic board, the flex cables cross each other, and on some models parts must move from the old screen to the new one. Every one of those touch points is a chance for damage.
Front camera or sensor flex disturbed or torn
On the iPhone 7, 8, SE 2nd and SE 3rd generation, the front camera, proximity sensor, ambient light sensor and microphone sit on one flex that lives on the back of the display assembly. During a screen swap it has to be lifted off the old panel and moved to the new one. The flex is thin and glued down, and it tears easily if you pry without heat or bend it sharply. A torn trace may look fine to the eye and still kill the front camera. If the flex is damaged, replace it with a new ambient light sensor and front camera flex rather than trying to repair it.
On iPhone X and later, the front camera sits in the TrueDepth module in the frame, not on the screen. The flex you transfer is the earpiece and sensor flex, which carries proximity and ambient light sensing. A screen job can still disturb the front camera on these models: the TrueDepth connectors sit near the display connectors, and a slipped tool or a cable caught under the display bracket can unseat or damage them. Damage to this area can also break Face ID; see our guide to Face ID not working after repair before you start replacing parts.
Rear camera connector unseated
The rear camera does not touch the display, but its connector sits near the display and battery connectors under the same shield on many models. Lifting the shield, prying a neighbouring connector or leaning on the board can pop the rear camera connector partly off. A half-seated connector is the classic cause of a camera that works, then fails, then works again.
Debris, bent pins and liquid
Broken glass is the enemy of board-to-board connectors. A shard on a connector stops it seating flat, and pressing harder can bend pins or crack the connector. If the phone was dropped hard enough to break the screen, it may also have taken in liquid through the cracked glass, which can corrode the camera connectors.
Heat damage
Heat plates and heat guns soften adhesive, but the camera modules sit right under the top of the screen. Too much heat for too long can damage a camera module, warp a lens holder or melt foam gaskets. Use the lowest heat that works and keep the hot air off the camera area.
Magnets and stabilisation
Rarely, strong magnetic tools held near a rear camera with optical stabilisation, or the drop itself, upset the stabiliser and cause a shaking image.
Symptoms and what they usually mean
| Symptom | Most likely cause | First check |
|---|---|---|
| Camera app opens to a black screen on all lenses | Rear camera connector loose or damaged | Reseat rear camera, inspect connector |
| Front camera black, rear works | Front camera flex torn (7, 8, SE) or TrueDepth connector disturbed (X and later) | Inspect transferred flex and front camera connectors |
| One rear lens fails, others work | Single module fault or partly seated connector | Test with a known-good rear camera |
| Blurry photos, hunting focus | Dirty or cracked lens glass, debris, heat or drop damage to the module | Clean and inspect the lens, then try a known-good camera |
| Shaking or buzzing image, clicking noise | Stabilisation fault in the rear module | Known-good camera swap |
| Flash or torch greyed out | Camera app freezes when the camera fails, or flash flex damaged | Fix the camera first, then retest flash |
| Dark spot or haze in photos | Dust inside the lens area, missing foam gasket | Clean, replace foam and gaskets |
Note that a greyed-out torch often just means the camera system has failed, not the flash.
Diagnosis order on the bench
- Disconnect the battery first. Never reseat any connector with the battery connected. A misaligned connector on a live board can short and damage the camera or the board.
- Reseat every connector you touched. Disconnect and reconnect the rear camera, the front camera or TrueDepth connectors and the display connectors. Press straight down with a finger or a flat plastic tool until you feel the click.
- Inspect under a microscope. Check the board-side connectors and the cable ends for glass, bent pins, cracked plastic, torn traces and corrosion. A stereo microscope from our microscope range makes a lifted pin or hairline tear obvious in seconds.
- Check the transferred flex. On 7, 8 and SE models, follow the front camera and sensor flex along its whole length. Look for creases and stretched traces near the bends.
- Swap in a known-good camera. This is the step that ends the guessing. If a known-good module works, the original camera is damaged. If it does not, the fault is on the board side: the connector, a damaged line or a liquid-damaged area.
- Test outside the phone if needed. Extension flex cables let you connect a camera to the board without fitting it into the frame, which is useful for fast swaps. For the iPhone 8 there is a rear camera connector extension flex set and a front camera connector extension flex.
- Check for liquid. Look at the liquid contact indicators and for corrosion around the camera and display connectors. If you find it, clean the board properly before blaming any part.
- Test all lenses and features. Photo, video, every rear lens, portrait mode, front camera, flash and torch.
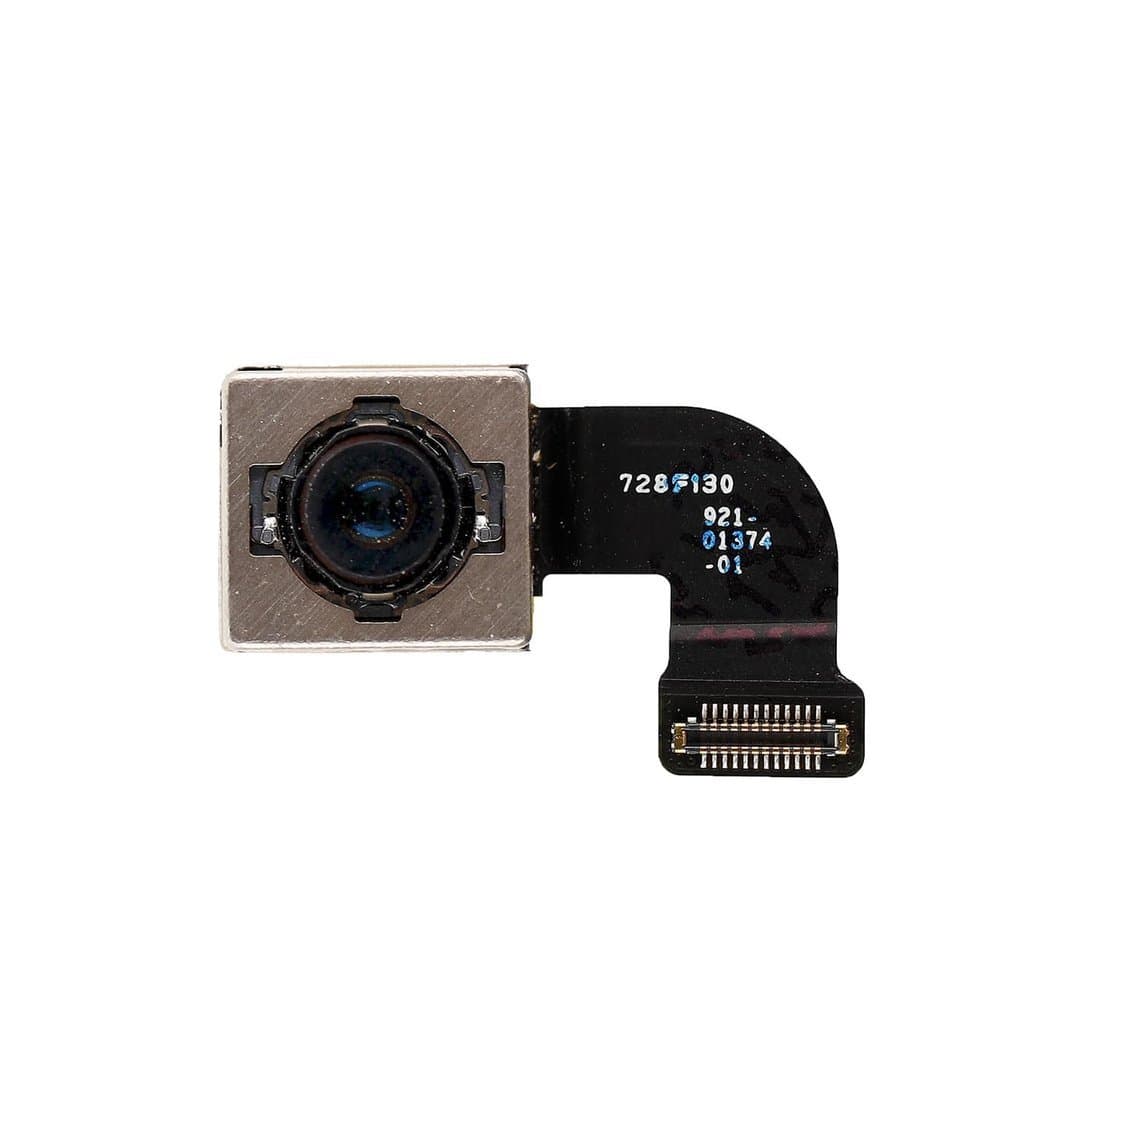
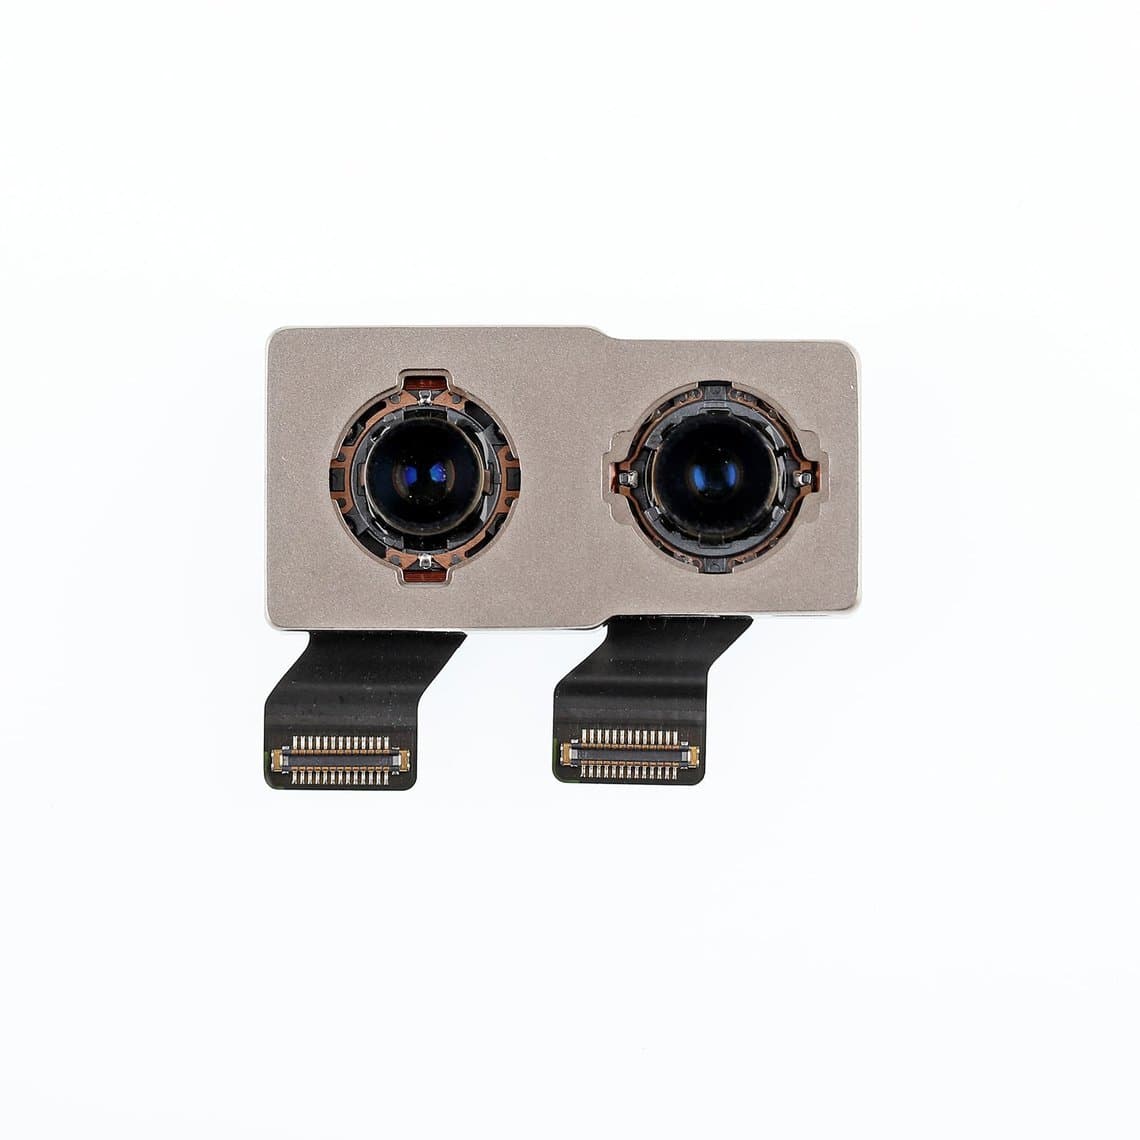
If a new camera is needed, fit a matching part for the exact model, such as an iPhone 8 rear camera or an iPhone X rear camera, and check that the lens and holder are clean before closing.
Camera pairing and "Unknown part" messages
Starting with the iPhone 12 series, Apple ties some cameras to the logic board. When a camera from another phone is fitted, the phone may show a message in Settings that it cannot verify the camera, and on newer iOS versions it may list the camera as an "Unknown part" in parts history. The exact wording, and whether every camera feature keeps working, depends on the model and the iOS version, so check with the device in hand rather than assuming.
The important point for screen work: if you only replaced the screen and did not swap a camera, a camera message is not a pairing issue. Look for physical damage instead. A screen replacement can produce its own display notice on recent models, which is a separate topic covered in our guide to the "Unknown part" message on iPhone.
When you do need to replace a camera on a paired model, the original camera's data can be written to a replacement with a programmer on some models only. Support varies by tool, adapter and model, so check the tool's support list before quoting. Our programmers for camera repair page groups the tools for this job. Where no programmer support exists, tell the customer about the message before the repair, not after.
Prevention: keep the cameras safe during a screen job
- Disconnect the battery before anything else and keep it disconnected until the new screen and all flexes are seated.
- Clear glass before you lift any shield. Blow out or pick out loose shards so they cannot fall onto connectors.
- Lift connectors from the correct side with a plastic spudger, never metal tweezers under the connector body.
- Use controlled heat on the transferred flex and keep it away from the camera modules.
- Do not stretch the transferred flex. Let the new screen hang beside the phone while you connect it, and support it with a stand.
- Refit foam, gaskets and brackets. Missing dust foam lets debris reach the lens. Replacement parts such as the iPhone X rear camera anti-dust foam and the iPhone 8 front camera lightpipe cover keep the camera area sealed and the sensors working.
- Test before closing. Check every camera with the new screen loosely fitted, so a fault is found while the phone is still open.
- Wear an ESD strap and work on a grounded mat. Camera modules are sensitive to static.
For a full walkthrough of a screen swap with these checks built in, see our iPhone screen replacement step-by-step guide. Our quality grades page explains the differences between screen grades.
Common mistakes
- Replacing the camera before reseating and inspecting the connector.
- Reseating connectors with the battery still connected.
- Pressing a connector down onto a glass shard and bending pins.
- Assuming a camera message is pairing when no camera was swapped.
- Skipping the camera test before closing the phone and refitting adhesive.
Questions
Why does my iPhone camera show a black screen after a screen replacement?
Most often a camera connector was knocked loose or damaged while the screen was replaced. Reseating the connector with the battery disconnected fixes many cases. If it does not, the camera or its flex may be damaged and a known-good camera test will confirm it.
Can a screen replacement damage the front camera?
Yes. On the iPhone 7, 8 and SE 2nd and 3rd generation, the front camera flex is moved from the old screen to the new one and can tear. On iPhone X and later the front camera stays in the frame, but its connectors sit near the display connectors and can be disturbed.
Will a replacement camera work on a newer iPhone?
Usually the camera will work, but on iPhone 12 and later models the phone may show a message that it cannot verify the camera or list it as an unknown part. Feature support can vary by model and iOS version. On some models a programmer can transfer the original camera data.
Why is my iPhone camera blurry after repair?
Check the rear lens glass for cracks or dirt and look for dust inside the camera area. If the lens is clean, the camera module may have been damaged by heat or a drop, and a known-good camera test will show it. Stabilisation faults can also cause shaking or blurred images.
Stock the parts and tools for camera and screen jobs in one order: browse iPhone screens and our iPhone parts, with every part tested before it ships from Shenzhen. Shops buying regularly can open wholesale pricing, and Quick Order takes SKUs or a CSV when you already know what you need.