How to Use a DC Power Supply for Mobile Repair: Setup and Readings
17 November 2026 · LightspeedTools team
Short answer: To use a DC power supply for mobile repair, set the voltage to the battery's rated voltage printed on its label, set a modest current limit, and connect the phone through a boot cable or battery-connector adapter with the polarity checked. Then press the power button and watch the ammeter: how the current moves during the button press and the boot tells you which stage of the board is failing, before you replace a single part.
What a bench DC power supply does in a repair shop
A bench DC power supply is an adjustable source of direct current with two controls that matter: voltage (how hard it pushes) and current limit (the most it will deliver). Instead of powering a phone from a battery of unknown health, you power it from a source you control and can read.
That gives you three things a battery cannot:
- A live ammeter. You see how much current the board draws at every moment, from standby to button press to boot.
- Protection. If a component is shorted, the supply hits the current limit and drops its voltage instead of dumping a battery's full energy into the fault.
- A known-good source. A weak or damaged battery is removed from the equation, so you know whether the fault is in the battery or the board.
Most shops use a general bench supply from our DC power supply range together with a phone-specific cable from the boot cable range.
What you need before you start
- A bench supply with adjustable voltage, adjustable current limit and a readable ammeter.
- A boot cable or battery-connector adapter that fits the phone, or clip leads and a battery-connector board for models without a dedicated cable.
- A multimeter to confirm the output voltage and polarity at the connector end.
- An ESD mat and wrist strap. The board will be exposed and powered.
- Magnification. A microscope from our microscope range helps when you later chase the fault the ammeter points to.
Step-by-step: setting up and connecting the phone
1. Set the voltage from the battery label
There is no single correct voltage for every phone. Read the rated (nominal) voltage printed on the phone's own battery and set the supply to that figure. If the battery is missing, check the label on a replacement battery for the same model. Most phone cells are lithium-ion with a similar nominal rating, but newer high-voltage cells and some dual-cell designs differ, so do not carry a number from one model to another.
Set the voltage with the output off, and confirm it with a multimeter at the output terminals the first time you use a new supply.
2. Set a sensible current limit
The current limit is your safety net. Start low, enough for the phone to begin its boot, not enough to cook a shorted component. Many technicians start around a level close to what a phone draws during a normal boot and raise it only if the board clearly needs more and nothing is warming up. If you are not sure, start lower; you can always turn it up.
When the supply reaches its limit it switches from constant voltage to constant current, and most supplies show this with a CC indicator. On a phone, an instant jump to CC the moment you connect almost always means a short on the main power rail.
3. Connect through a boot cable, and check polarity
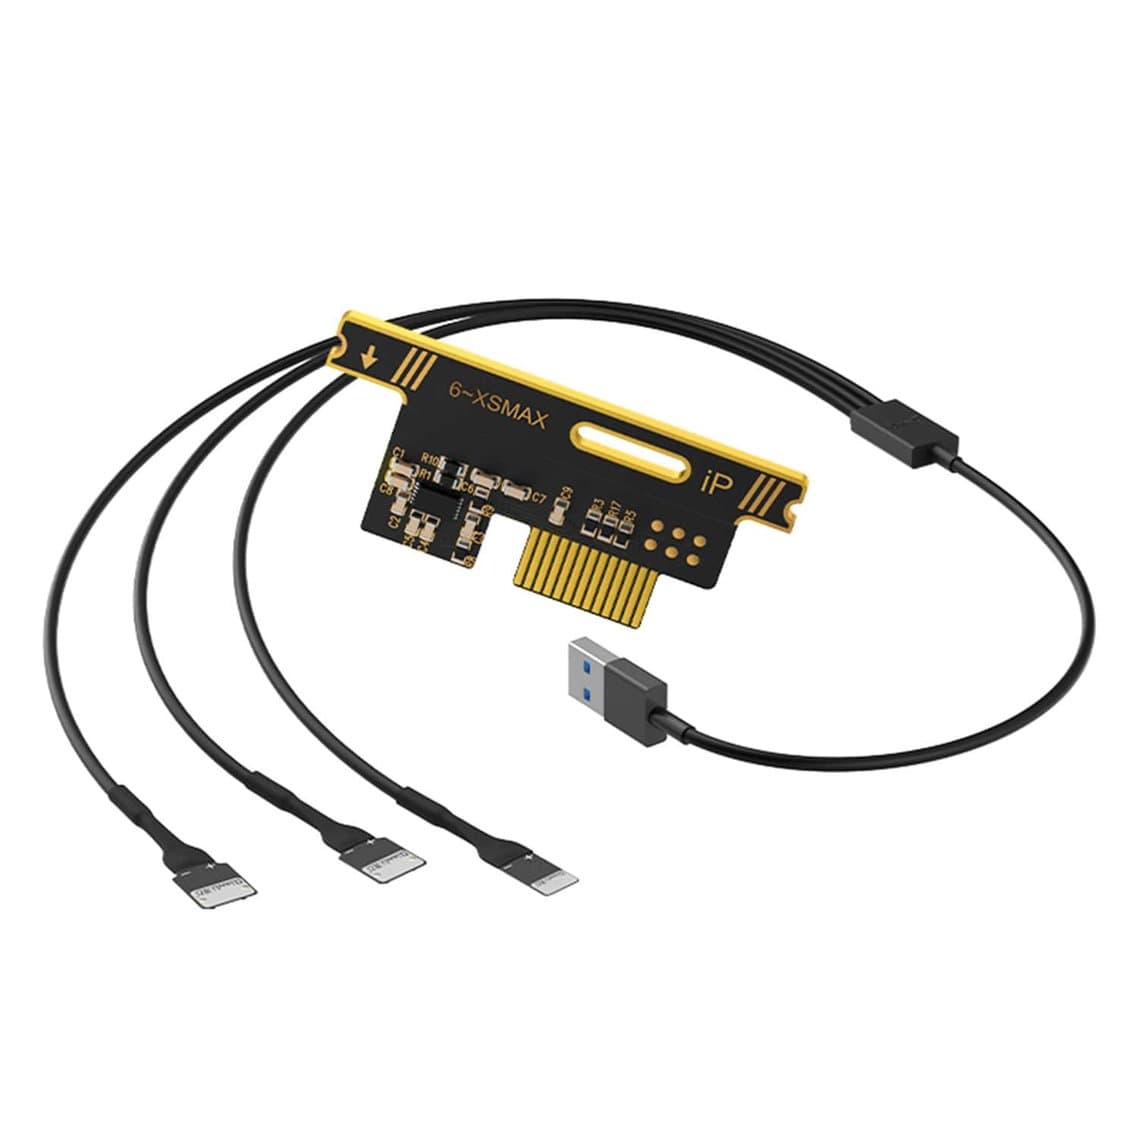
A boot cable plugs into the battery connector on the board (or a battery-shaped adapter that sits in its place) and carries the supply's output to the right pins. Many also feed the signal the phone needs to see a battery present, which a pair of clip leads cannot do.
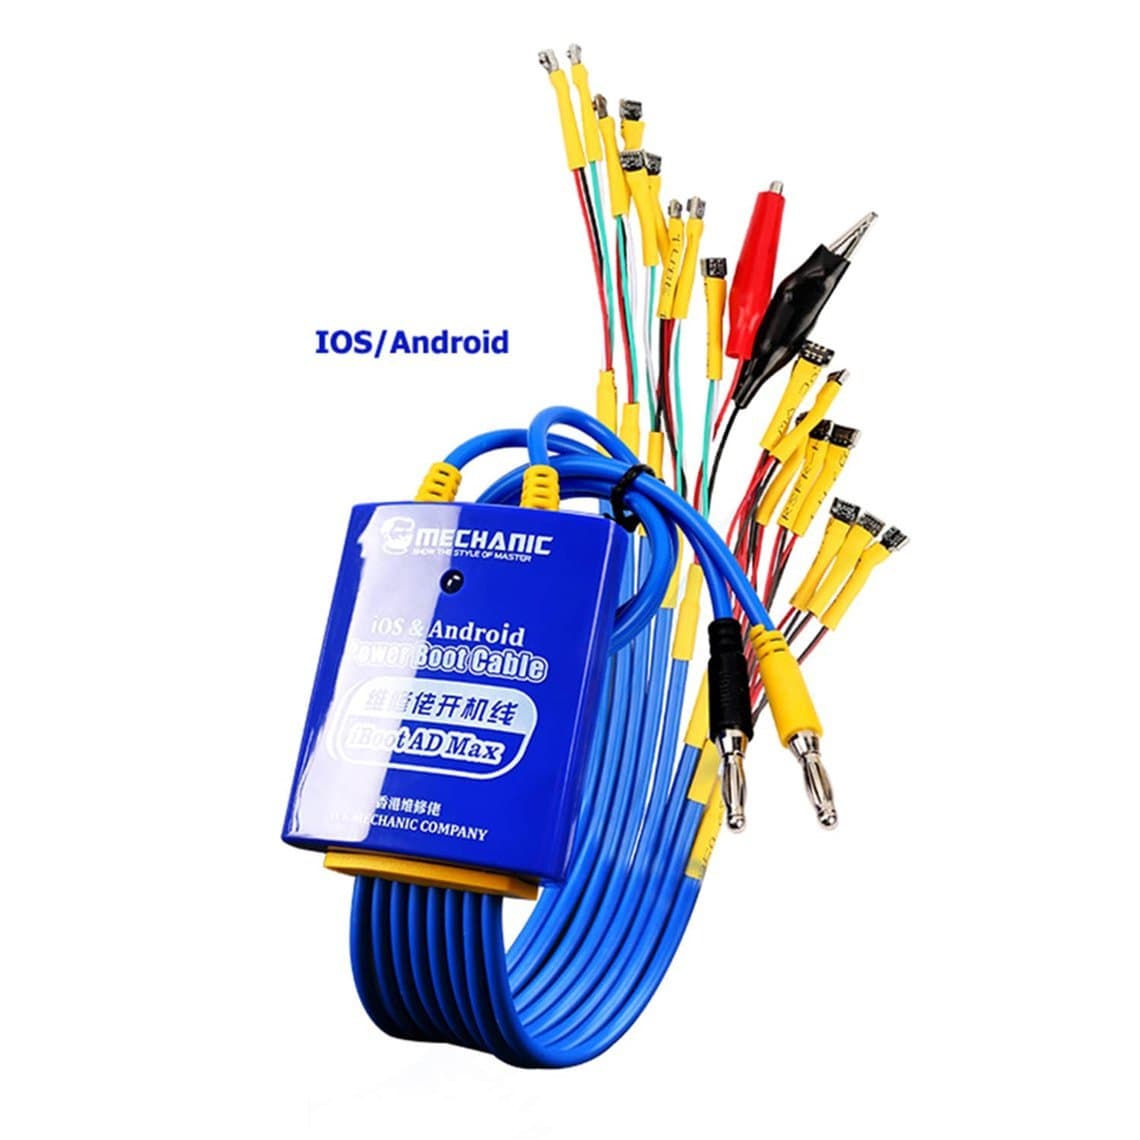
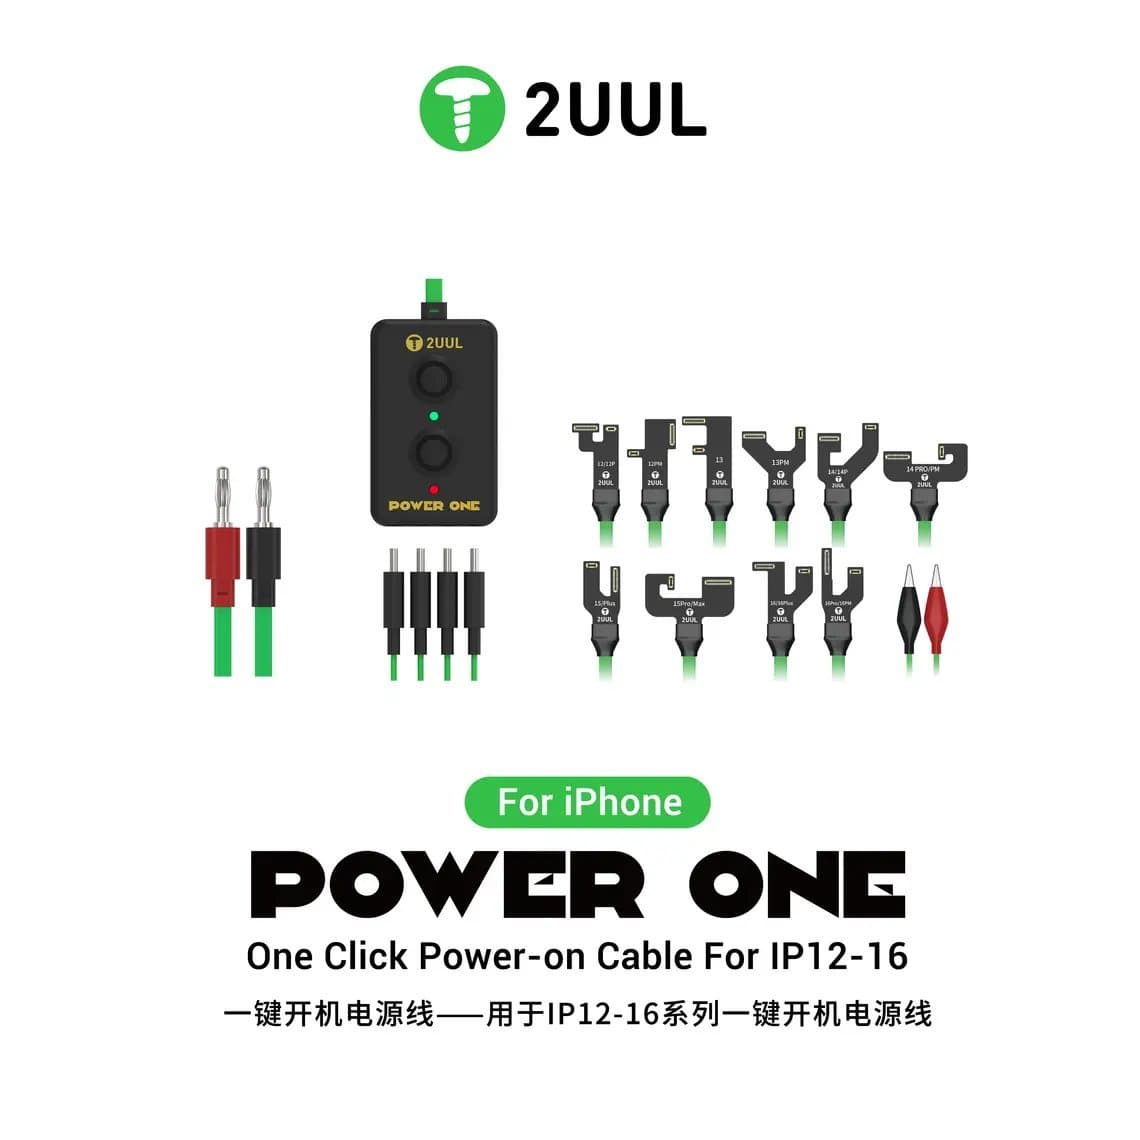
- For iPhone work, cables such as the Mechanic iBoot AD Max cover a range of iPhone and Android connectors, while the 2UUL PW09 one-click power-on cable targets newer iPhone generations listed in its name.
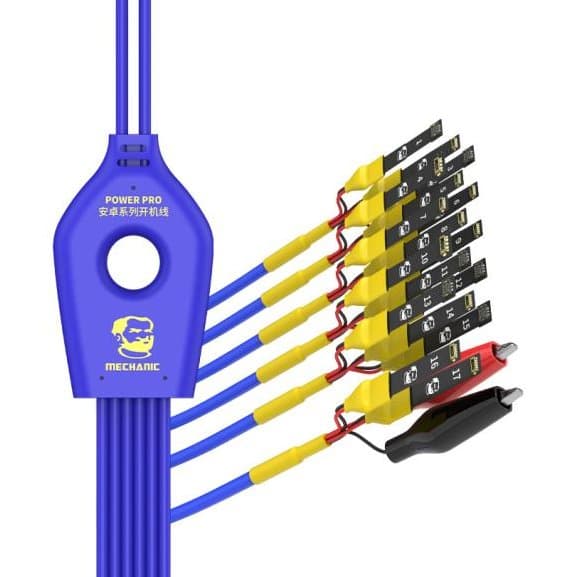
- For Android, the Mechanic Power Pro FPC boot cable uses interchangeable connector boards for a wide spread of models.
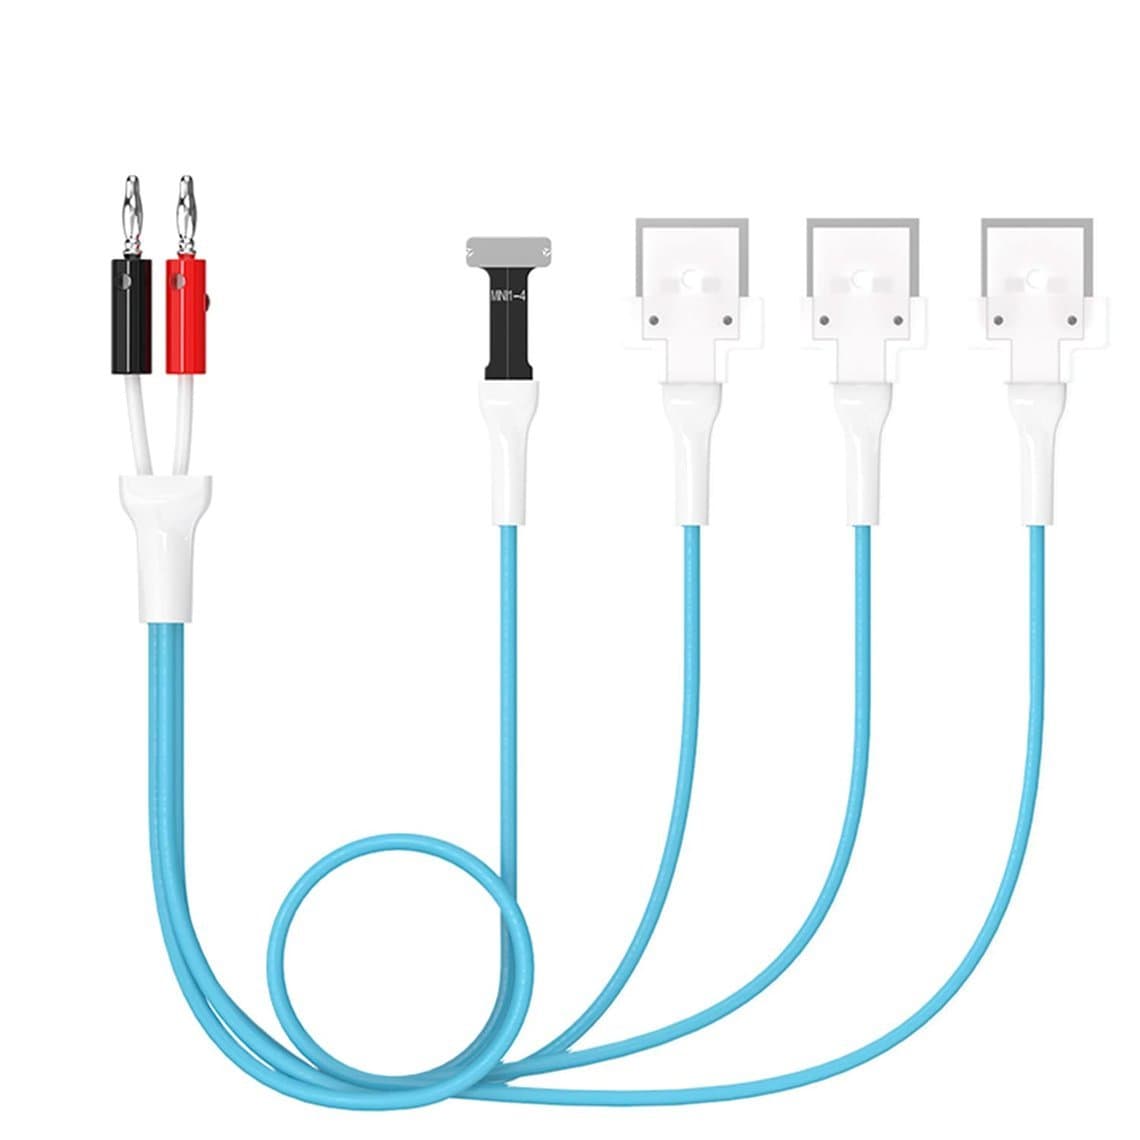
- For tablets, use a cable built for them, such as the WYlie WL-648 iPad test cable.
Polarity is the mistake that kills boards. Red to positive, black to negative, and confirm with a multimeter at the cable end before the first connection. Reversed polarity on a phone board can destroy the power management chip in an instant, and the current limit will not always save it.
4. Switch on the output, then press power
Turn the output on with the phone connected and watch the ammeter before you touch anything. Then press the power button and watch how the reading moves through the button press and the boot. If the phone does not respond to the button, some boards need a moment, a charging cable plugged in, or a specific trigger the boot cable provides; check the cable's instructions for the model.
Reading the ammeter: what the patterns broadly mean
The ammeter is the reason to use a supply at all. These are broad patterns, not exact values, because draw varies by model and by board revision.
| What you see | Broadly points to |
|---|---|
| Current jumps high the moment you connect, CC lights up | A short on the main power rail, often a capacitor or a chip on the battery line |
| Zero or near-zero current, no change on button press | Power button path, power management not starting, or an open connection (check the cable first) |
| Small jump on button press, then stuck at a fixed value | Boot starting but stopping at an early stage; CPU, memory or a secondary rail |
| Current climbs, then drops back to zero and repeats | Boot loop; the board starts, hits a fault and restarts |
| Current rises and moves in a busy, changing way | Normal boot activity; look at display, software or peripherals next |
Turning these readings into a full fault-finding path is a bigger subject. Our guide to board-level diagnosis of a phone that will not turn on walks through each pattern and the parts of the board to check next, so it is not repeated here. If an iPhone gets as far as the logo and stops, the hardware causes of an iPhone stuck on the Apple logo article picks up from there.
Short-circuit injection: useful, but only with care
When the ammeter shows a short, a common technique is to feed a controlled current into the shorted rail so the faulty component warms up and shows itself, using thermal imaging, freeze spray or rosin smoke. A bench supply with a fine current limit is what makes this possible.
It is also easy to do damage. Too much voltage can harm parts on that rail that were healthy, and some rails must never see the main battery voltage. Inject only into the rail you have identified, start at a low voltage, keep the current limit tight and raise it in small steps. The full method, including how to find the right rail and which signs to trust, is in our phone short-circuit repair guide.
Choosing a DC power supply for phone repair
| Feature | Why it matters |
|---|---|
| Ammeter resolution | Phone diagnosis lives in small currents. A display that reads in milliamps (three decimal places on the amp scale) shows standby leakage and early boot steps a coarser display hides. |
| Clear, stable display | You watch the reading while pressing a button. A bright, steady display is easier than one that flickers. |
| Linear vs switching | Linear supplies are heavier but quieter in output; switching supplies are lighter and compact. Both work for phones if the output is stable. |
| Programmable presets | Saved voltage and current settings stop a technician dialling in the wrong value in a hurry. |
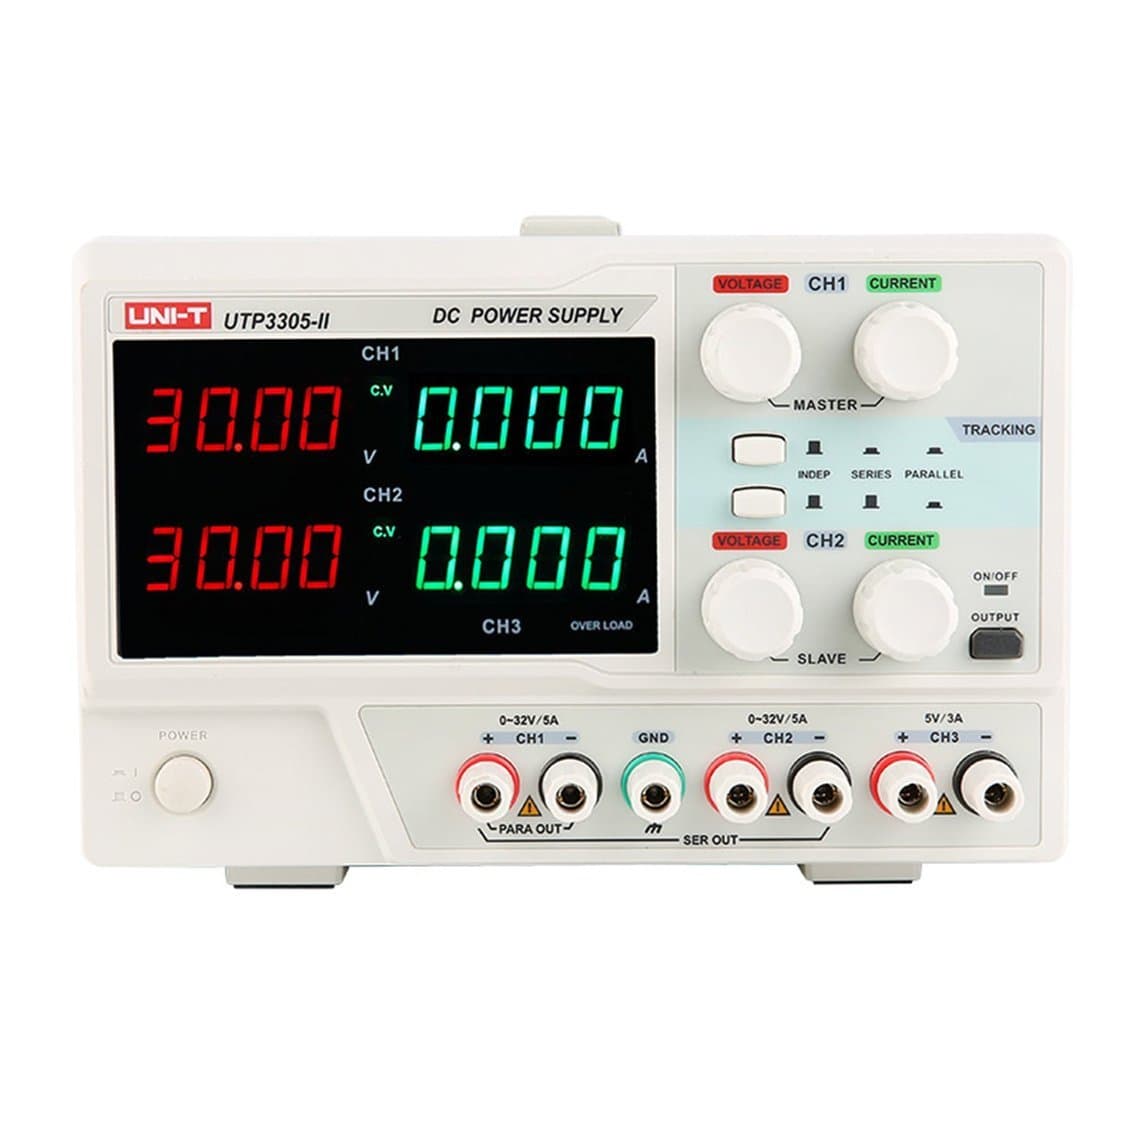
| Multiple channels | A second output lets you power a board on one channel and inject or test on the other. |
| Phone-specific supplies | Some units are built for phone work, with boot functions, connectors or one-touch power-on built in, which saves setup time on a busy bench. |
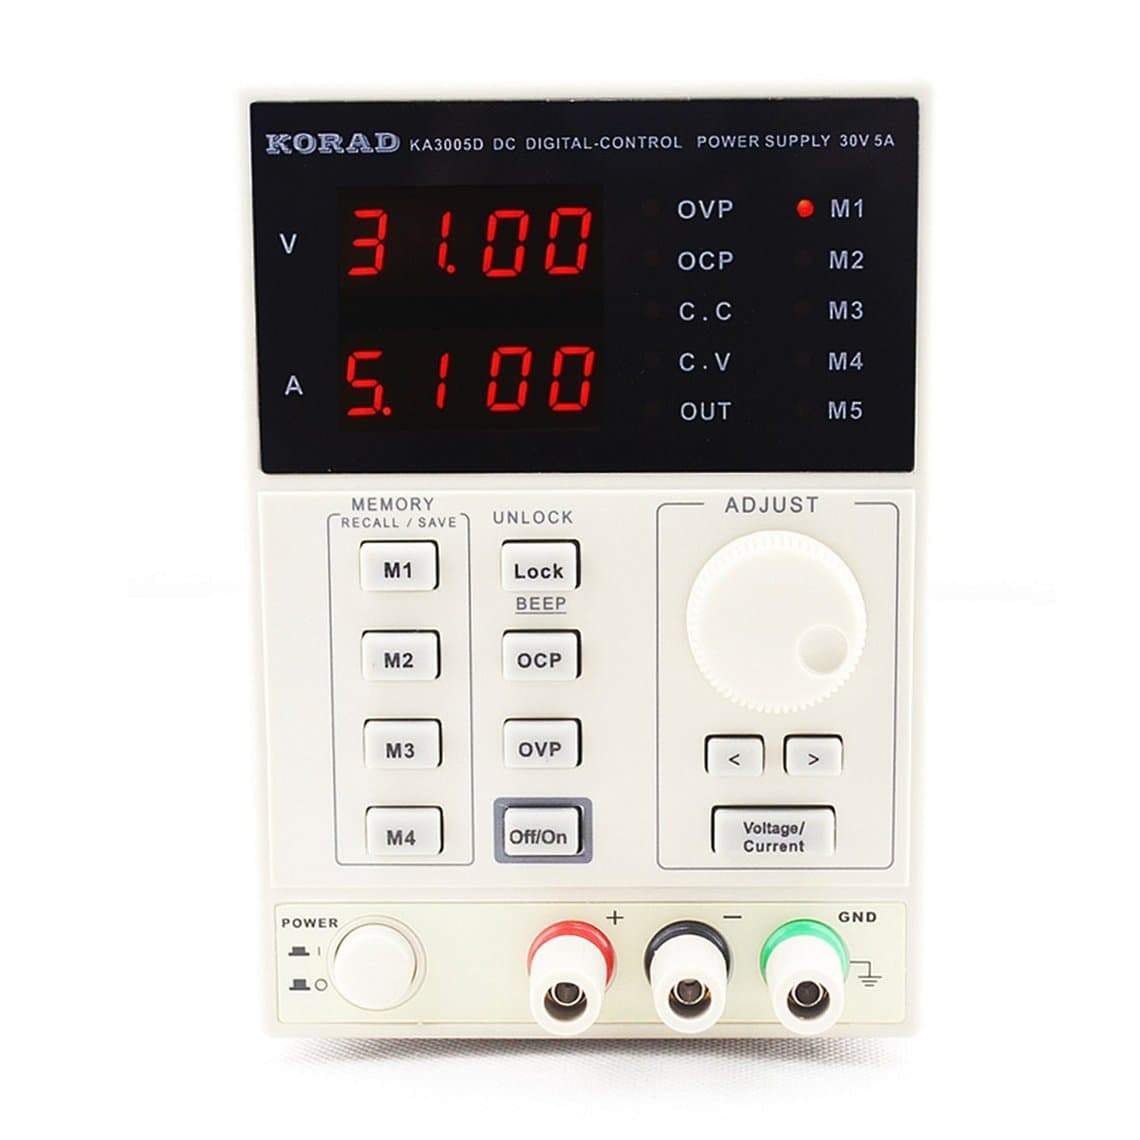
A few examples from the range show the spread. The 2UUL PC30 DC3006 is a high-precision adjustable unit aimed at repair benches. The KA3005D programmable supply adds saved settings. For two independent outputs, the UNI-T UTP3305-II multi-channel linear supply is a step up. If you want a compact readout alongside an existing supply, the Qianli LT1 power meter and isolated module fits that role. Check each product page for its exact resolution and channels before you choose.
Common mistakes
- Using one voltage for every phone. Read the battery label each time.
- Setting the current limit at maximum. It removes the only protection the supply gives you.
- Trusting the display without a meter check. Verify a new supply, and re-check one that has been dropped or repaired.
- Skipping the polarity check. Especially with homemade leads or a new cable.
- Blaming the board for a cable fault. Boot cables wear at the connector. Zero current on a board you expect to work is a reason to try another cable first.
- Leaving the supply connected and unattended. A board on a bench supply can heat a faulty part without anyone noticing.
Safety
- ESD: work on a grounded mat with a wrist strap. A powered board is no less sensitive to static.
- Lithium batteries: disconnect the phone's own battery before connecting a boot cable. Never connect the supply in parallel with a battery, and set aside any swollen or punctured cell in a fire-safe container.
- Heat: touch-check or thermal-check the board during the first seconds of power. Anything getting hot fast means power off.
- Output off when connecting: make and break connections with the output switched off to avoid sparks on tiny connector pins.
Questions
What voltage should I set on a DC power supply for a phone?
Use the rated voltage printed on that phone's battery label. Ratings are similar across many phones but not identical, and high-voltage or dual-cell designs differ, so check the label for each model rather than using one number for everything.
Why does my power supply go into CC mode when I connect the phone?
The board is drawing as much current as the limit allows, which on a phone usually means a short on the main power rail. Disconnect, check that the cable and polarity are correct, then follow a short-circuit diagnosis before raising the limit.
Can I charge a phone battery with a DC power supply?
It is not recommended. A phone battery should be charged through the phone's charging circuit or a dedicated lithium charger with proper termination. A bench supply is for powering the board in place of the battery during diagnosis.
Do I need a boot cable, or can I use clip leads?
Clip leads can work on some older boards, but many phones need a battery-presence signal before they will power on, and leads slip on tiny connector pads. A boot cable for the model is faster, safer and gives cleaner readings.
Build your diagnosis bench from our DC power supplies and boot cables, with replacement cells in iPhone batteries. Every unit is tested before it leaves Shenzhen. Shops buying in volume can open wholesale pricing, and repeat orders go fastest through Quick Order by SKU or CSV.