MacBook Logic Board Repair: Tools and Common Faults
17 November 2026 · LightspeedTools team
Short answer: MacBook logic board repair is mostly about four fault families: liquid damage, no power or no charge, shorted power rails and USB-C power-delivery faults. You need a board holder that fits the model, a USB-C power meter, a multimeter, a thermal camera, a microscope, hot air with a preheater, and the schematic and boardview for the exact board number. Work from measurements, not guesses, and talk about data before you touch a T2 or Apple silicon board.
The most common MacBook logic board faults
Liquid damage
Liquid is the biggest single cause of dead MacBook boards. Coffee, tea or water goes through the keyboard and lands on the board below, often around the keyboard and trackpad connectors, the power circuitry and whatever sits under the spill point. The real damage is the corrosion that grows afterwards while current still flows through wet parts.
Look for green or white crust and eaten-away pads. Clean the board early with isopropyl alcohol and a soft brush (an ultrasonic bath is common practice for heavy corrosion, with care around parts that should not get wet, such as some sensors and connectors). Our liquid damage bench process is written for phones, but the order of work is the same.
No power, no charge
"Dead" is a symptom, not a fault: causes range from a failed charger or I/O board to the charging circuit, a shorted main rail or a power management stage. On Intel models with MagSafe, the charging IC is a frequent suspect; for example, the ISL6259AHRTZ charging chip is used on several Retina MacBook Pro boards (A1425, A1502, A1398). Always confirm the part number against the boardview for your board number before you order.
Shorted power rails
A short to ground on a main rail is one of the most repairable faults, because it can be found. Measure resistance to ground on the main rails with the board unpowered, then inject a low, current-limited voltage and look for the component that heats up. On many Intel MacBook boards the main always-on rail is labelled PPBUS_G3H, but rail names and normal values vary by board, so read them from the schematic rather than from memory. Our short circuit repair guide covers voltage injection in detail; the method scales up to a laptop board.
USB-C and power-delivery chip faults
On USB-C MacBooks, the charger and the laptop must negotiate before higher voltages are delivered. That negotiation is handled by USB-C port controller chips, and on many 2016 and later Intel models these are the CD3215 or CD3217 family. When a port controller fails, the meter often shows the charger sitting at 5 V and never stepping up, or one port charges while another does not. Replacing a CD32xx chip is routine board work, but it may also need the matching firmware, so check what your board requires before you start.
Backlight and display circuit faults
Some generations have known weak points in the backlight circuit on the logic board, such as a blown backlight fuse or a failed backlight driver stage. The symptom is a picture you can just see with a torch but no backlight. Before blaming the board, rule out the display cable and panel; on some 2016 to 2017 models the display flex cables themselves are a known wear point. Our guide to black screen with the device still on uses the same logic: prove which side of the connector the fault is on.
GPU faults on some older models
Certain older MacBook Pro models with discrete graphics were widely reported to suffer GPU failures, showing as distorted graphics or boot loops. Reflowing a large GPU rarely lasts, so treat these as case-by-case jobs and set expectations early.
Tools for MacBook logic board repair
| Tool | What it does on a MacBook board | Notes |
|---|---|---|
| Model-specific board holder | Holds a large, thin board flat and stable for hot air and probing | Fixtures exist for specific A-numbers; a universal laptop holder covers the rest |
| USB-C power meter | Shows voltage and current the board draws while booting | The first test on every USB-C MacBook |
| Multimeter | Resistance and diode readings to ground, rail voltages | Compare readings with a known good board or reference values |
| Thermal camera | Finds the hot part on a shorted rail during voltage injection | Much faster than flux or alcohol on a big board |
| Microscope | Inspection of corrosion, cracked parts and pad damage | Needs a long working distance and a wide field for laptop boards |
| Hot air plus preheater | Removing and refitting chips on a board with large ground planes | Preheating stops the board drawing heat away from the work area |
| Stencils and reballing platforms | Reballing chips such as T1/T2 and USB-C controllers | Must match the exact chip |
| Schematics and boardview | Rail names, component locations, test values | Matched to the board number, not just the model |
Board holders and fixtures
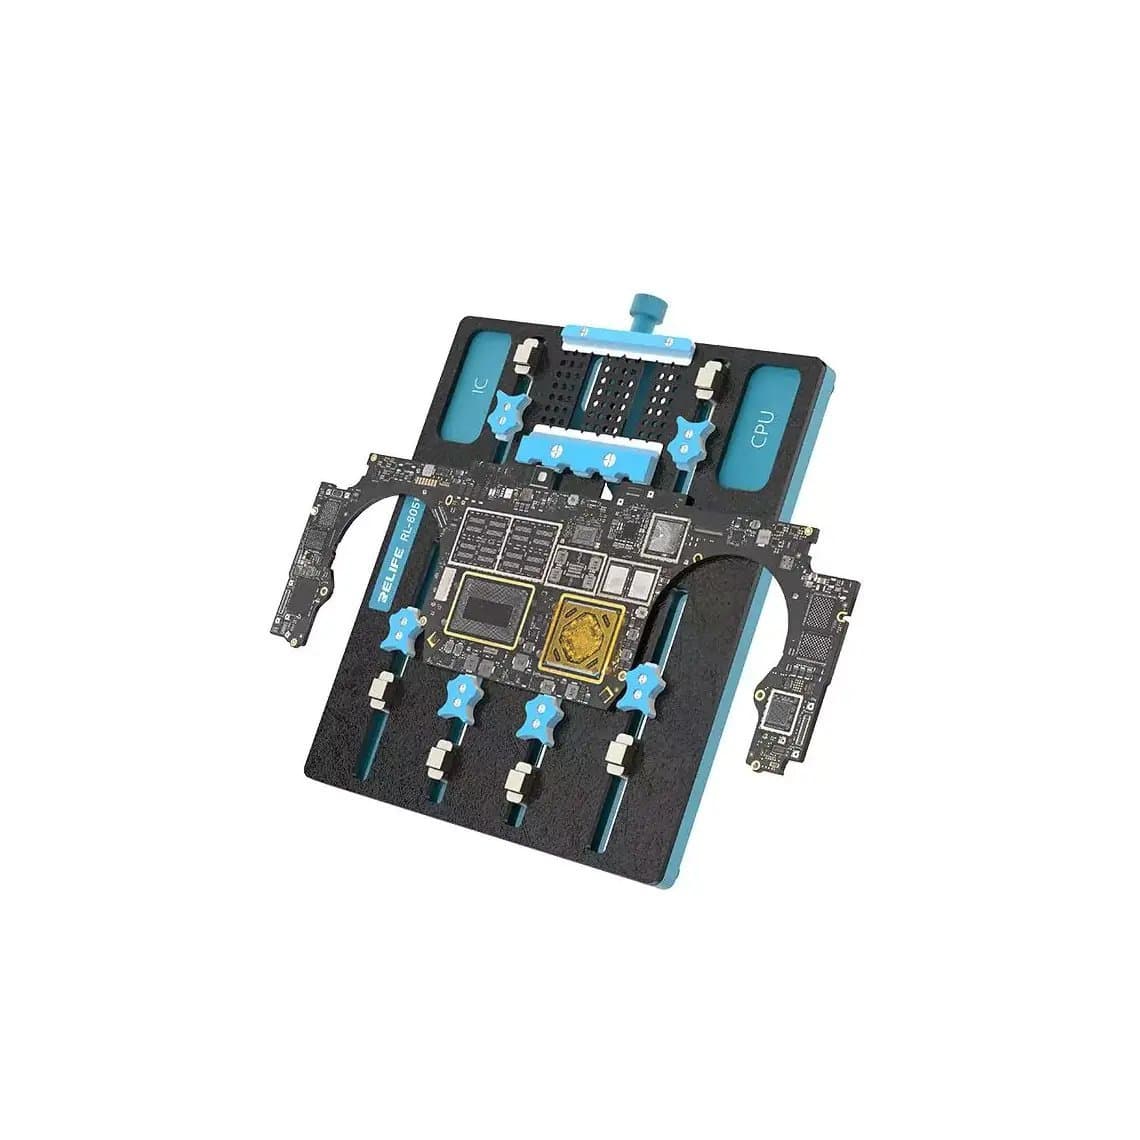
A MacBook board flexes when heated; a dedicated fixture keeps it flat. Model-specific options include the Baiyi A1990 logic board fixture for the 15-inch Touch Bar board; similar fixtures exist for other A-numbers. For mixed work, a laptop-size universal holder such as the Relife RL-605 Pro laptop fixture covers most boards. See the full range under PCB holders and fixtures.
USB-C meter and multimeter
A USB-C meter between the charger and the board tells you more in ten seconds than anything else. Watch whether the voltage steps up from 5 V, and how the current behaves during boot. A meter built for this job, such as the S-UEM2 USB-C meter for MacBook board repair, or a general KWS-1802C USB-C tester, will do the job. Pair it with a good multimeter for diode-mode and resistance readings. More options are in USB testers.
Thermal camera
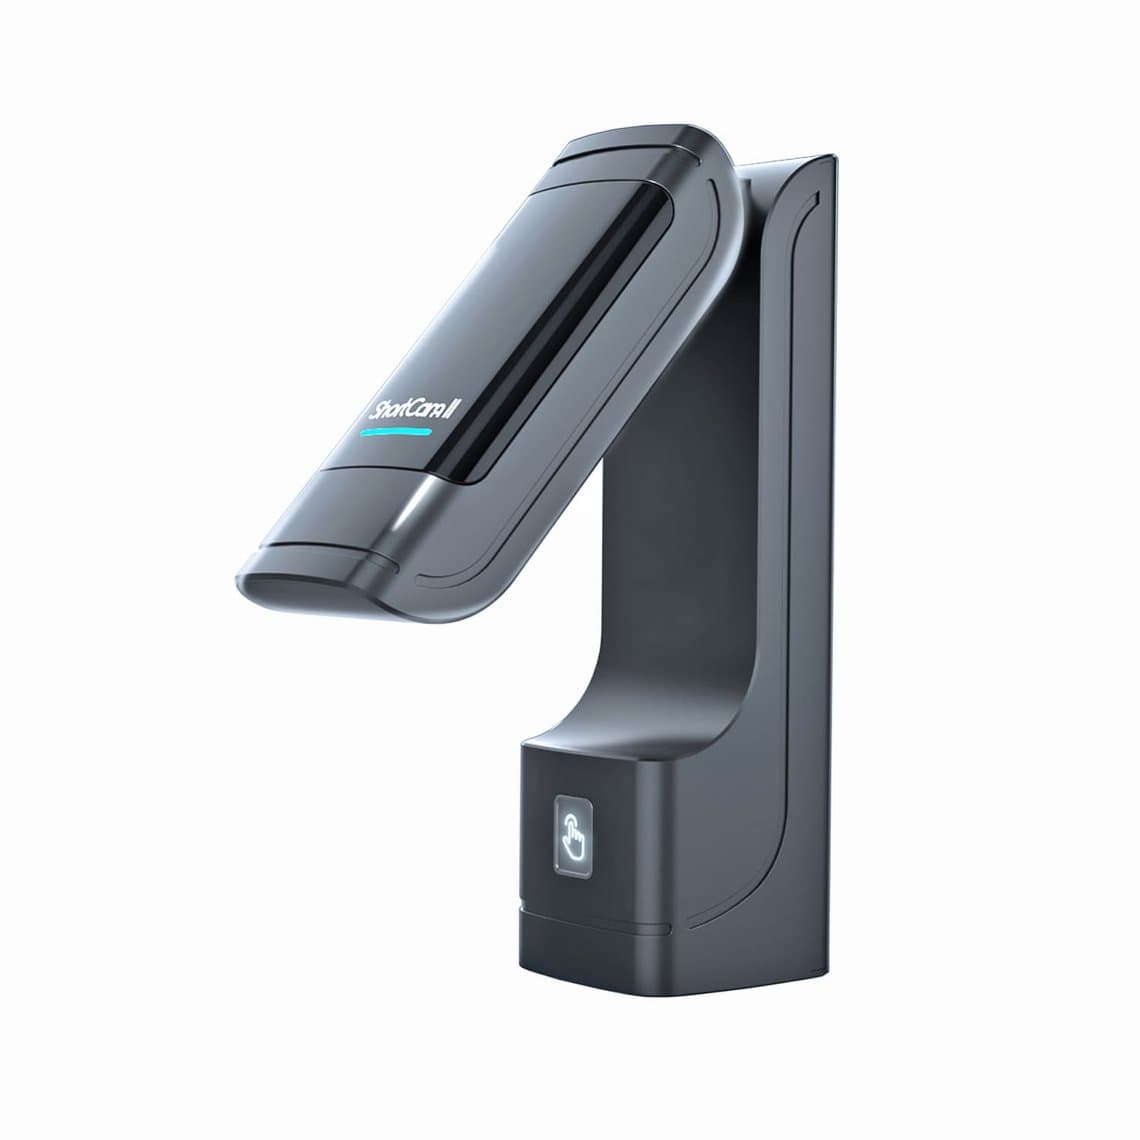
On a large board, finding a shorted capacitor by feel is slow. A thermal camera such as the ShortCam II shows the hot spot within seconds of injecting a low voltage.
Microscope, hot air and preheater
A stereo microscope with enough working distance for a laptop board is essential; our microscope range lists working distances. For rework, MacBook boards have heavy copper layers that soak up heat. Bottom heating from a preheater lets you use lower top-side hot air and reduces the risk of lifting pads or damaging nearby parts.
Stencils and reballing platforms
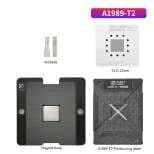
Many MacBook chip jobs need a stencil cut for that exact package. Examples include the Amaoe CD3215/CD3217 stencil for USB-C controllers, the Amaoe T2 reballing platform for A1989, A1990 and A2159 boards, and the Amaoe MacBook Wi-Fi chip stencil set. Browse BGA stencils for other packages.
Schematics and boardview
Do not work on a MacBook board blind. The board number printed on the PCB (an 820-xxxxx code) tells you which schematic and boardview to load, and two MacBooks with the same A-number can use different board revisions. Licences and tools are listed under schematic and boardview software.
A bench workflow that works
- Intake and data talk. Record the model, A-number, board number, symptoms and liquid history. Ask whether the data matters and whether there is a backup.
- Disconnect the battery first. Before any work on the board, disconnect the battery. Treat swollen or punctured batteries as a fire risk and store them safely.
- Inspect and clean. Check both sides under the microscope for corrosion, burns and cracked parts; clean liquid damage and dry fully before applying power.
- Cold measurements. Measure main rails to ground with the multimeter and compare against known values for that board.
- Power on the meter. Connect through the USB-C meter (or a current-limited supply on MagSafe boards) and read the voltage and current behaviour.
- Follow the rail. Use the schematic and boardview to trace from the missing voltage back to its enable signal or its source.
- Find and replace. Locate shorts with voltage injection and the thermal camera; replace parts under the microscope with preheat and controlled hot air.
- Test fully before closing. Boot, charge from every port, test keyboard, trackpad, display, audio, cameras and Wi-Fi, and watch for heat.
Wear an ESD strap and work on a grounded mat throughout. A MacBook board costs far more than a phone board and static damage is invisible. See our MacBook repair tools for the complete set.
Data recovery on T2 and Apple silicon Macs
Data is where MacBook board repair differs most from older laptops. On many recent MacBooks the storage is soldered to the logic board rather than on a removable SSD. On Macs with the T2 chip and on Apple silicon Macs, the internal storage is encrypted, and the keys are tied to the security hardware on that board. In practice, this means you generally cannot take the storage chips off and read them on another machine. The usual route to the data is to get the original board running again.
Exact behaviour differs between models, so a safe line is: "If the board cannot be repaired, the data may not be recoverable, so please tell us now if there is no backup." Older models with a removable SSD are far simpler. You can find these older models and parts under Mac parts.
Common mistakes
- Applying power to a wet or corroded board before cleaning it.
- Using the wrong schematic because the A-number matched but the board number did not.
- Injecting voltage with a high current limit and burning a trace or a good part.
- Replacing a USB-C controller without checking whether it needs firmware.
- Promising data recovery on a T2 or Apple silicon board before the board is diagnosed.
Questions
Is MacBook logic board repair worth it compared to a new board?
Often yes, especially for liquid damage caught early, shorted rails and USB-C controller faults, which are usually cheaper to fix at component level than a board replacement. GPU failures on older models and heavy corrosion under large chips are the jobs most likely to be uneconomic.
Why is my MacBook stuck at 5V on a USB-C meter?
It usually means the charger and the MacBook have not completed power negotiation. Common causes are a faulty charger or cable, a damaged USB-C port, or a failed USB-C port controller such as a CD3215 or CD3217 on many models. Try a known good charger and every port before you open the machine.
Can data be recovered from a dead T2 or M1 MacBook?
Usually only by repairing the original board so it can boot or enter a recovery mode. The storage on these Macs is encrypted and tied to the board's security hardware, so reading the chips on another board is generally not possible. If the data is important, discuss it with the customer before any work starts.
What tools do I need to start MacBook board repair?
The core kit is a laptop-size board holder, a USB-C power meter, a multimeter, a microscope, hot air with a preheater, and schematics and boardview for the boards you work on. A thermal camera is the next best investment because it speeds up short finding. Add stencils and reballing platforms as specific chip jobs come in.
Everything in this guide is in our MacBook repair tools category, tested before it ships from Shenzhen by DHL, FedEx or UPS. Shops buying regularly can open a wholesale account for trade prices, and repeat orders are quicker with Quick Order by SKU or CSV.